Getting Started
Welcome to Mayventory - an all-round software designed to make inventory management easy and allow your business run smoothly. Here is a guide that has been carefully designed by experts to make your journey with Mayventory a beautiful one. Following this guide diligently would help you gain a mastery of the software in no time. Are you excited? So are we! Let's get started.
How to Sign Up for an Account
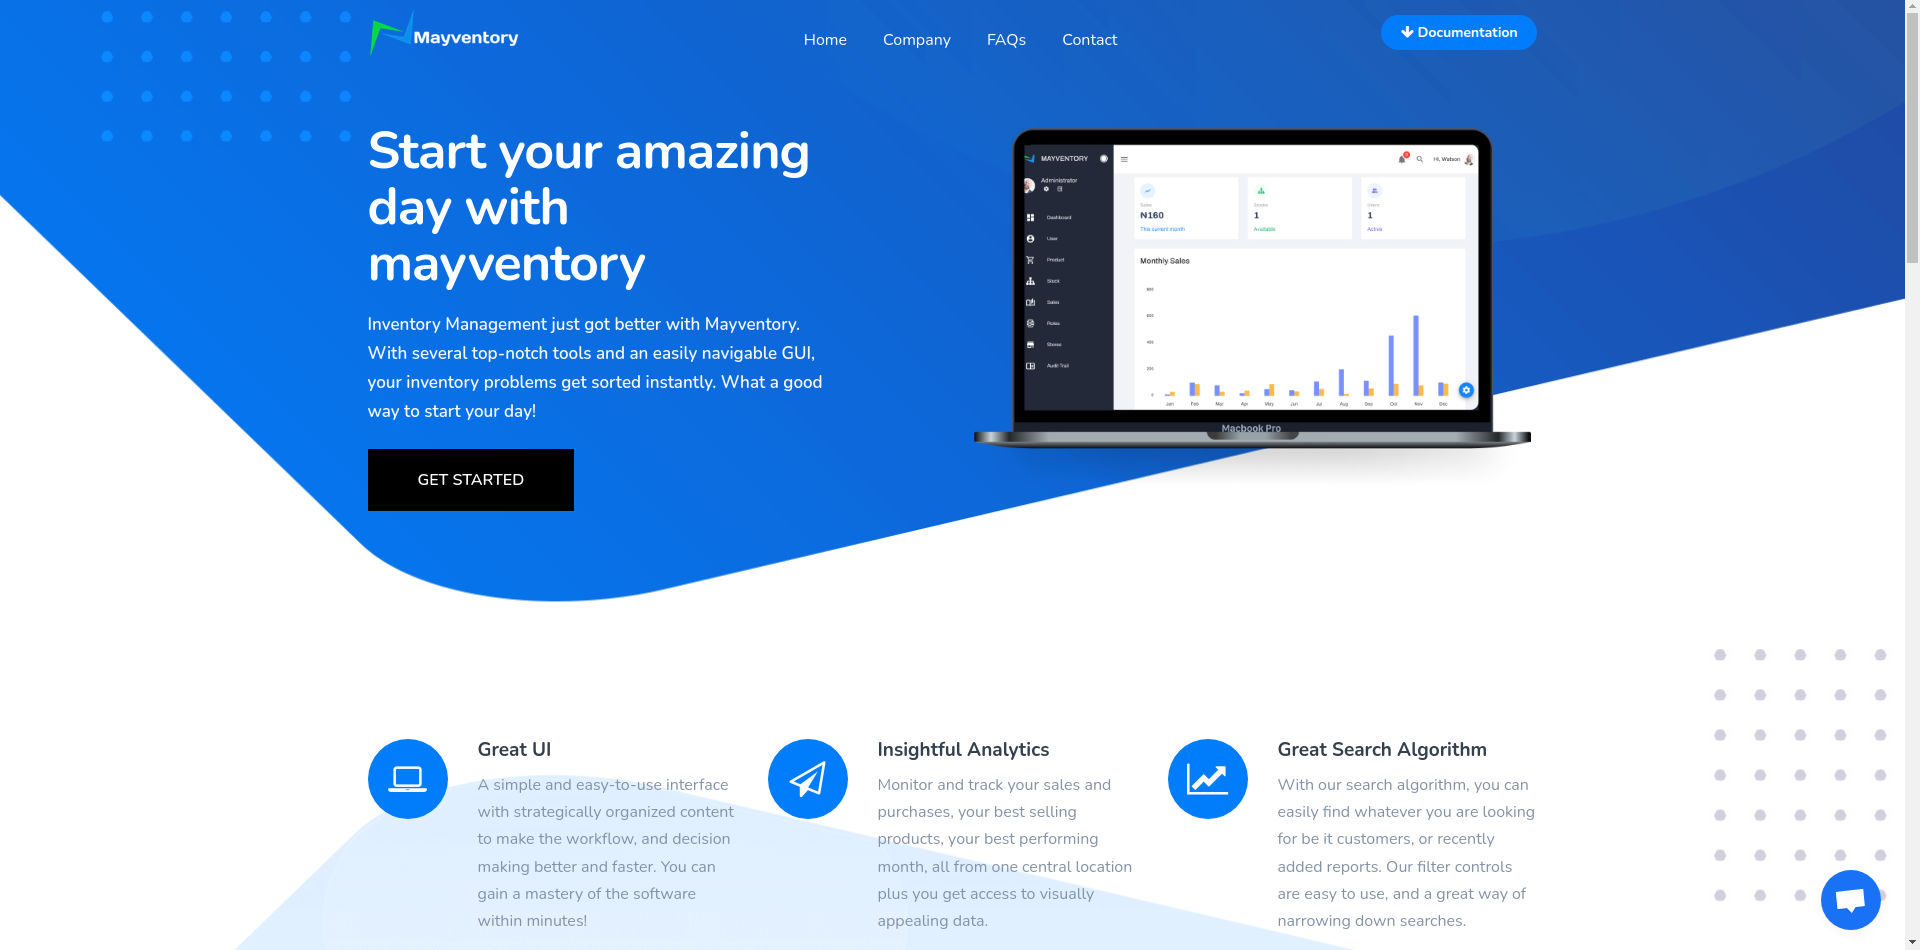
- Go to Mayventory Website here.
- Click on Get Started and a new browser tab opens up.
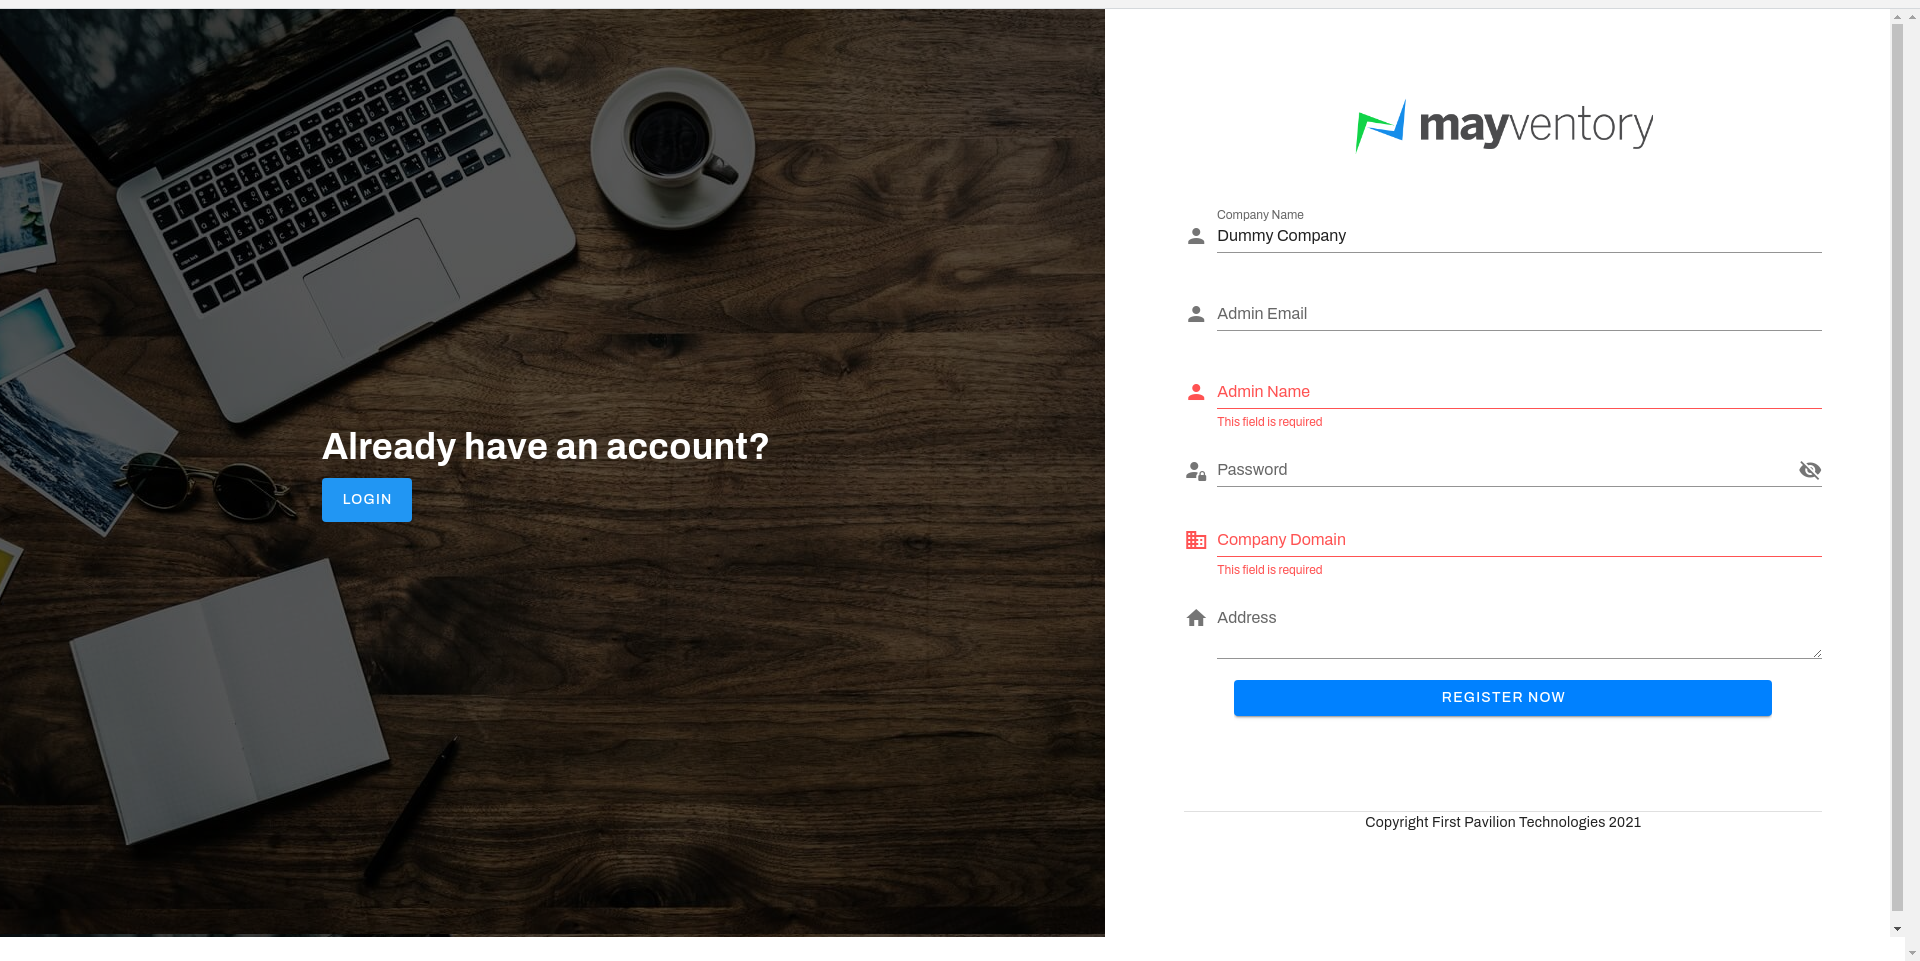
- On the new browser tab, click on Register Now and you get taken to a new page.
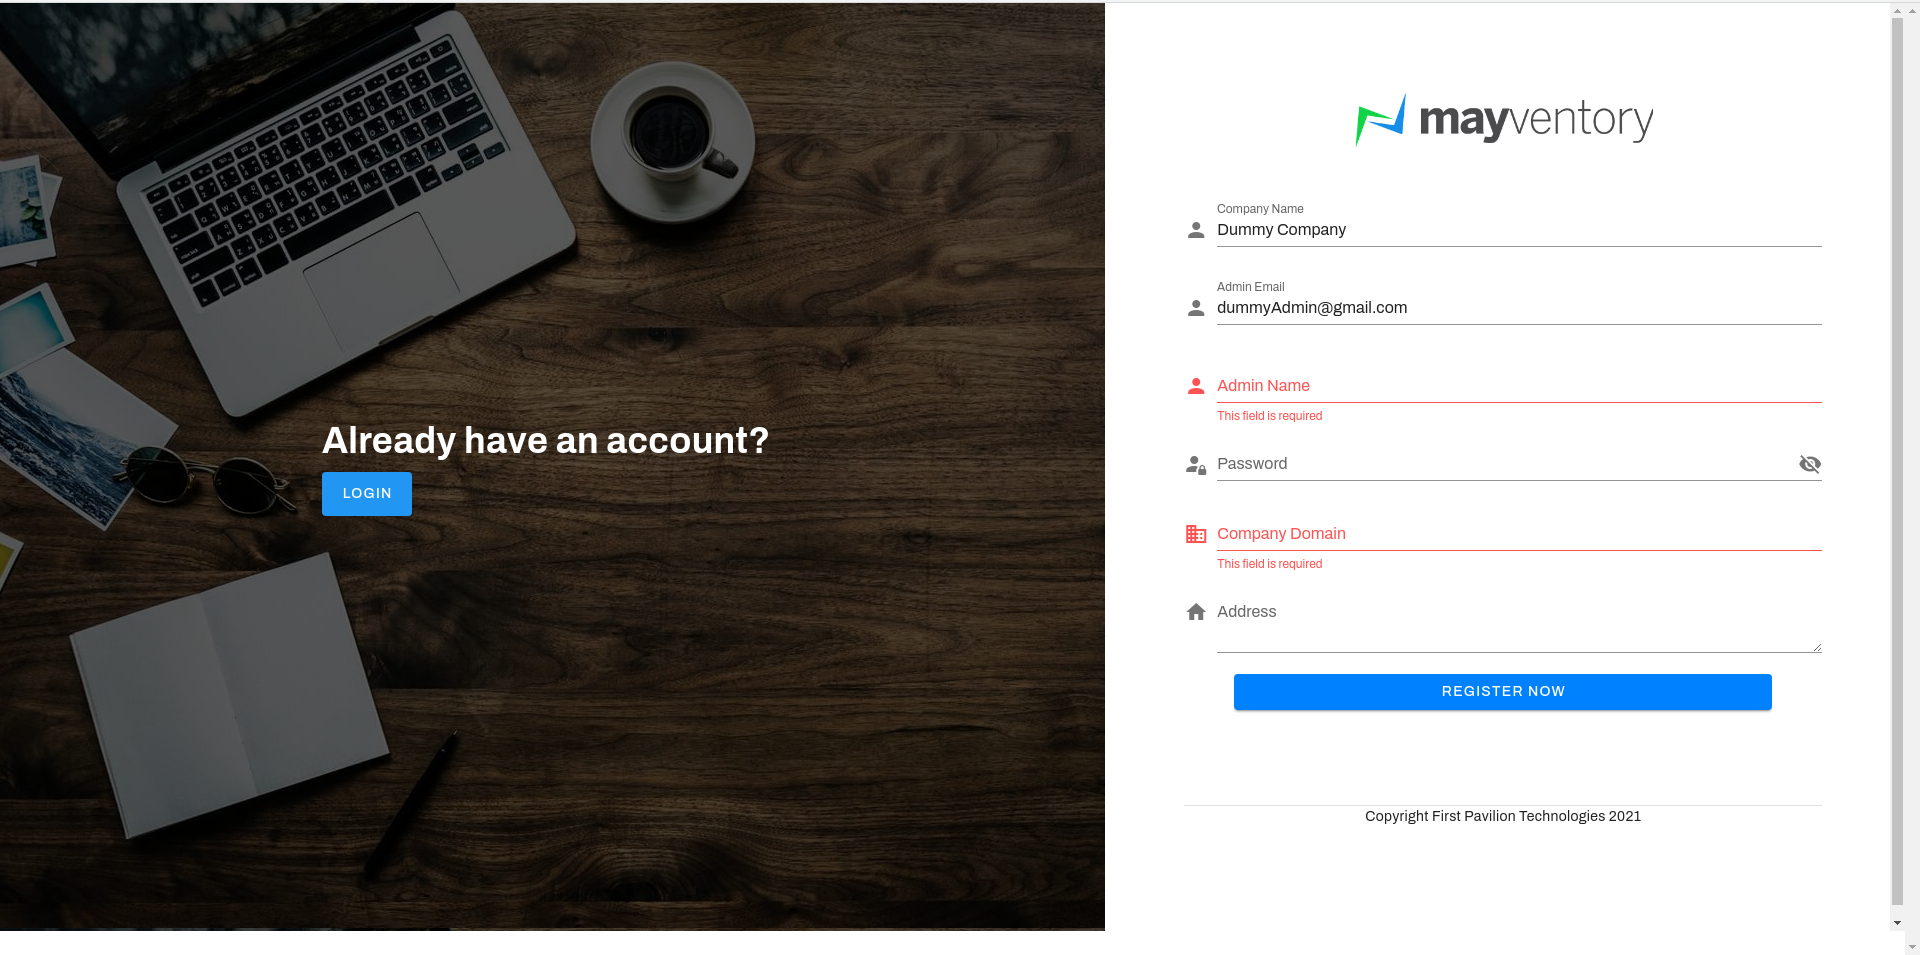
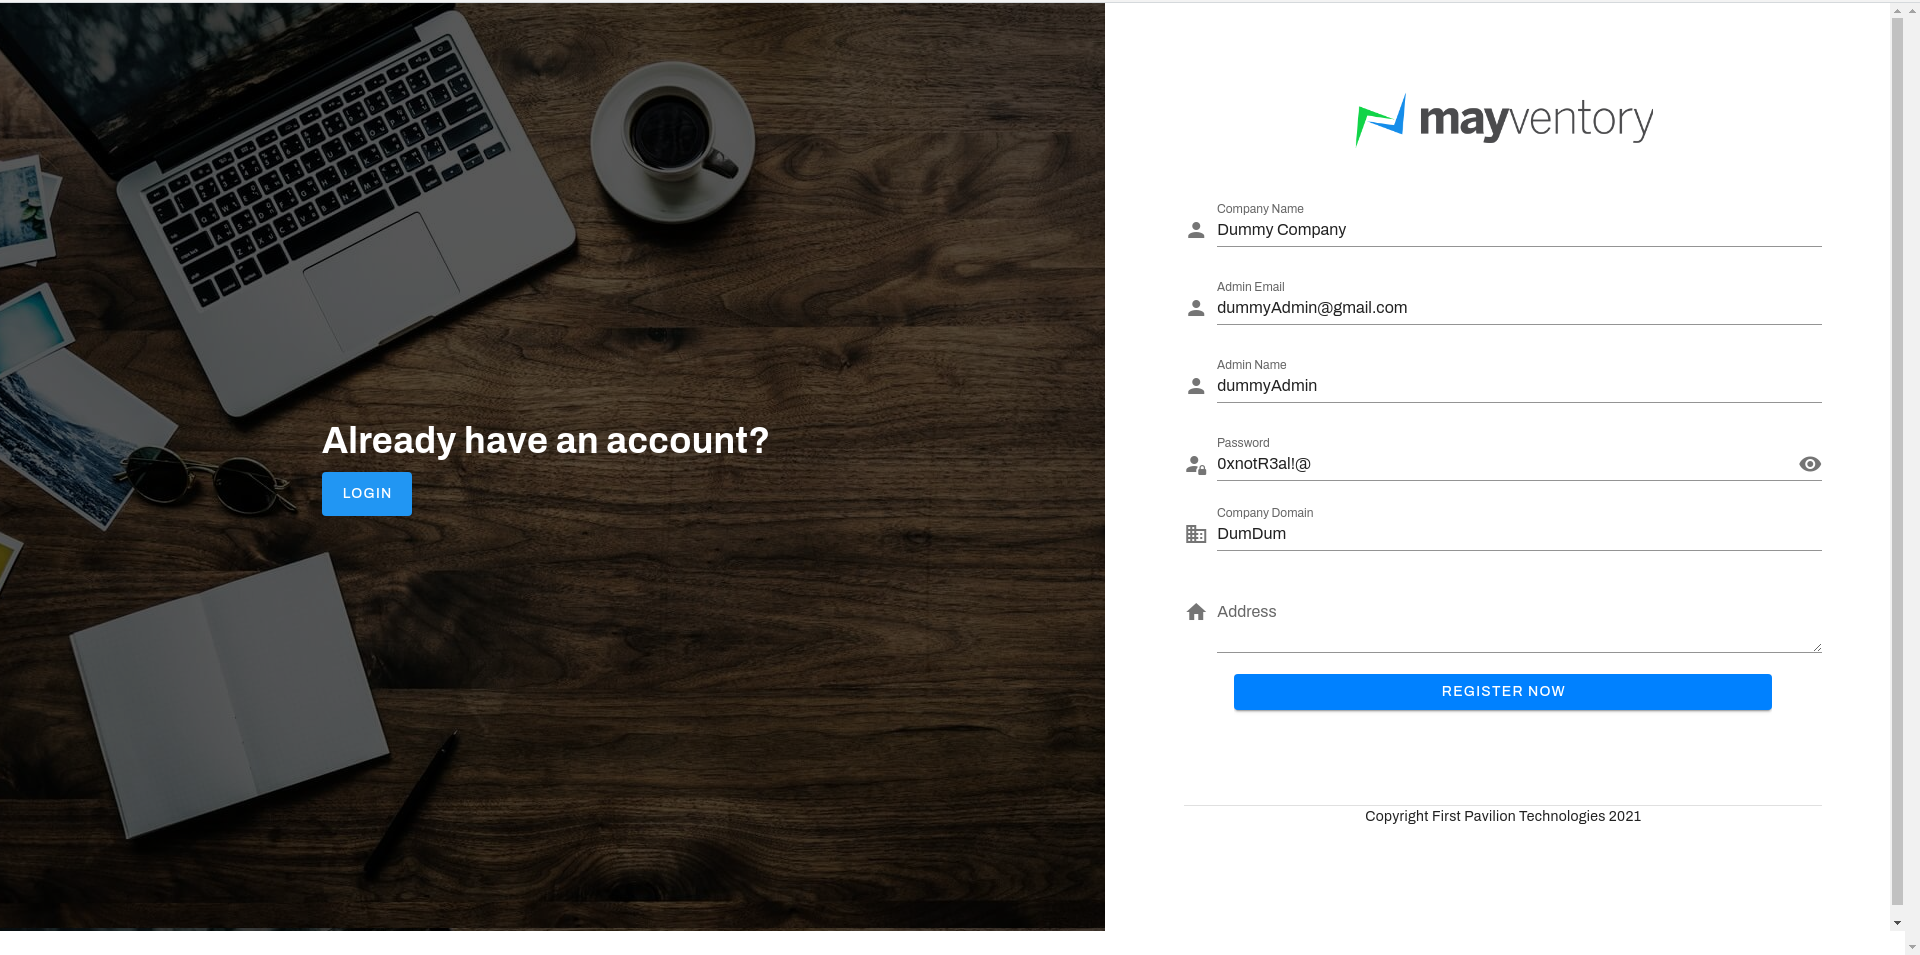
- Enter the name of your company in the Company Name box.
- Enter an active email address in the Admin Email box. This could be the email address of the business owner or the manager of the business, or someone of high authority.
- Enter the name of the Administrator (the one who would manage and oversee the business) in the Admin Name box.
- Enter a strong password usually a mixture of alphabets, numbers, and symbols in the Password box.
- Enter a domain name in the Company Domain box.
- Enter the address of your business in the Address box
- Click on the Register Now box and after that, you would see a confirmation tick like in the image below showing that you have successfully
created your account.
After successfully registering, you would get taken to the sign-in page. See how to sign-in to your Account.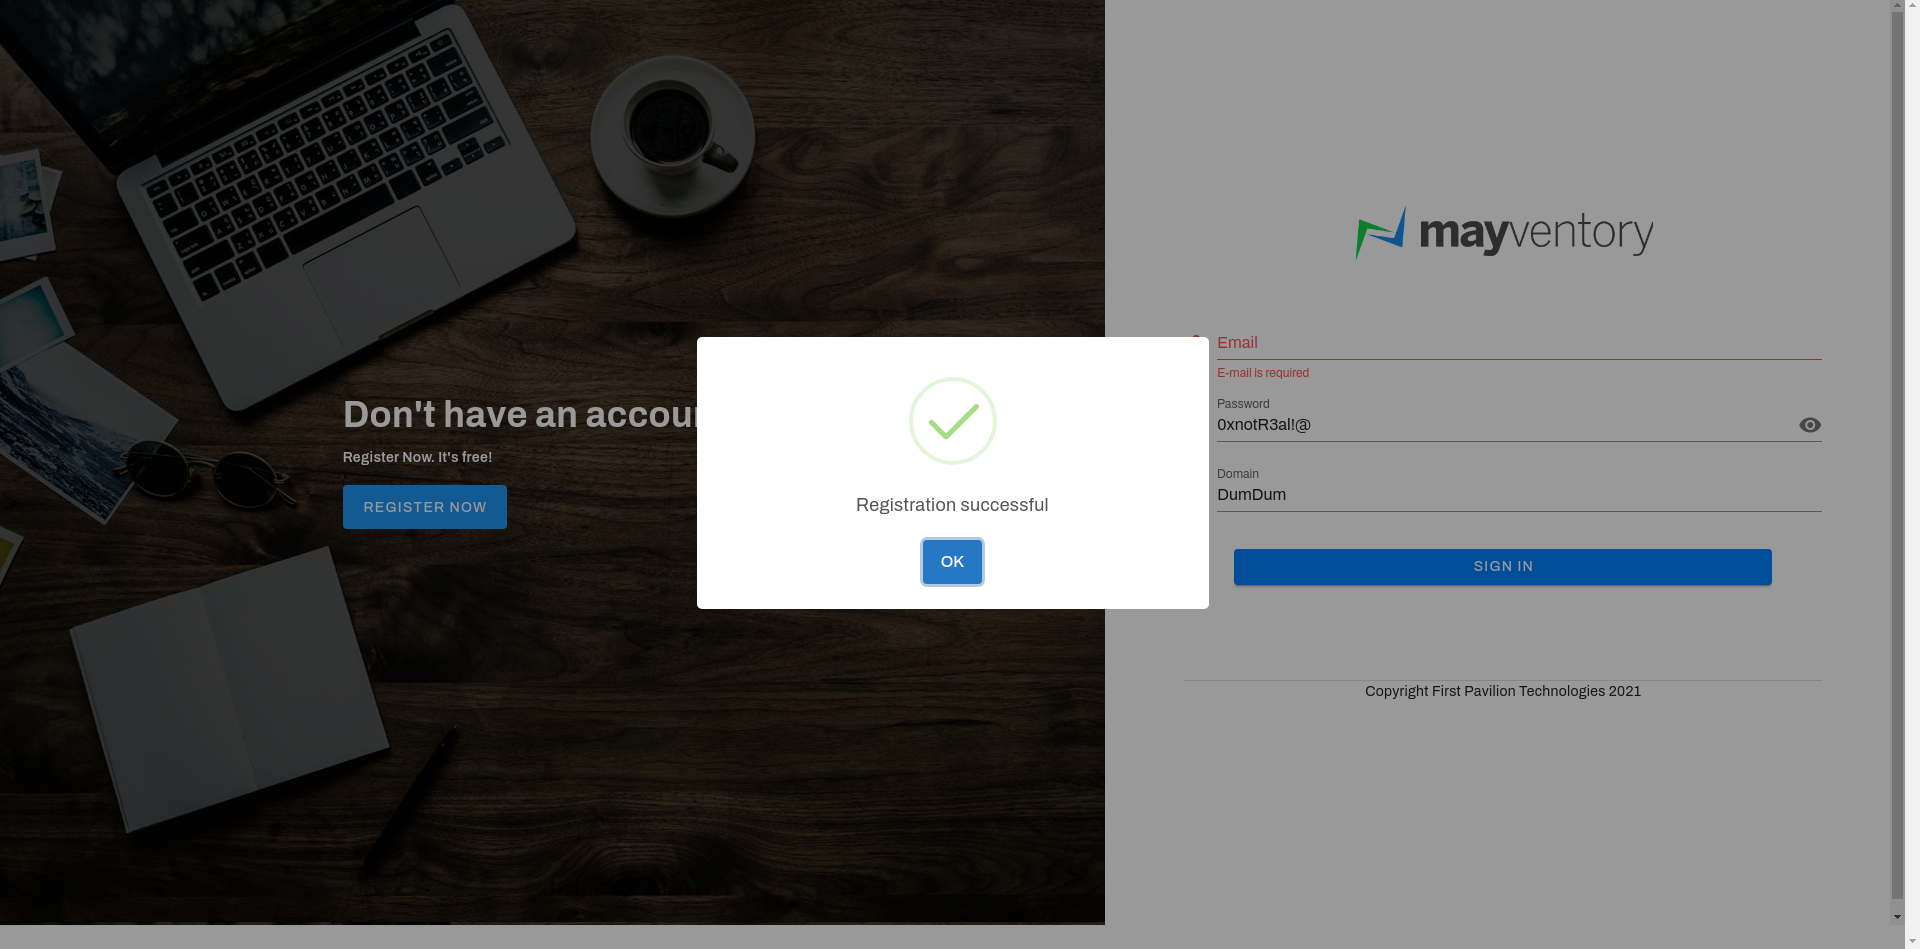


How to Sign in to your Account
Now that you've gotten an account with mayventory. It's time to sign in and access those beautiful features prepared for you. Follow these steps to successfully sign in to your account:
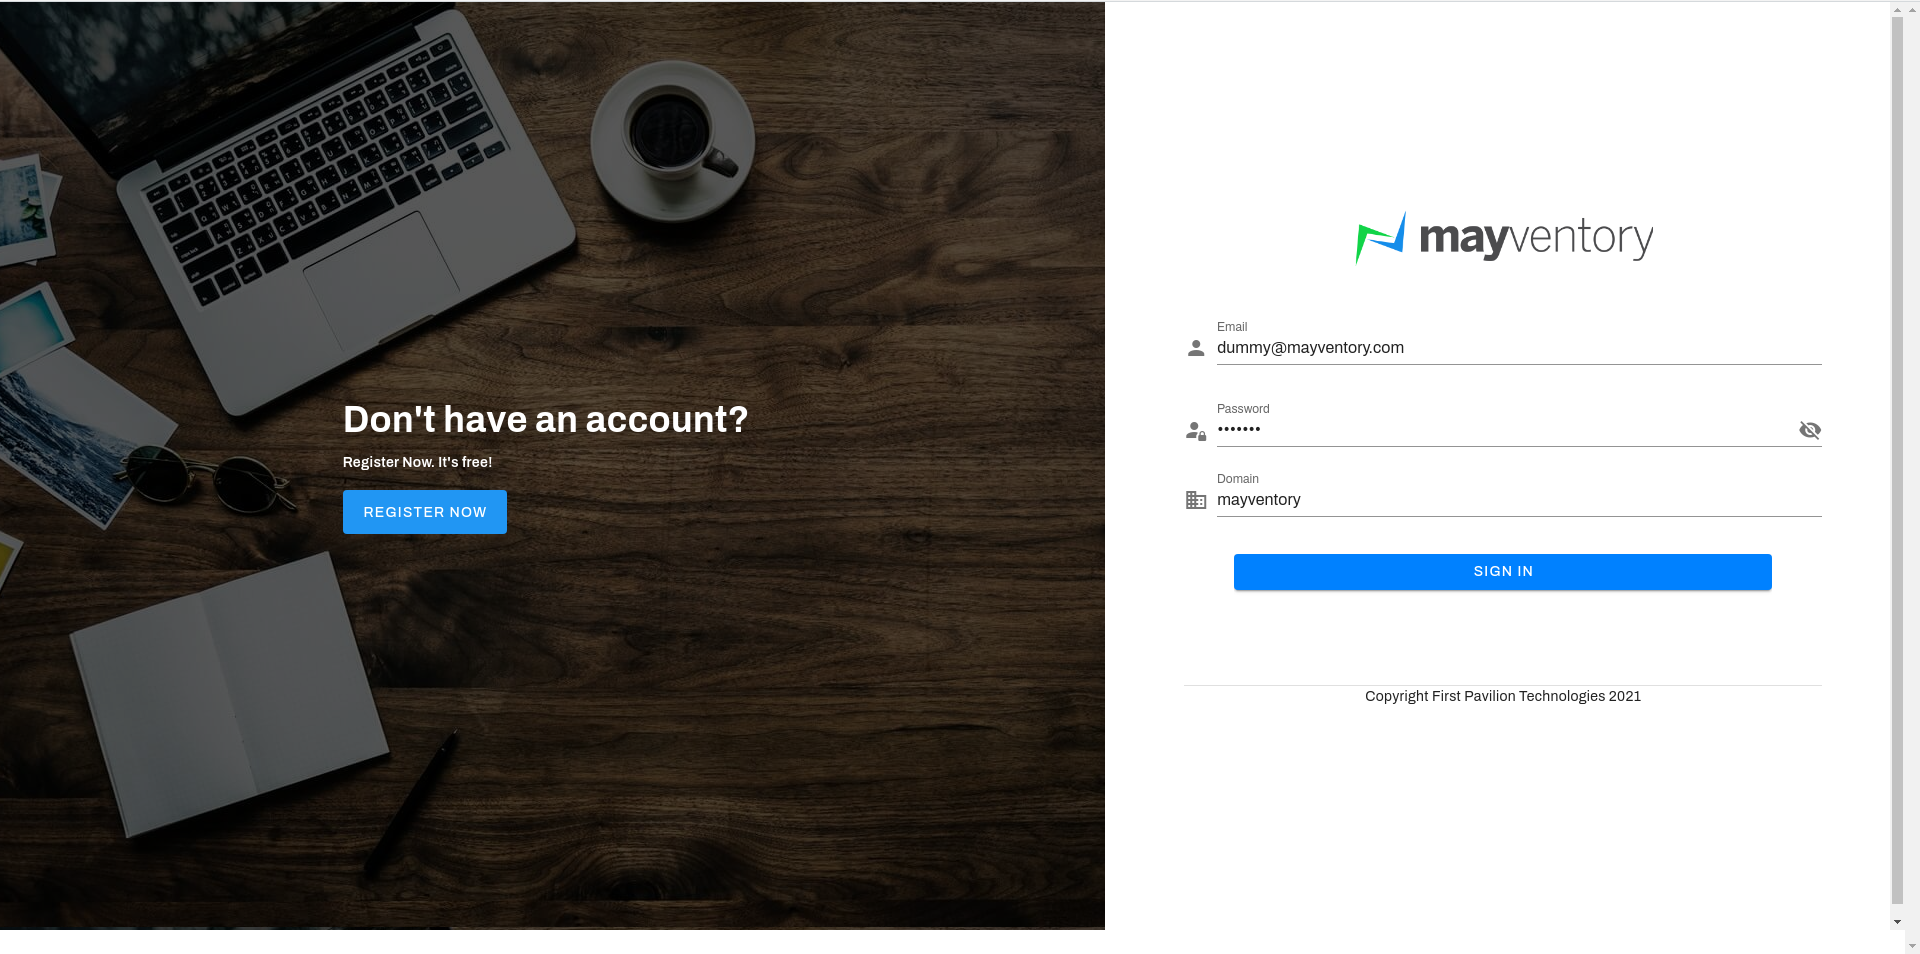
- Go to Mayventory Website here.
- Click on Get Started and a new browser tab opens up immediately.
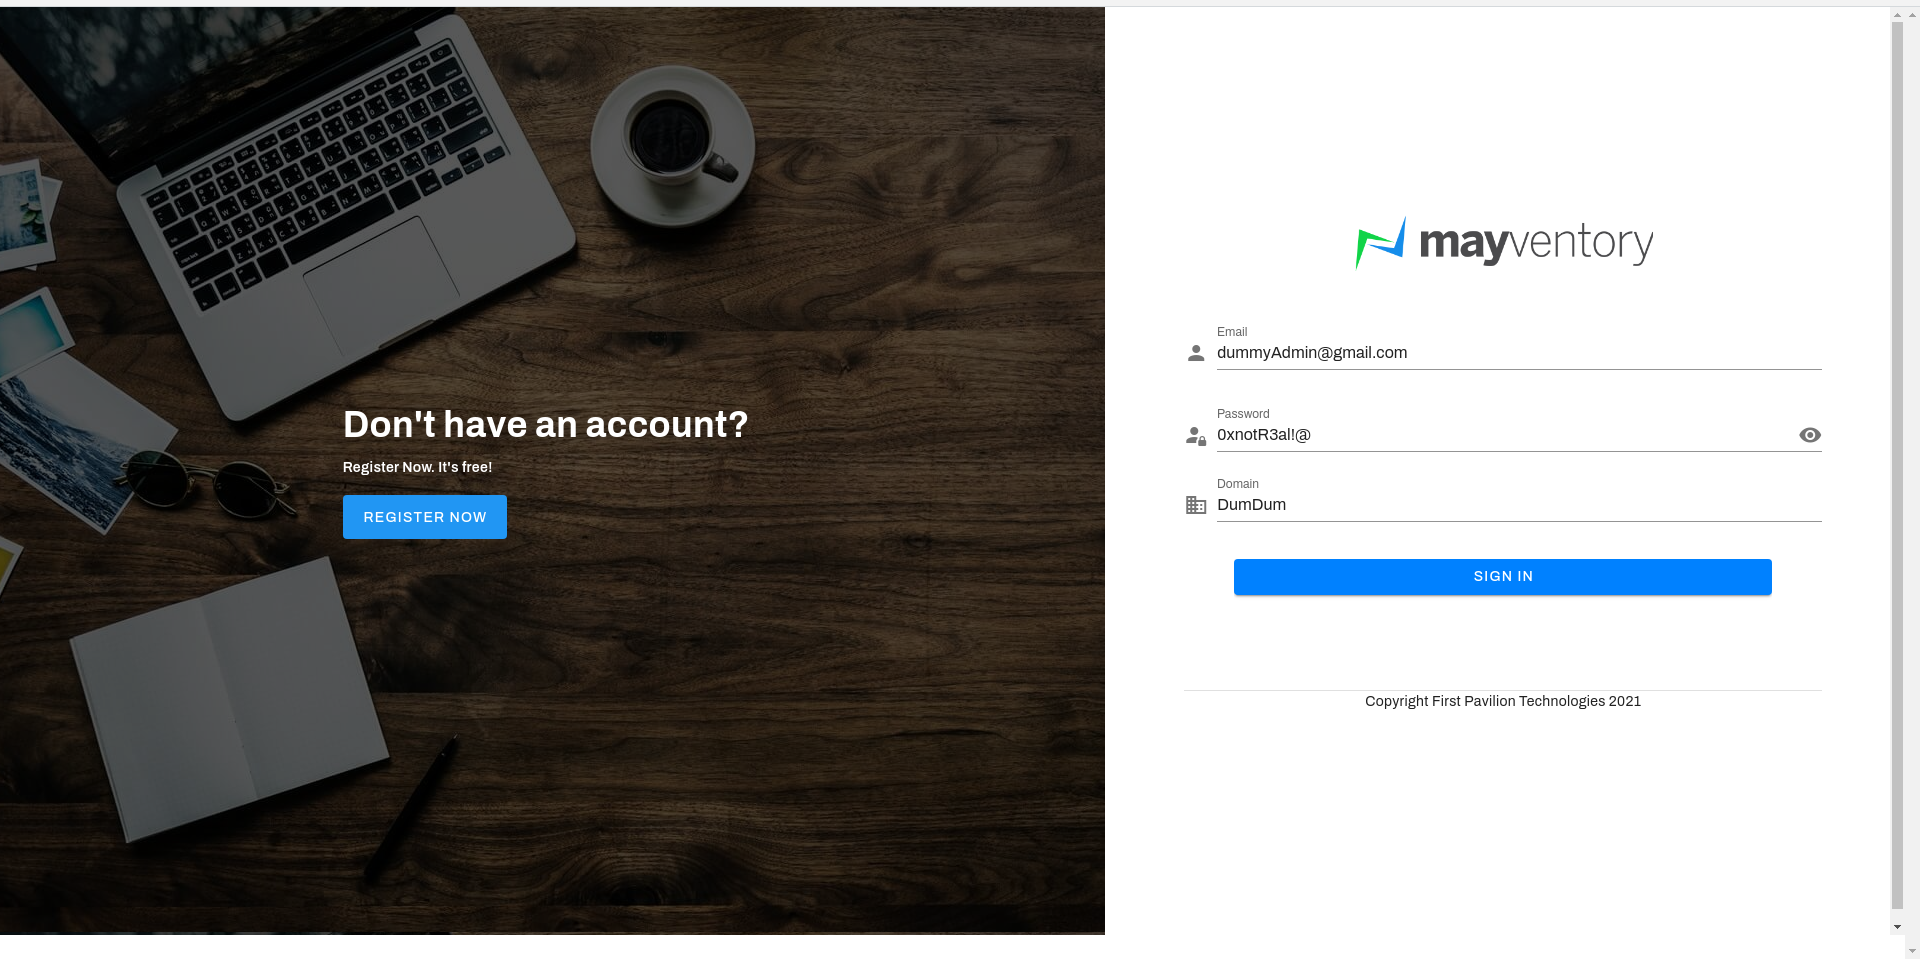
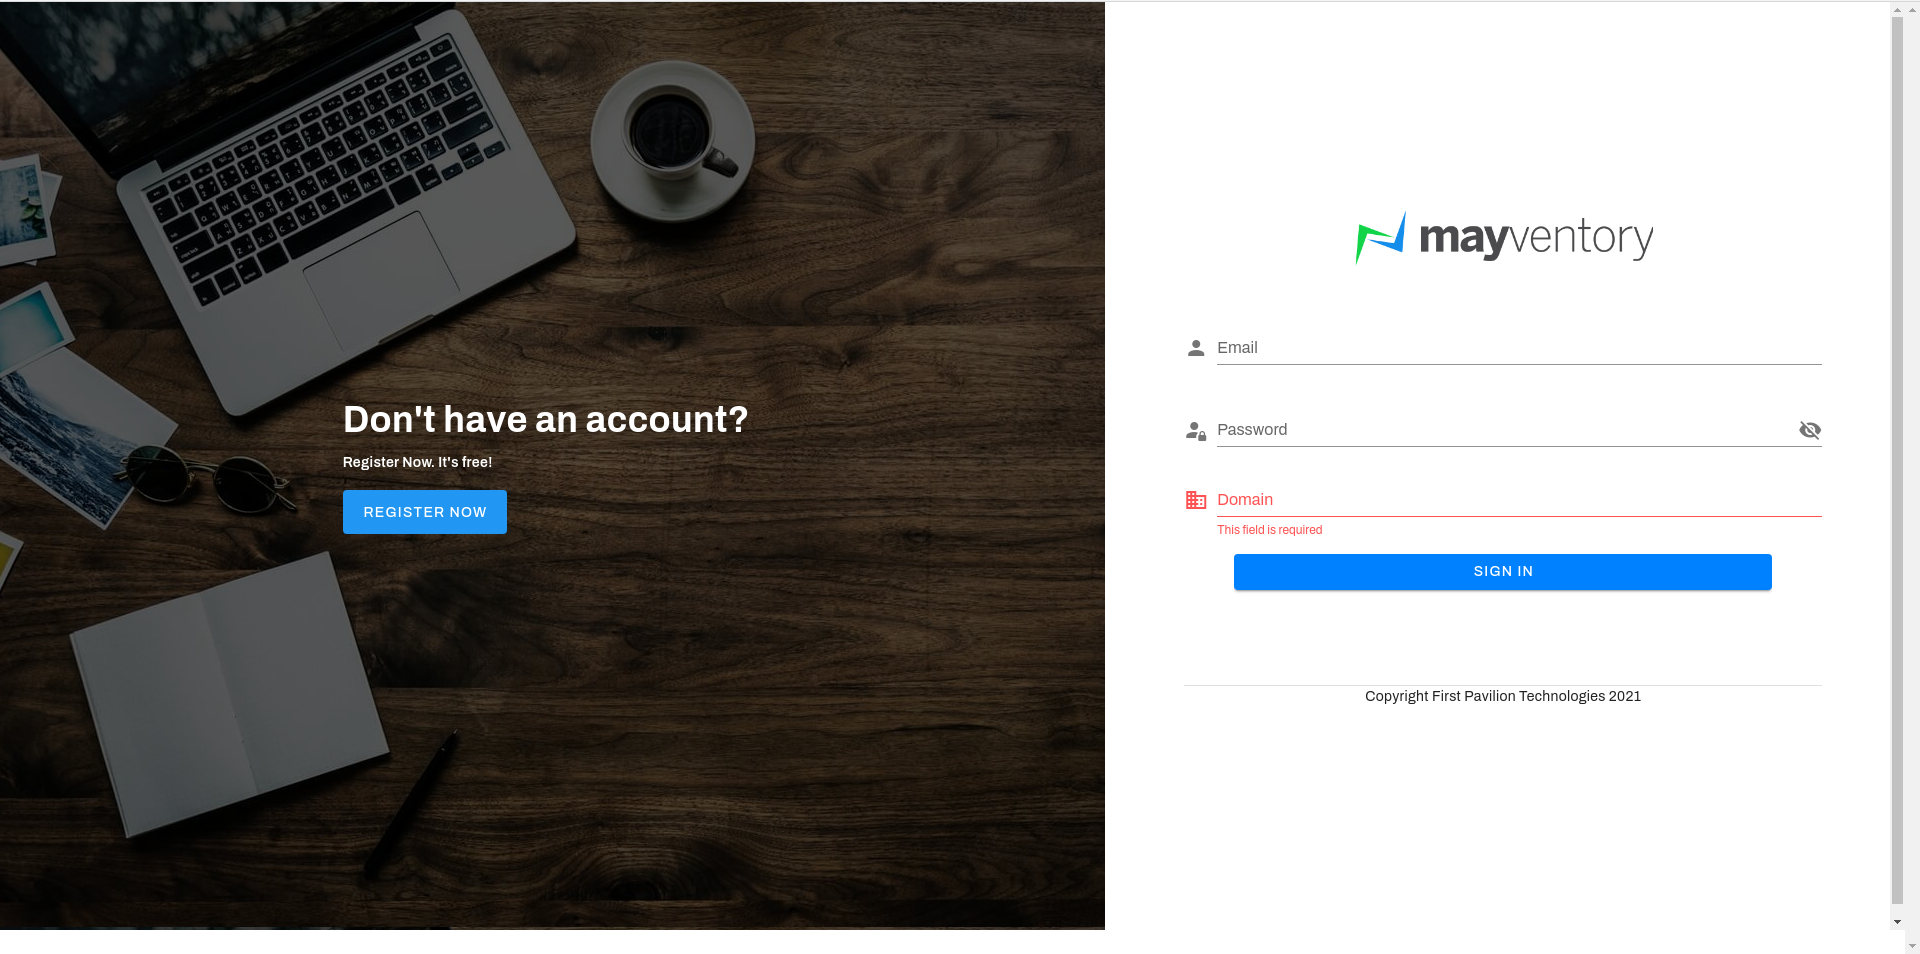
- Enter your Email, Password, and Domain in their respective positions.
- Confirm your details once more and click on the Sign In button.
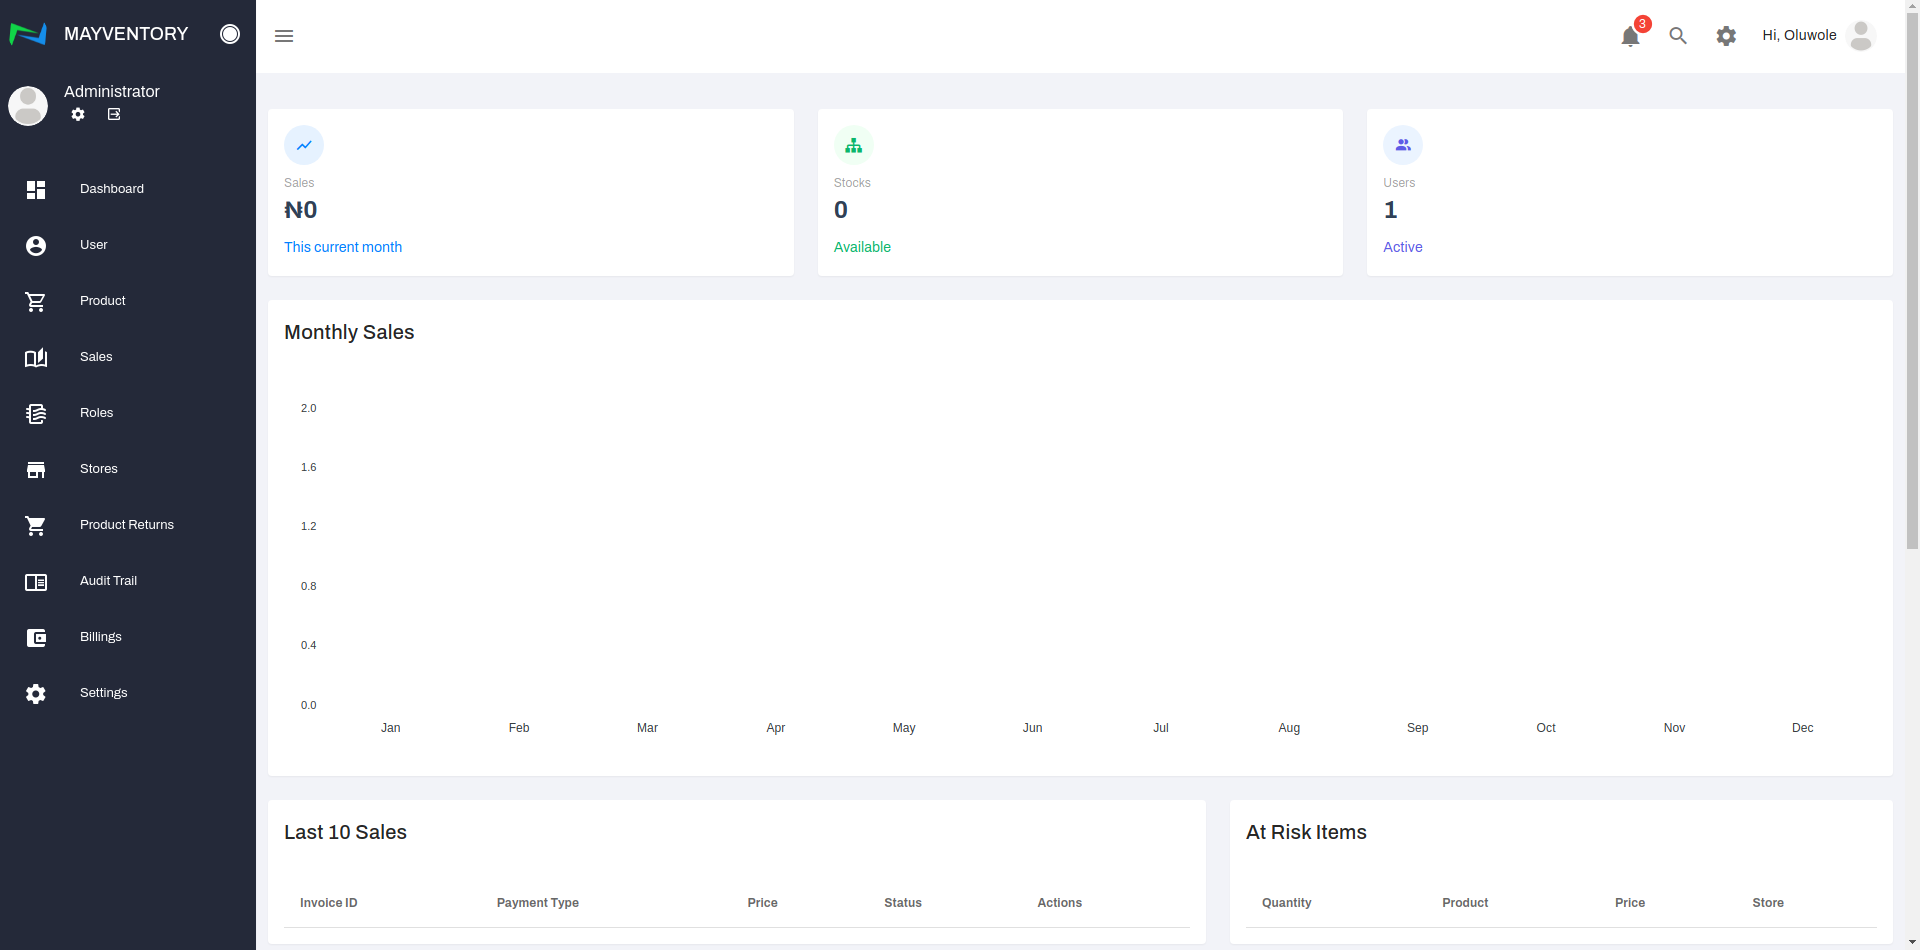
- FThe first page you see when you get signed in, is the dashboard - where you get an overview of what is happening on your account.


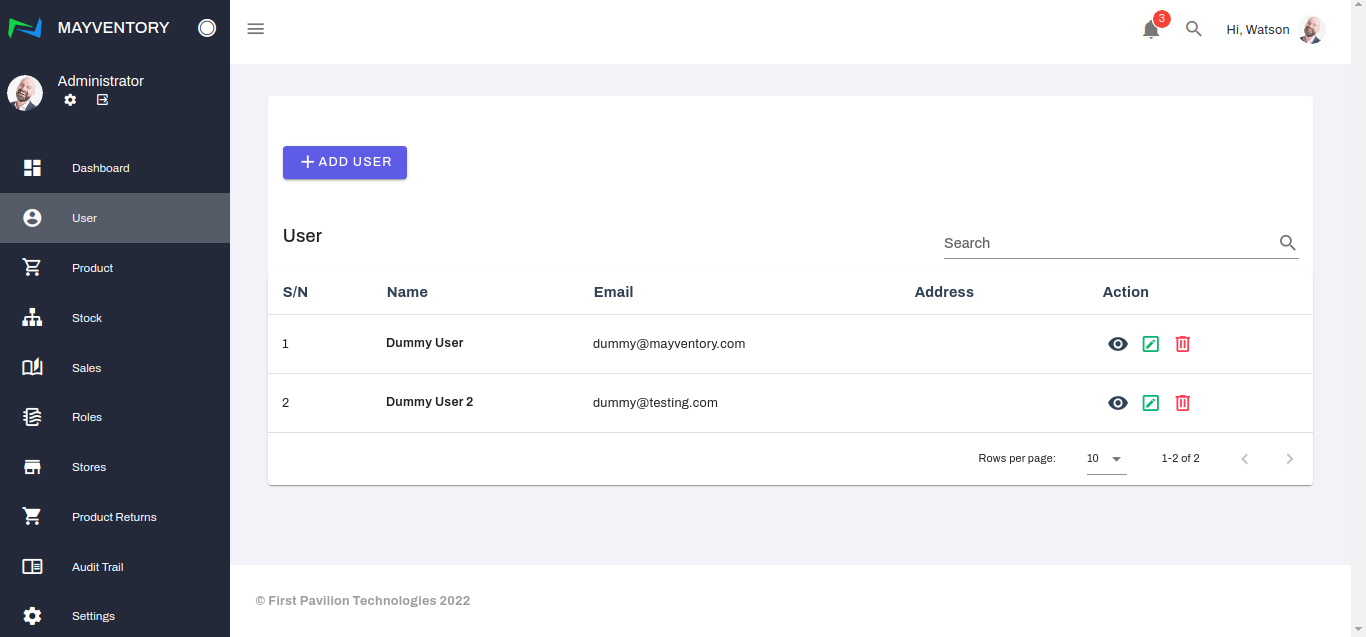
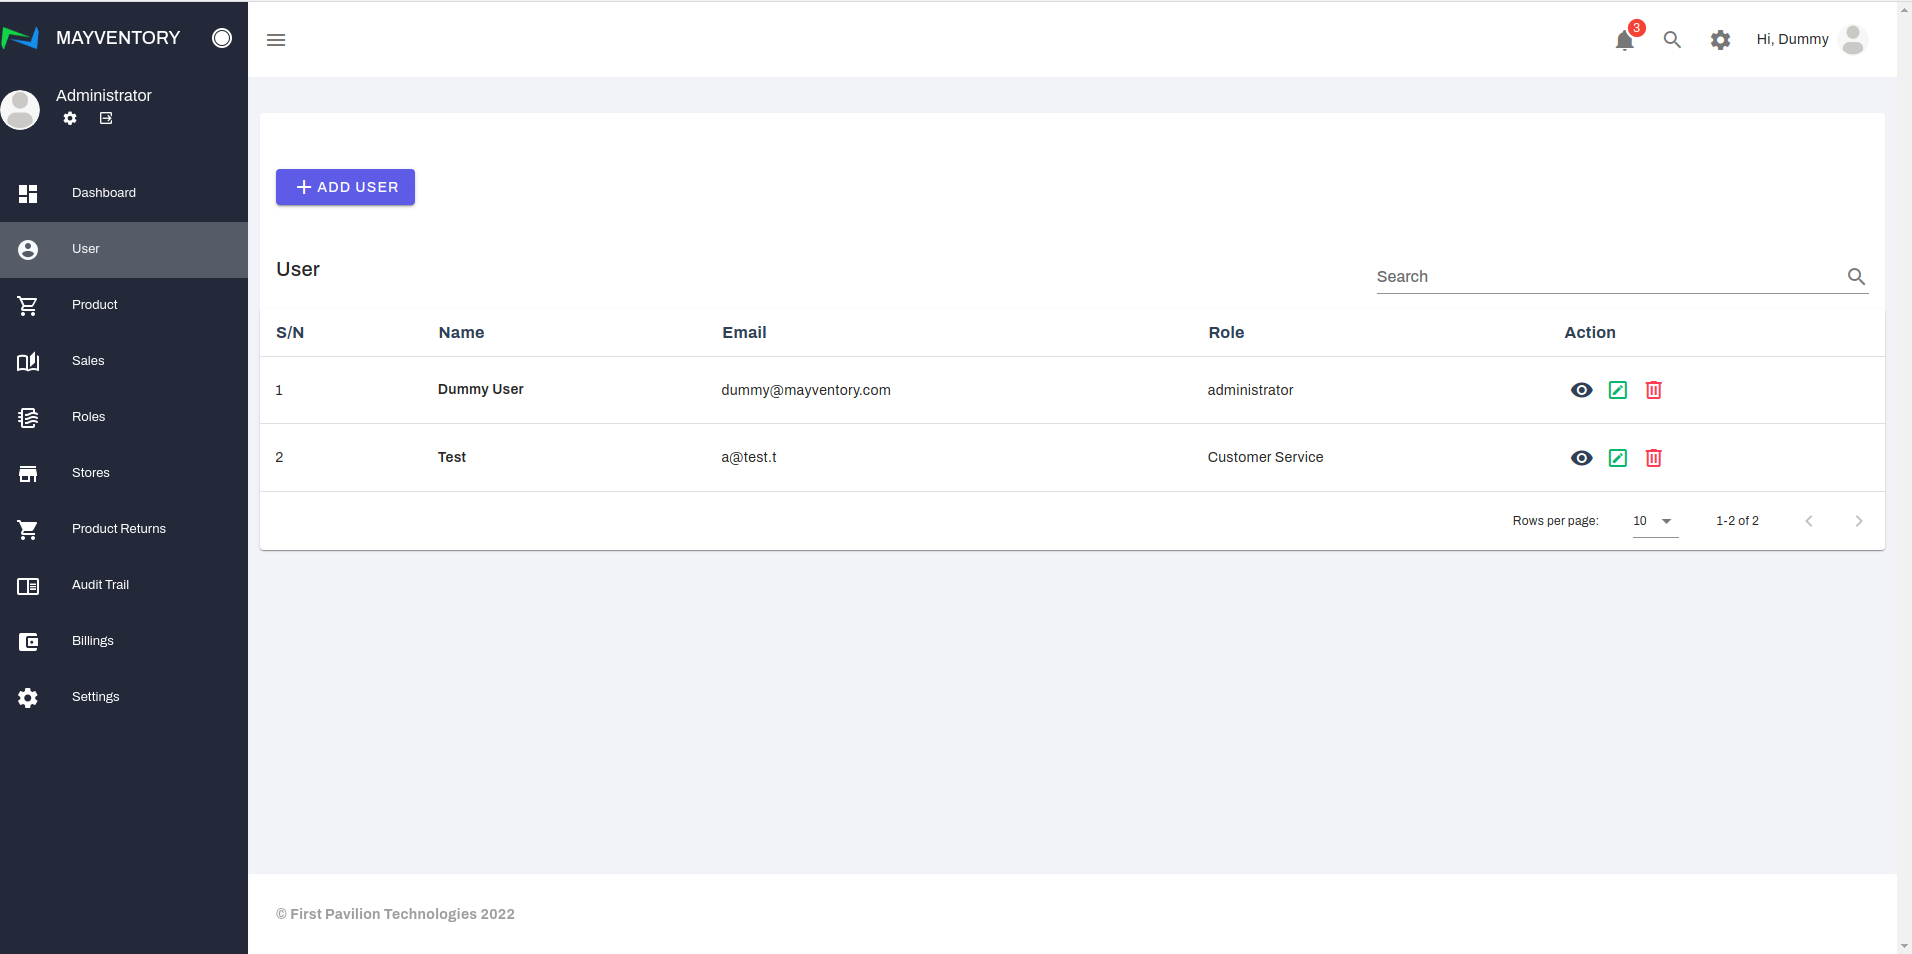
User
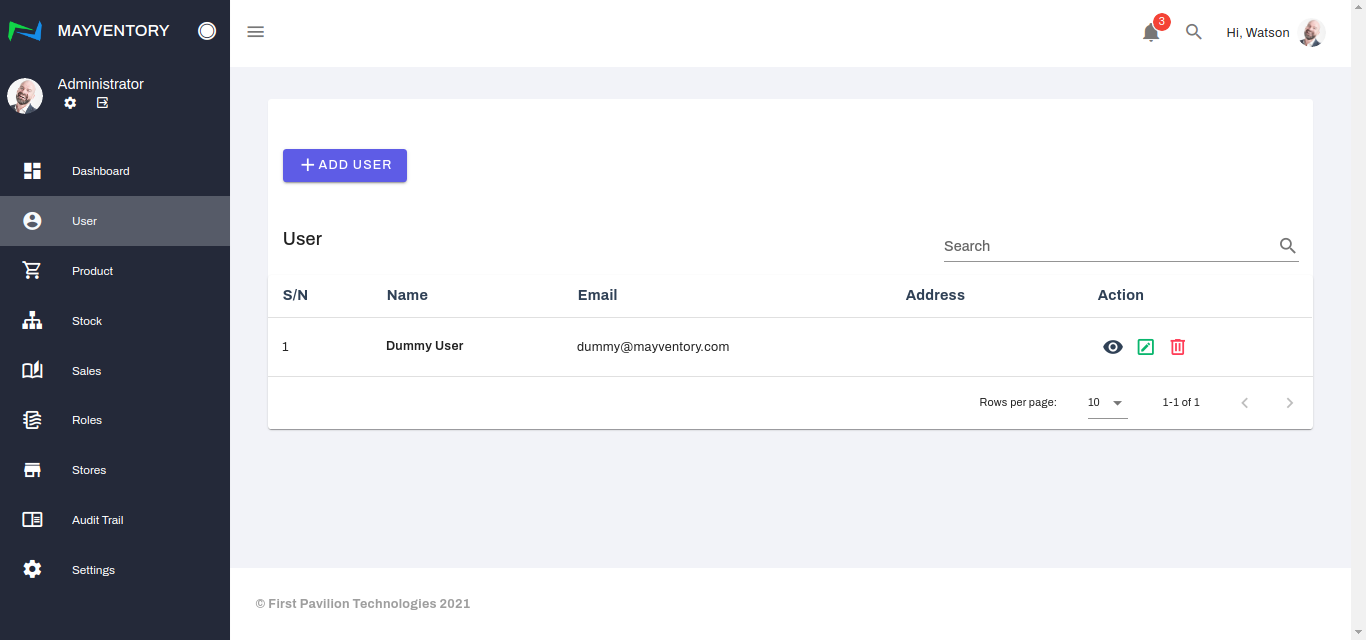
The User page is where you get to add several individuals and employees of your organization and define their roles and functionalities.
How to Add a User
- Go to User from the navigation panel on the left side of the screen.
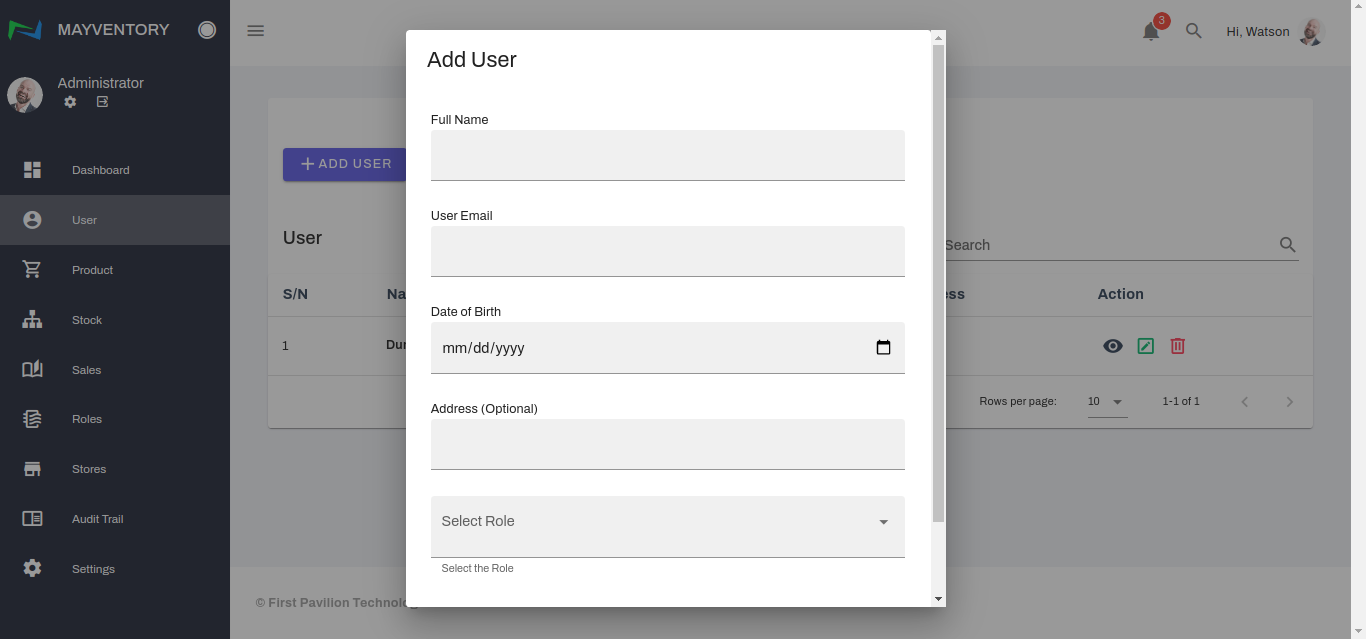
- Click on Add User and a small window box pops up immediately.
- Fill in the User's Personal Information as stated on the screen.
- Assign a role to the user. The role will determine the level of functionalities the user can perform.
- Click on the Save User button.
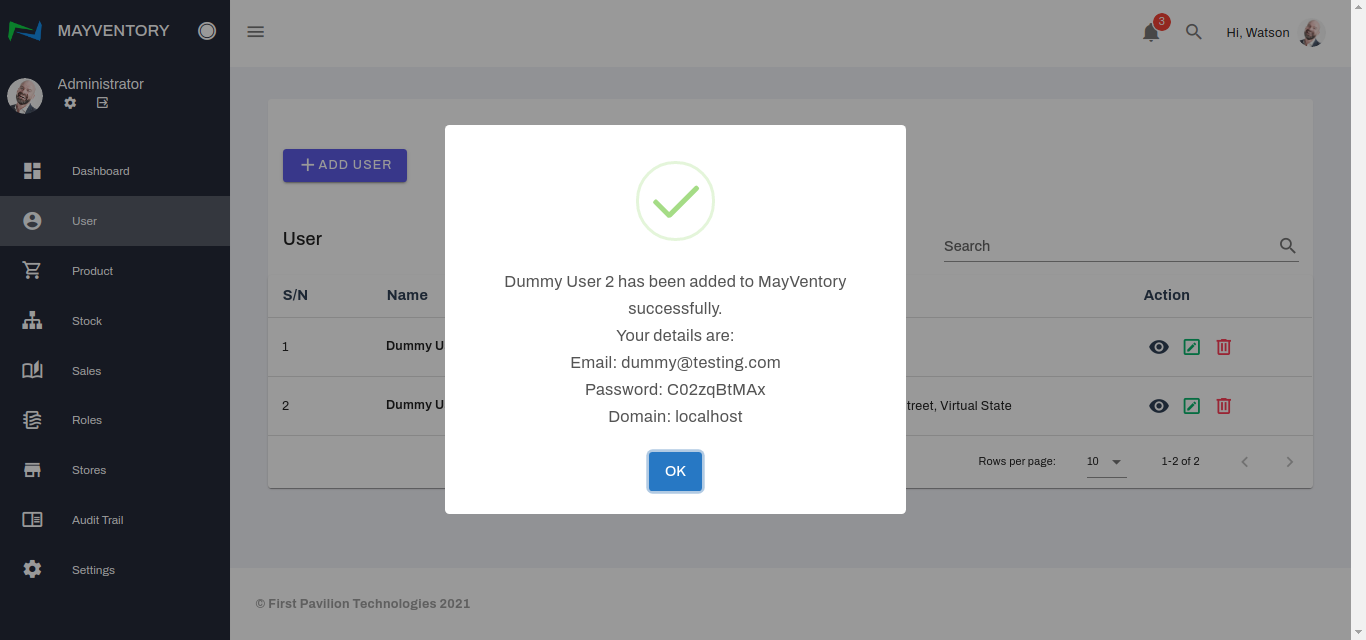
- You would see a Confirmation tick alongside a login credential like in the image below when you have successfully created the User.
How to Edit a User Profile
- Go to User from the navigation panel on the left side of the screen.
- Locate the user whose profile you want to edit and click on the icon that looks like a pencil in a box.
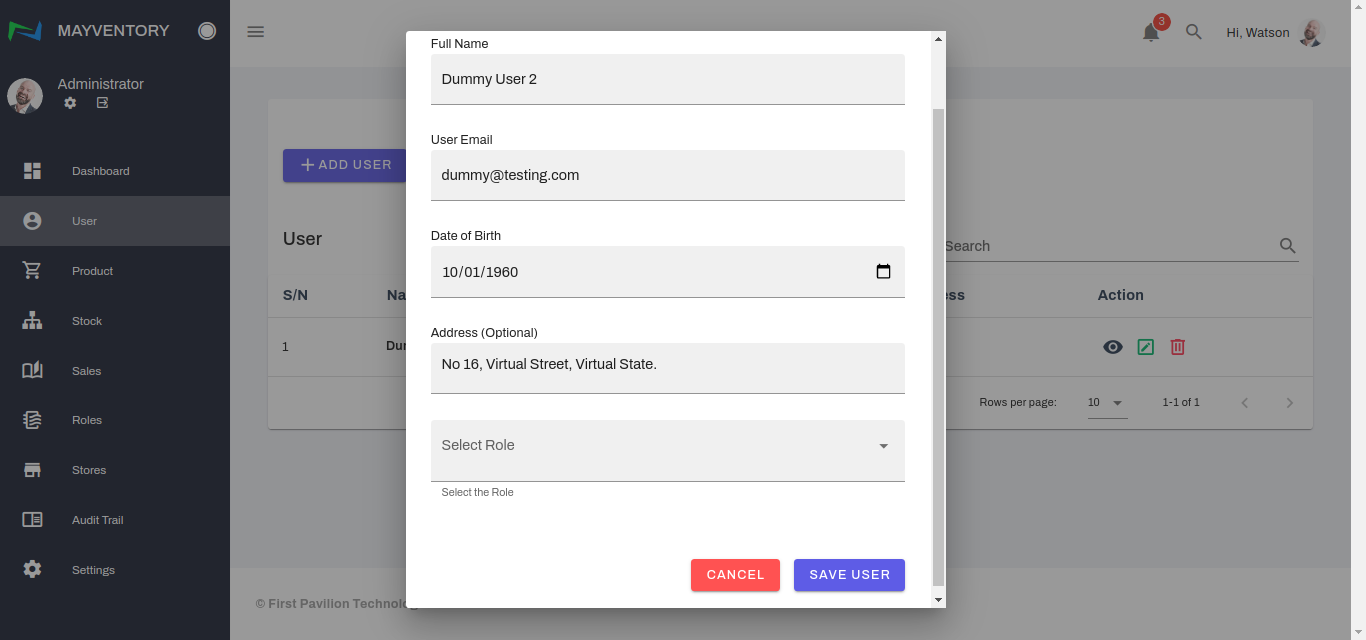
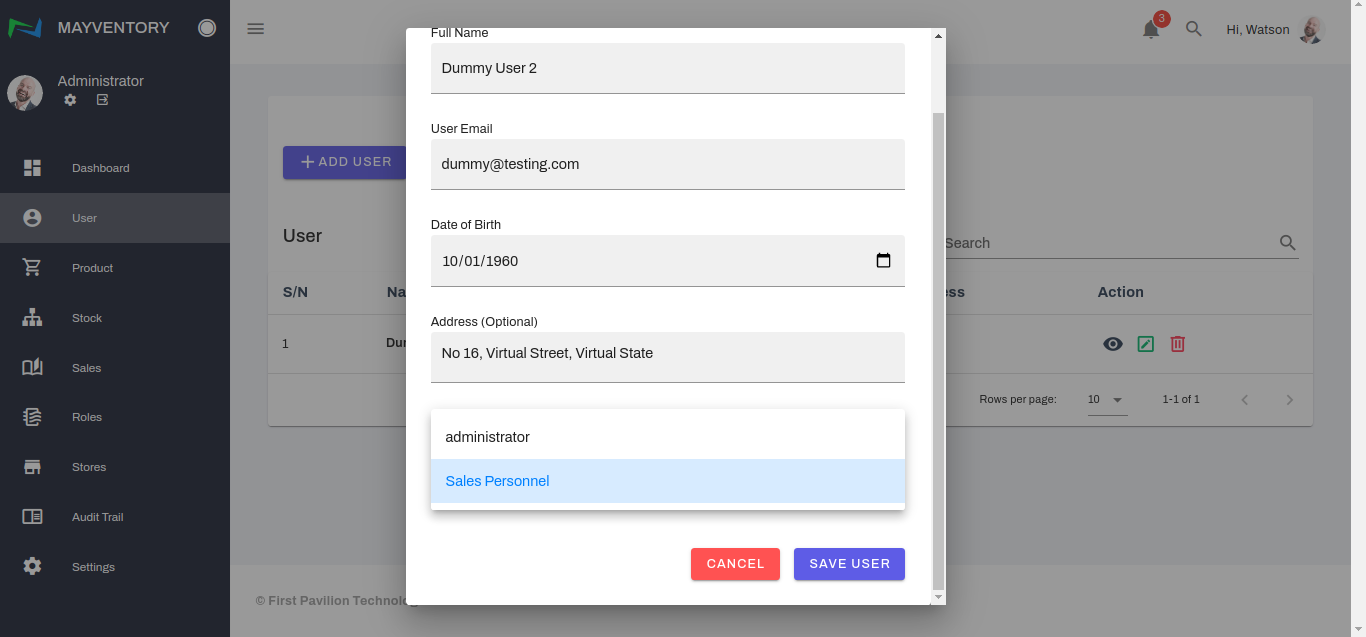
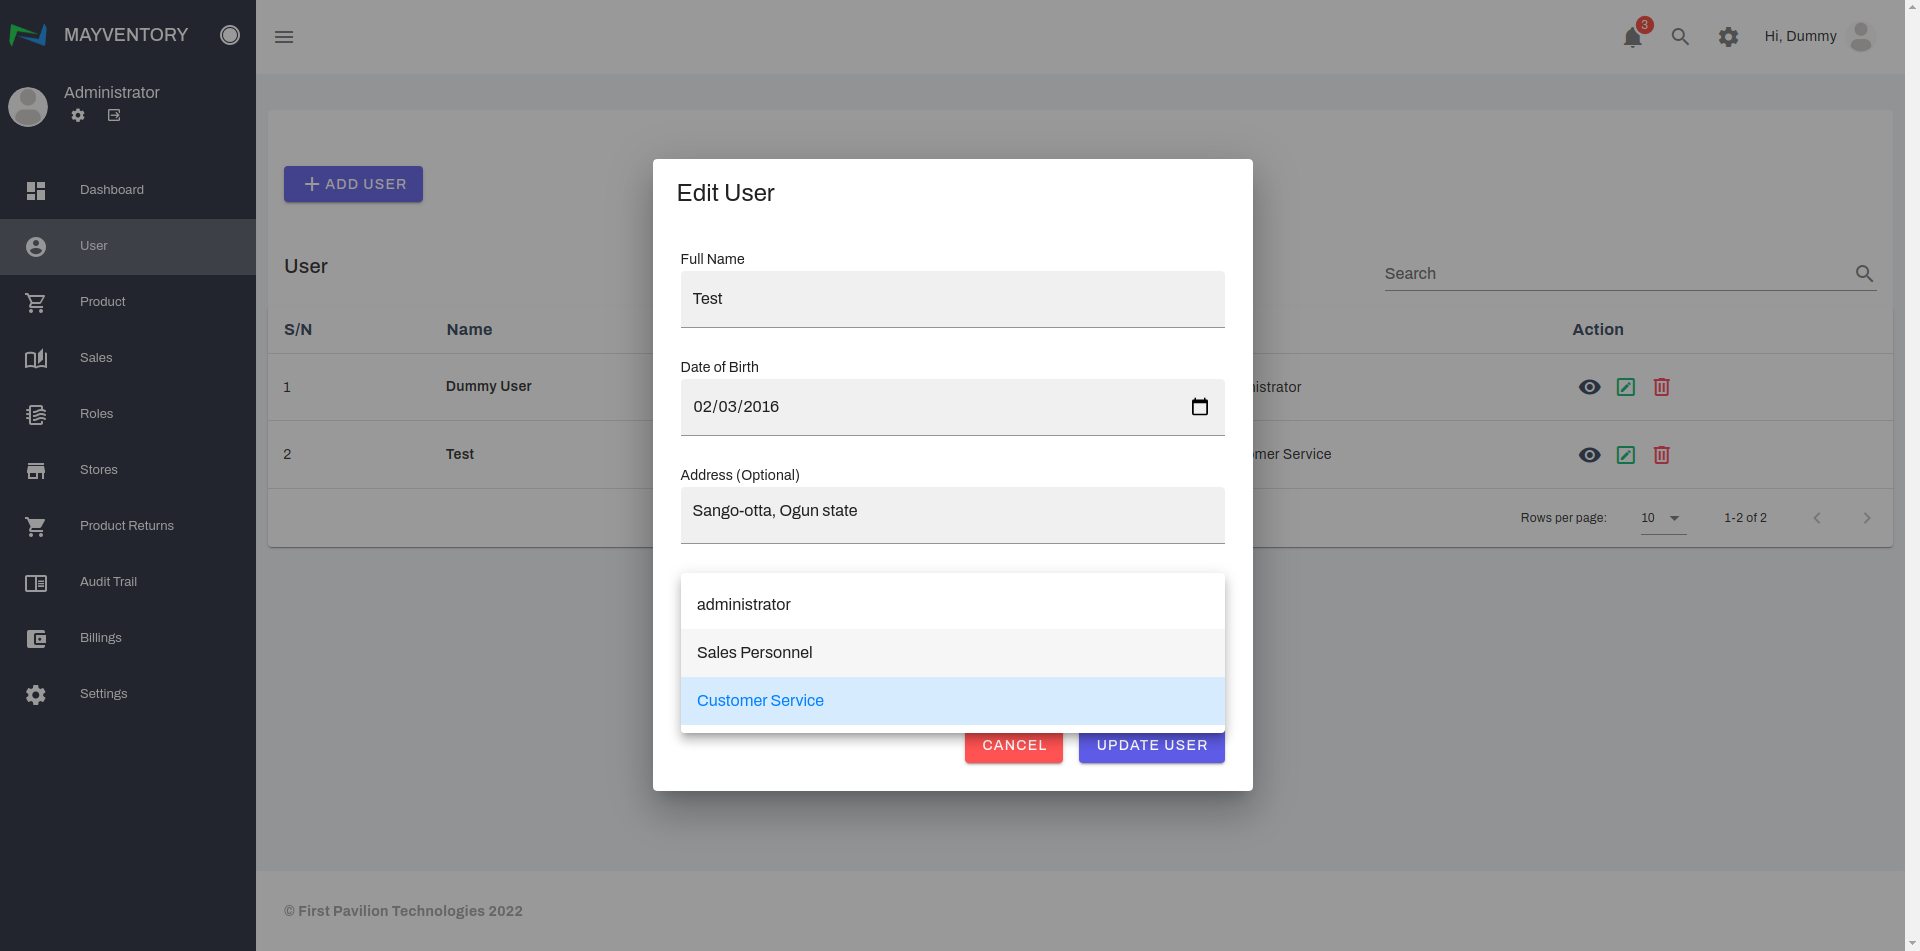
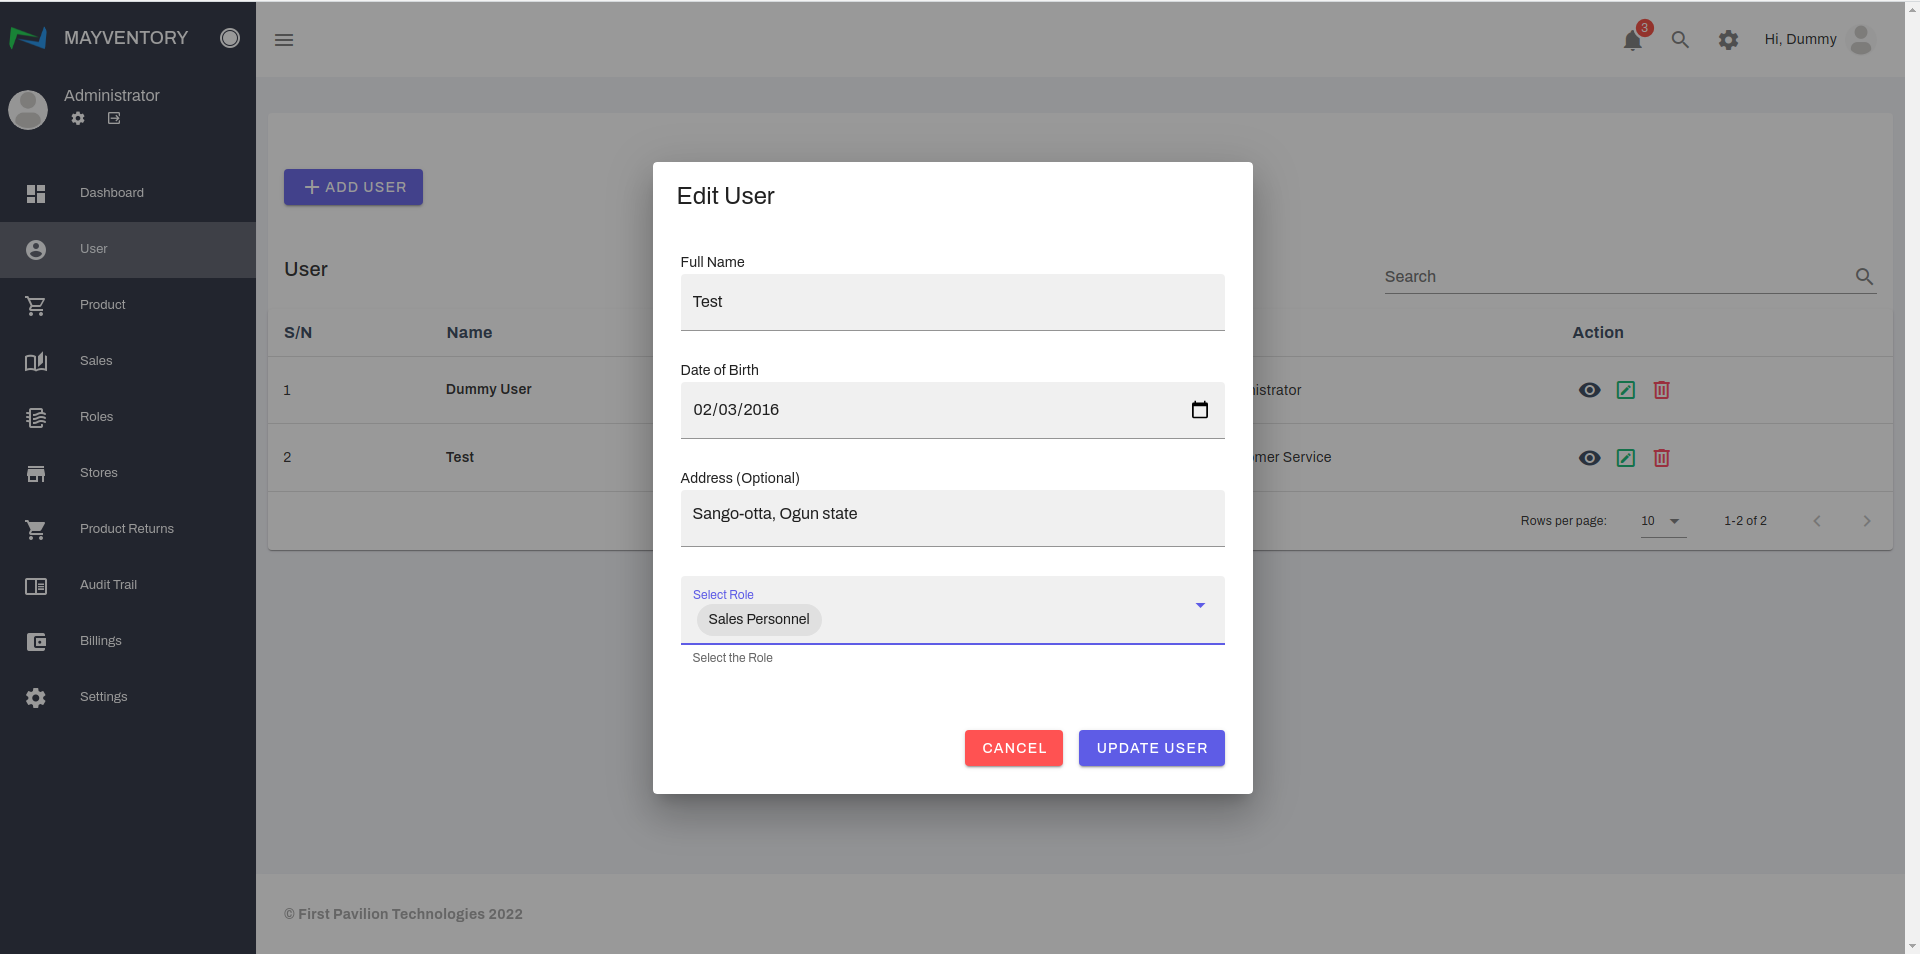
- A box containing the previously saved details of the User will come up. See an example below.
- Edit the details to your satisfaction and click on Update User to save your edits. In the example below, we edited the address from Sango-otta,Ogun state to Virtual Street, Virtual State.
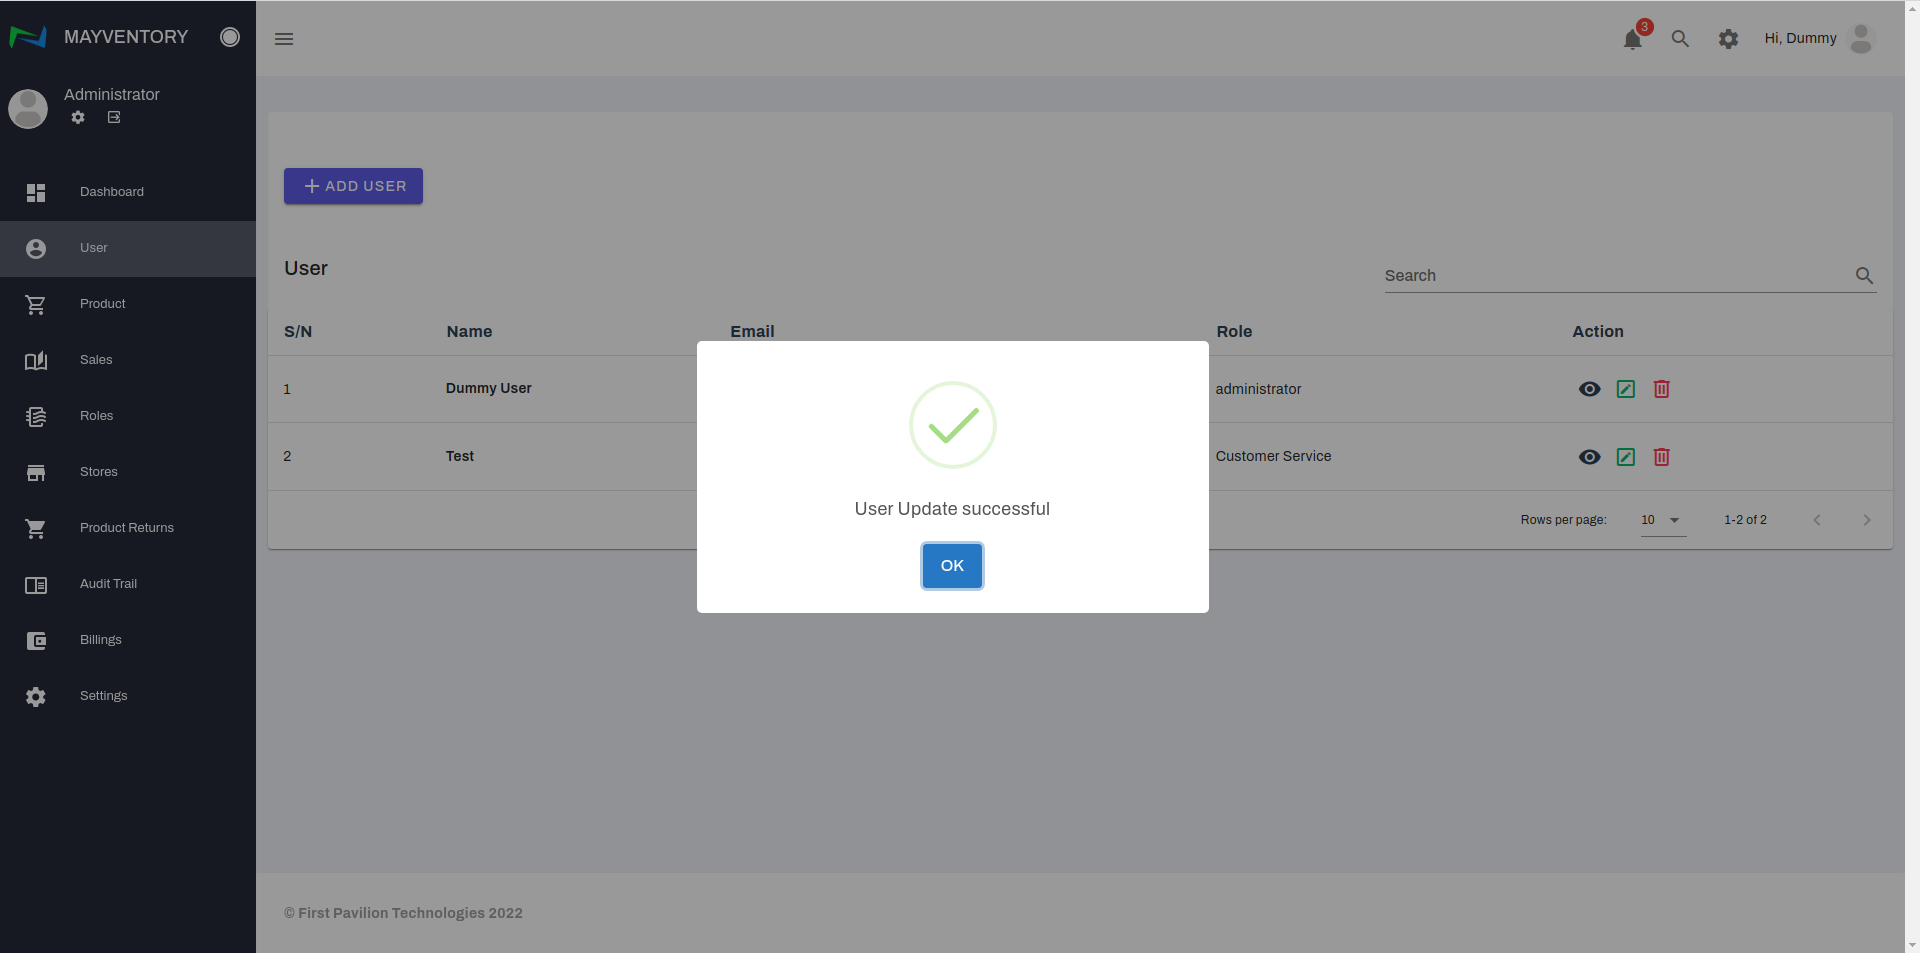
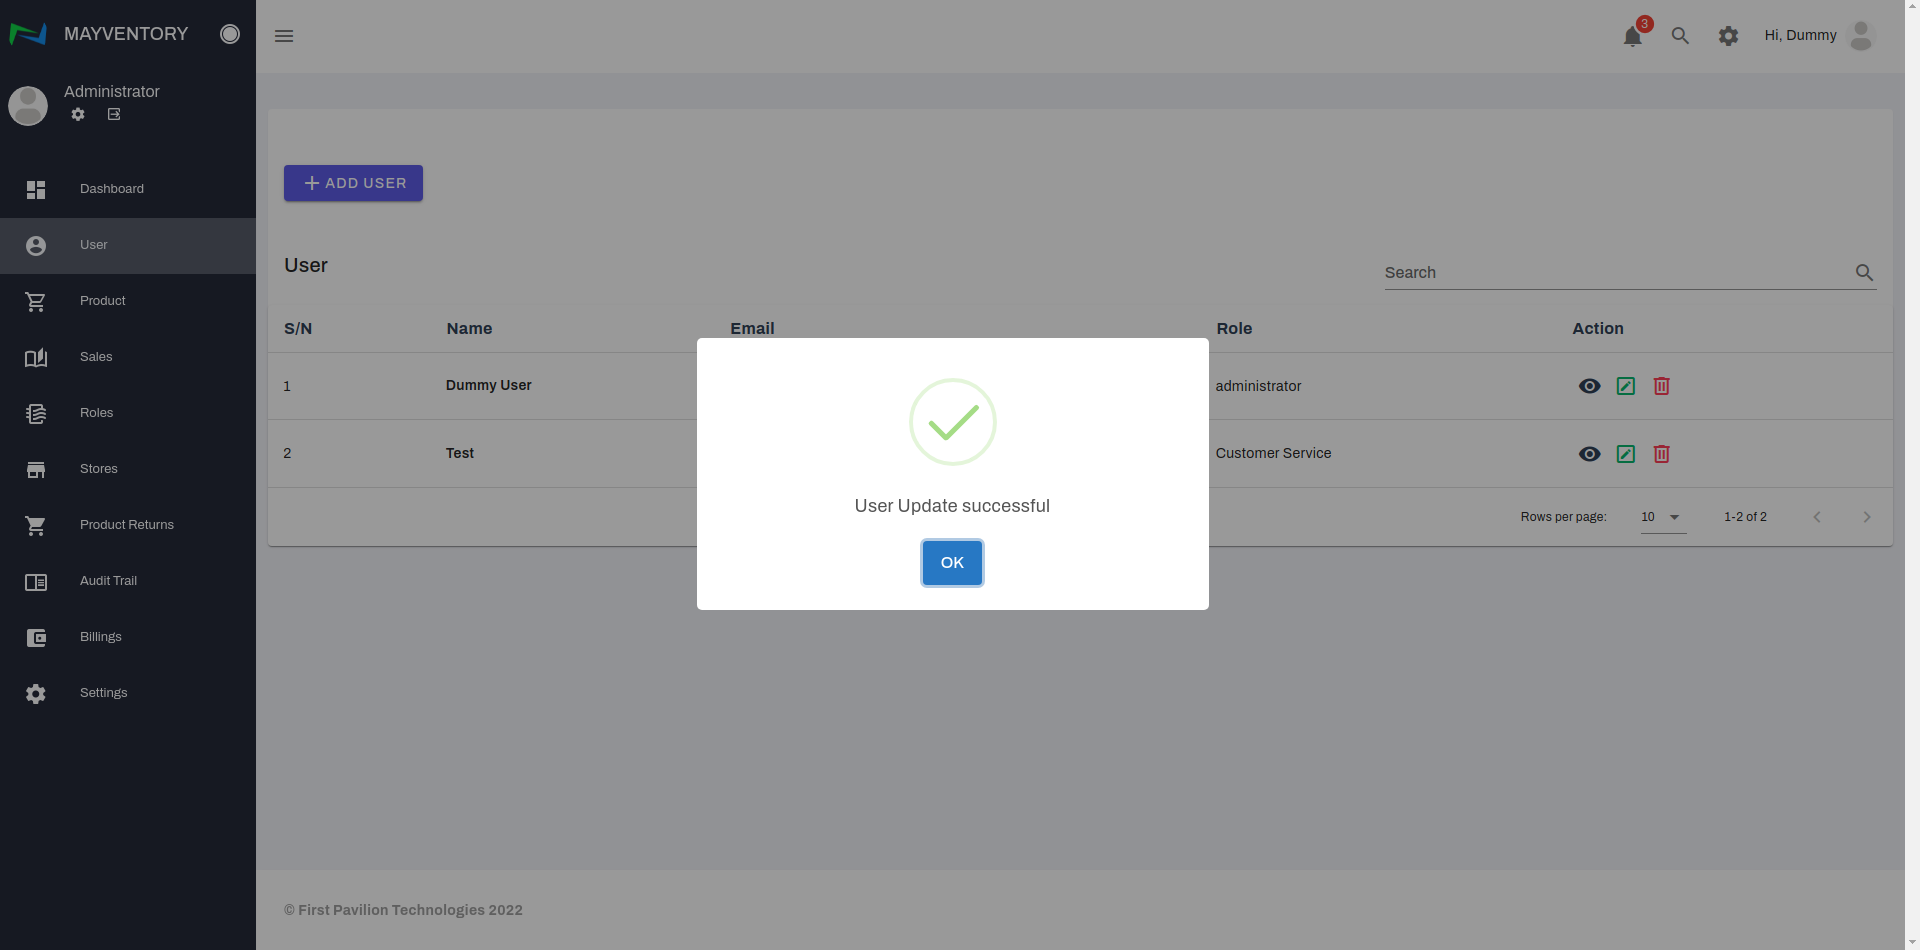
- Finally, a confirmation tick pops up like in the image below indicating you have successfully edited the User profile.


How to Delete a User Profile
- Go to User from the navigation panel on the left side of the screen.
- Click on the Delete icon at the right side of the user you want to delete.
- You would get a prompt asking you to confirm if you really want to delete the User.
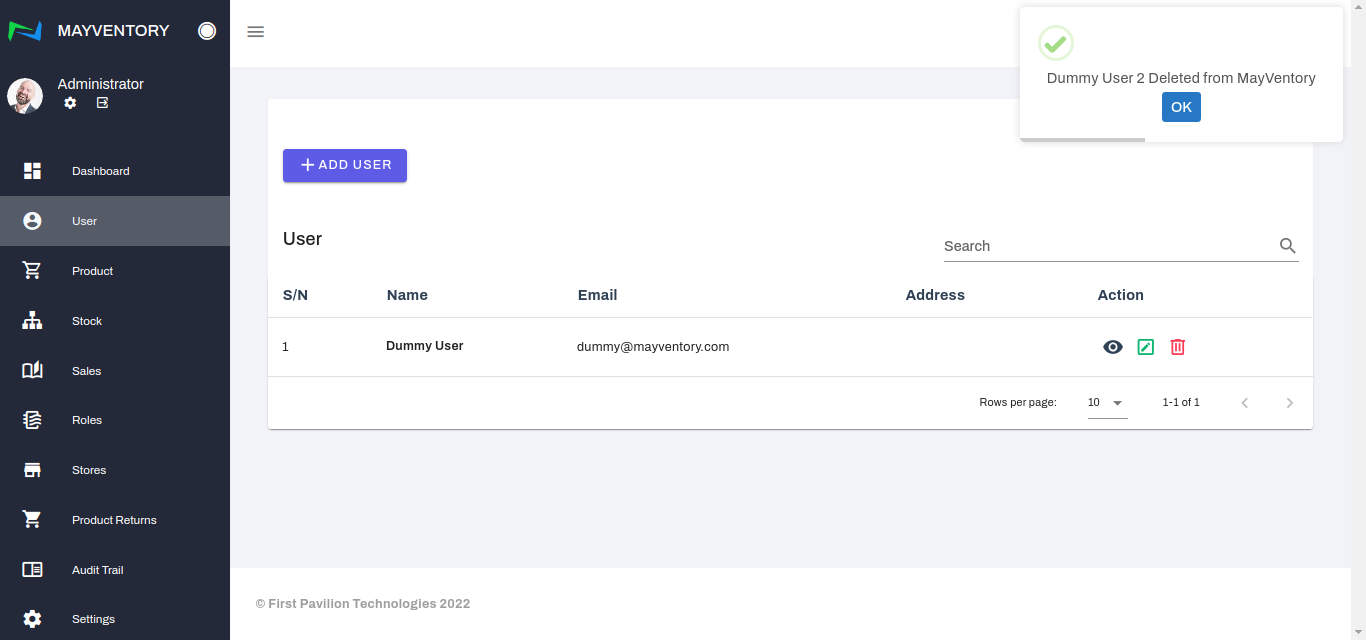
If yes, select the Yes box and you would see a tick at the top-right corner like in the image below when you successfully delete the User. If no, select the No box and you would return to the User page.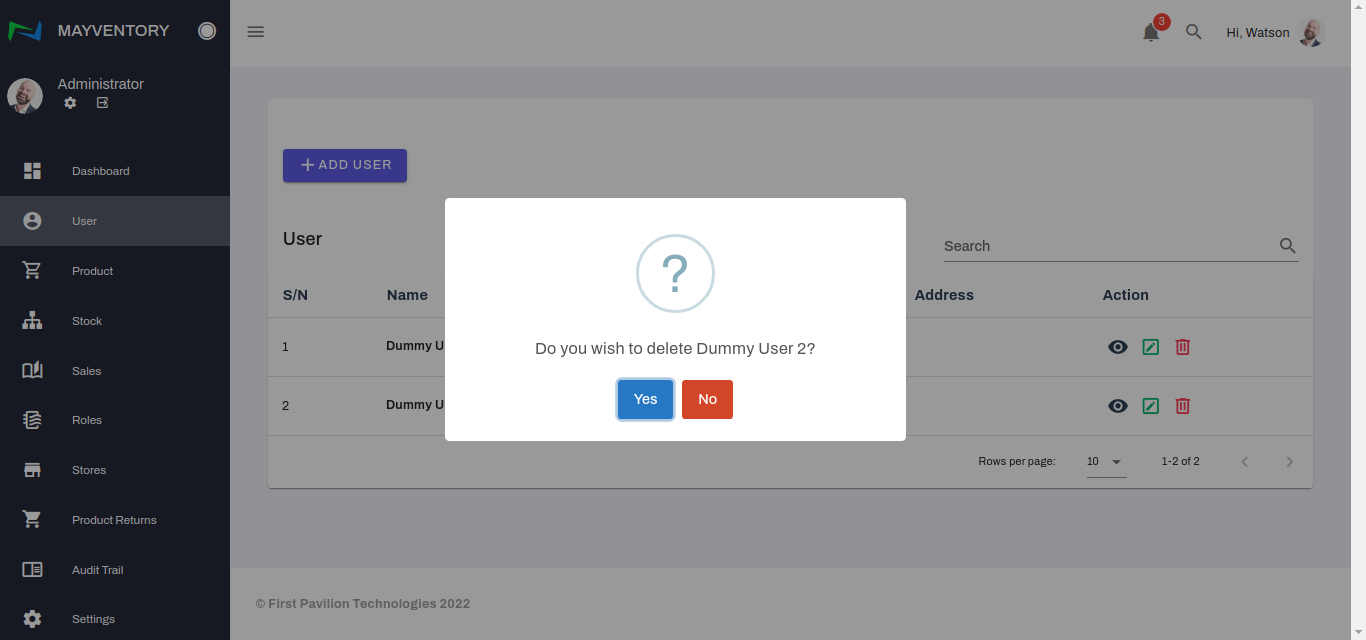
Assign Role to User
- Go to User from the navigation panel on the left side of the screen.
- Locate the user you want to assign a role to and click on the icon that looks like a pencil in a box.
- A window box containing the previously saved details will come up. *The previously saved role is Customer Service*
- Scroll down to the Select Role box and choose a new role for the user from the drop-down menu. *The newly assigned role is Sales Personnel*
- Click on Update User to save your edit.
- A confirmation tick pops up like in the image below indicating you have successfully edited the User's profile.

Assign User to Store
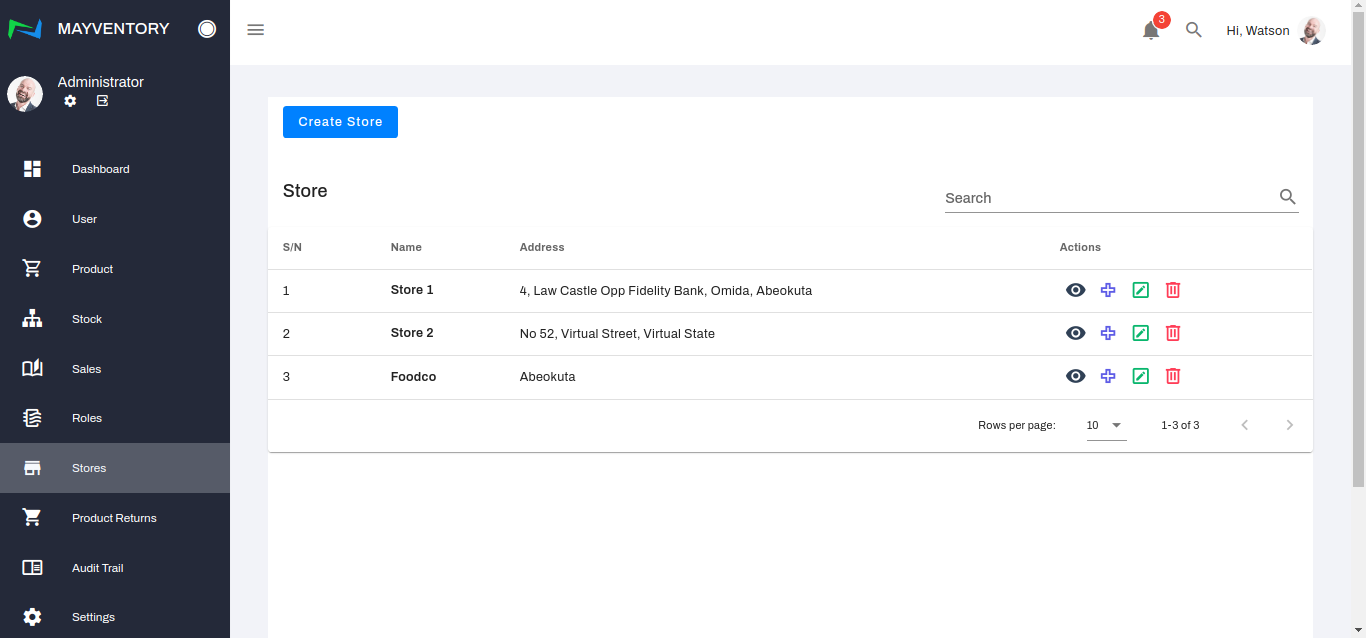
- Go to Stores from the navigation panel on the left side of the screen.
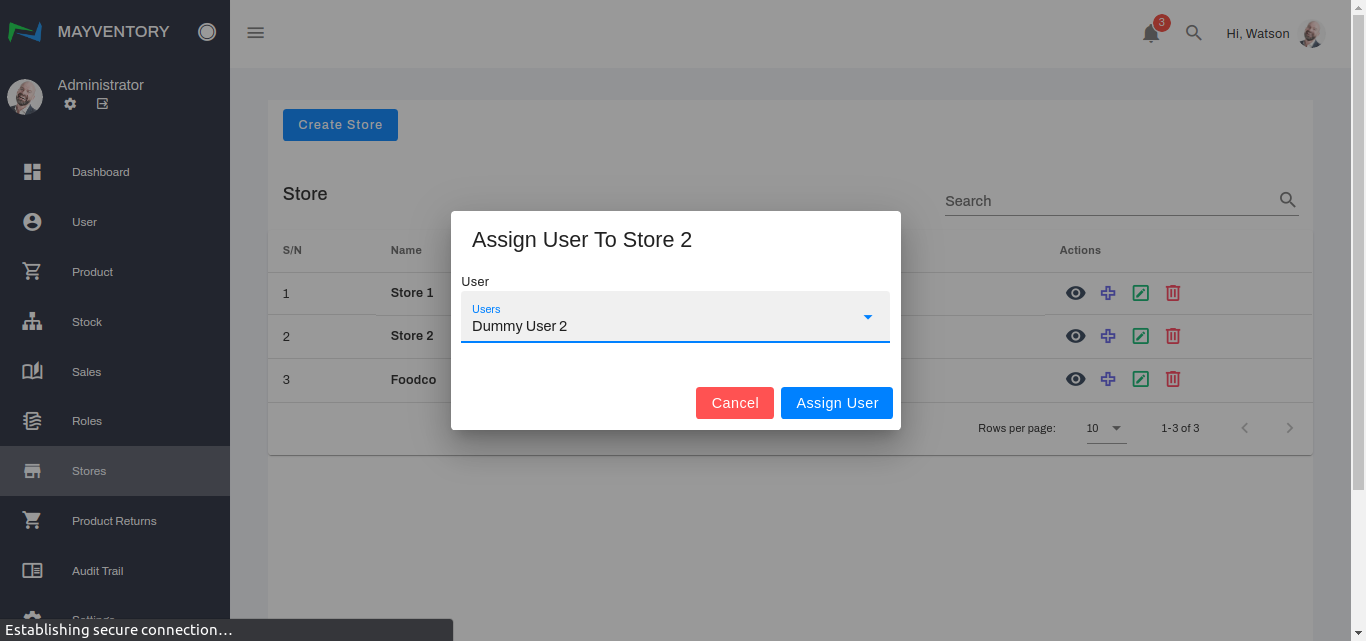
- Click on the icon that looks like a + symbol beside the store you want to assign a user to and a pop-box comes up.
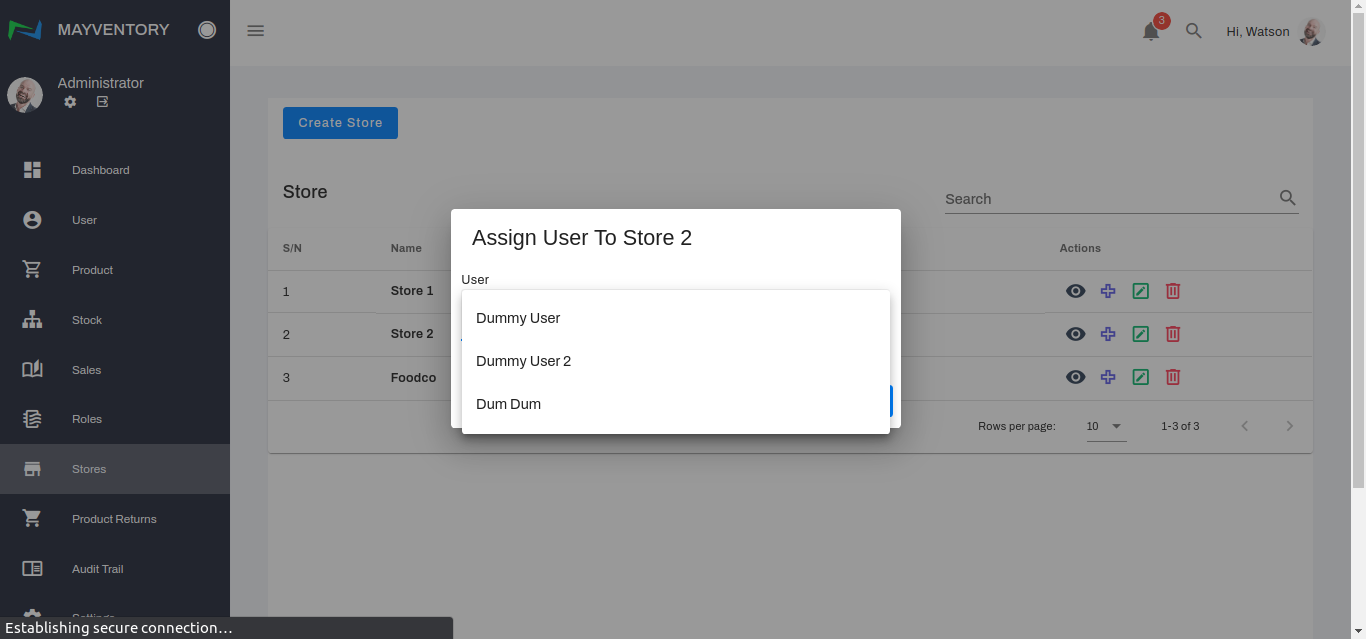
- Click on the Users box and a menu drops down allowing you to choose from the list of registered users.
- Choose a user you want to assign the store to and select Assign User to confirm your selection.
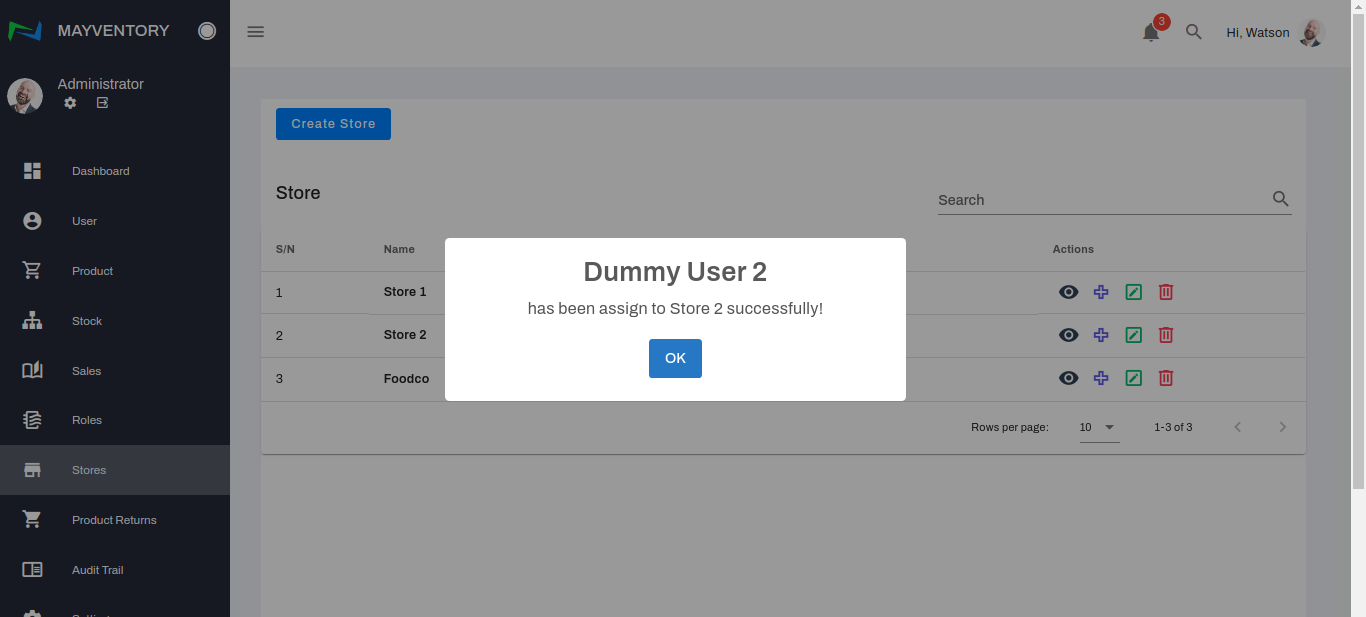
- A confirmation tick pops up like in the image below indicating you have successfully assigned the User to a particular store.

Store
You can easily manage your stores from one central location and track the movement of goods in and out of each one. Here are some actions you can perform on the Store page.
How to Create a Store
- Go to Stores from the navigation panel on the left side of the screen.
- Click on Create Store and a small window box pops up.
- Give your store a name by filling the Store Name box. This can be an alias or the original store name. Either way, the aim is for you to be able to easily identify your stores (in the case that you have more than one store).
- Fill in the address of your store in the Store Address box and click on the Create Store button when you are done filling in all the details.
- You would see a tick like below when you have successfully created the store.
How to Edit a Store
- Go to Stores from the navigation panel on the left side of the screen.
- Click on the icon that looks like a pencil in a box at the right side of the user you want to edit.
- A box containing the previously saved details will come up. See the image below.
- Edit whatever details you want to and once done, click on the Edit Store button to save your edits.
- You would see a tick like below when you have successfully edited the store.
How to Delete a Store
- Go to Stores from the navigation panel on the left side of the screen.
- Click on the Delete icon at the right side of the store you want to delete.
- You would get a prompt asking you to confirm if you really want to delete the Store. If yes, select the Yes box and you would see a confirmation tick like in the image below when you successfully delete the store. If no, select the Cancel box and you would return to the Store page.
Roles
The Roles feature allows one to assign several levels of permissions to different individuals and employees within the organization. With this, you get to regulate the activities of members of your organization.
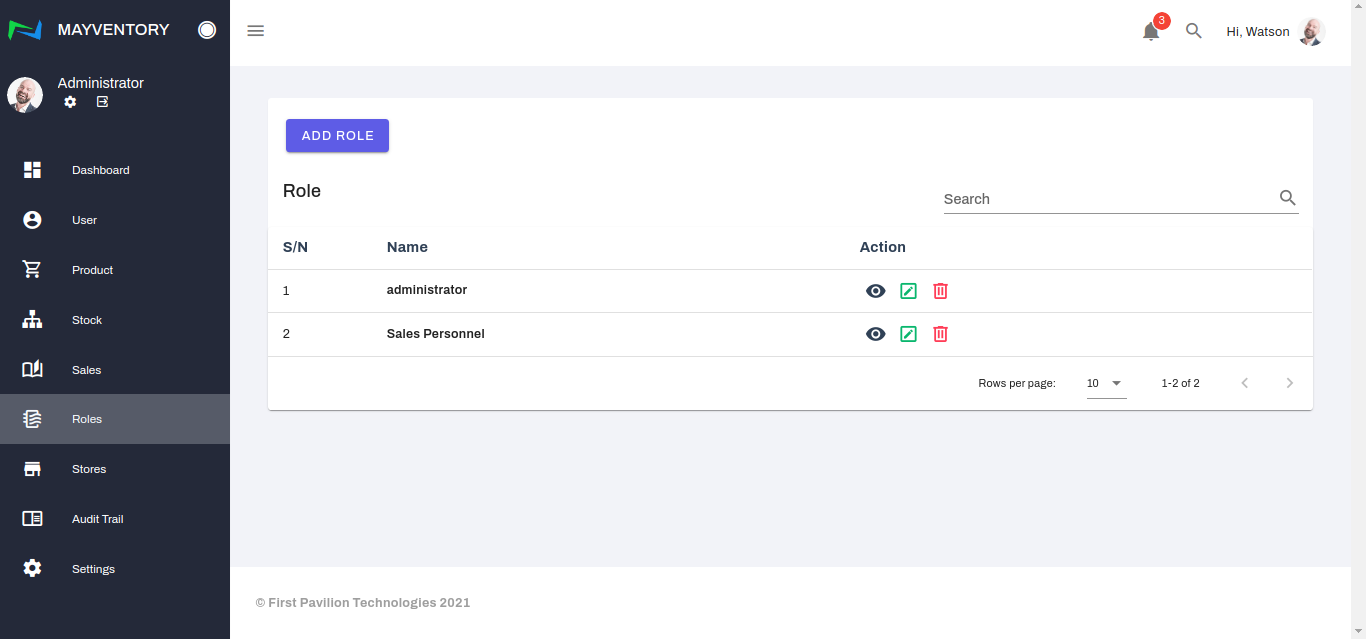
How to Add Roles
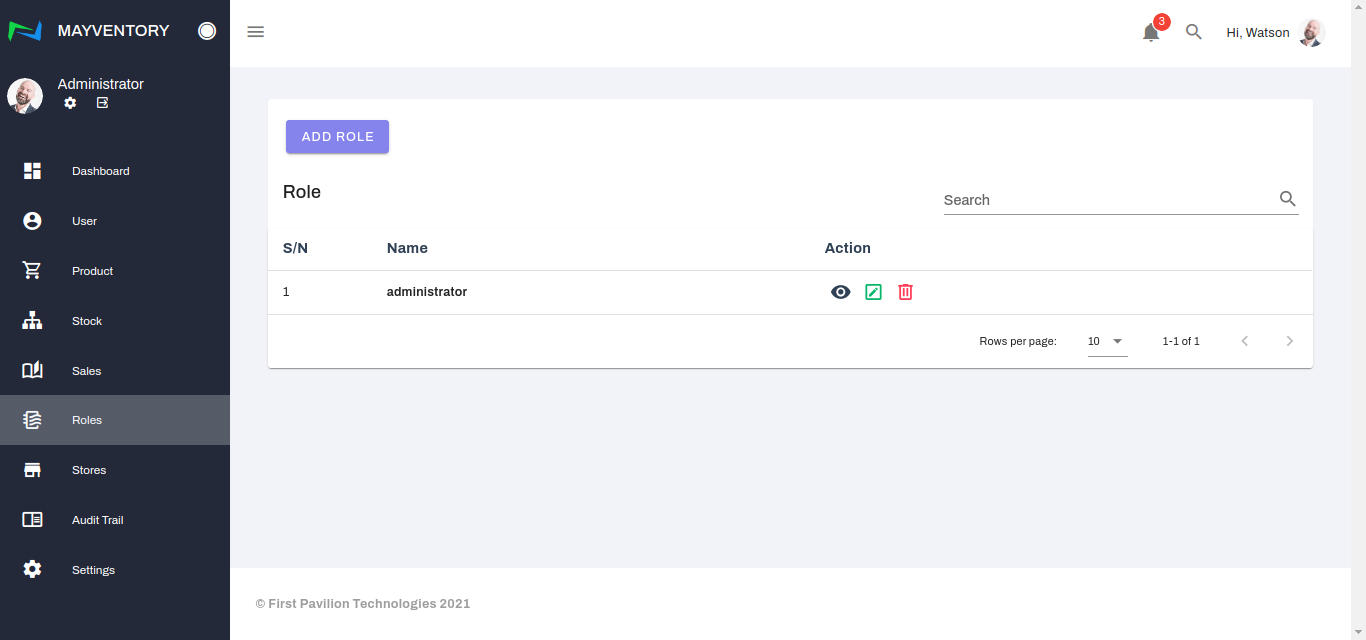
- Click on Roles from the navigation panel on the left side of the screen.
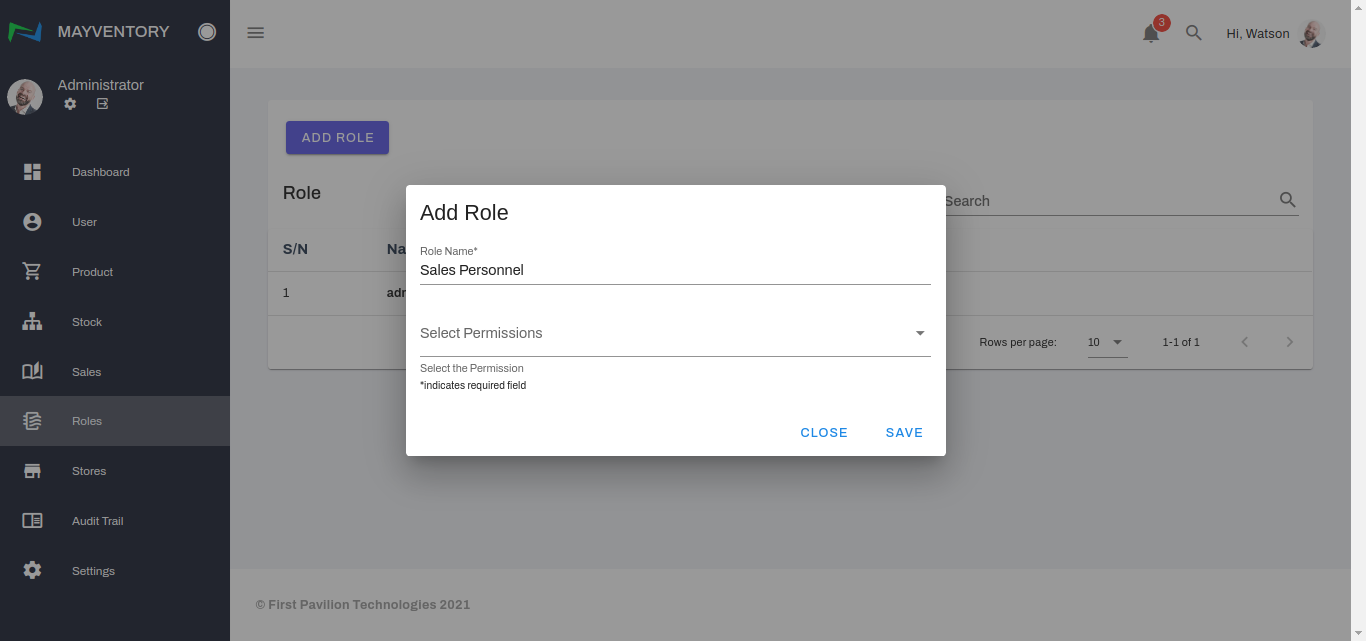
- Click on Add Role and immediately, a small pop-up box comes up.
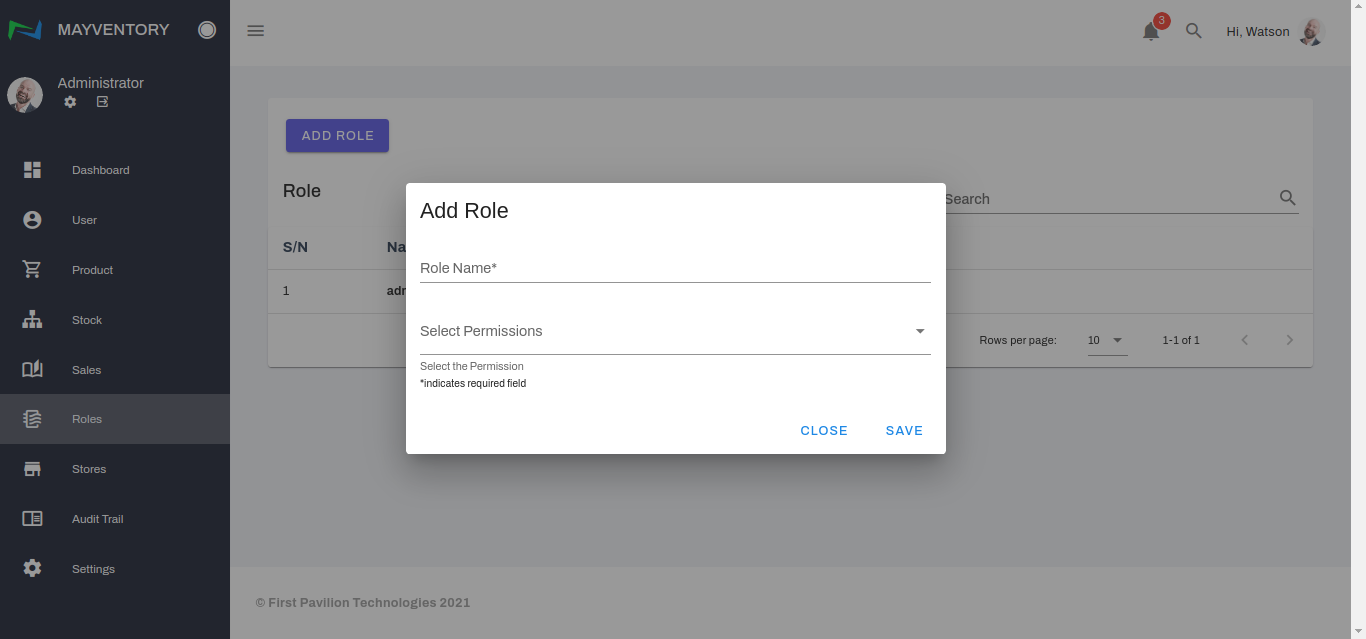
- Fill in the Role Name that best describes the level of permission you would be assigning to that role such as Sales Personnel, Customer Support, etc.
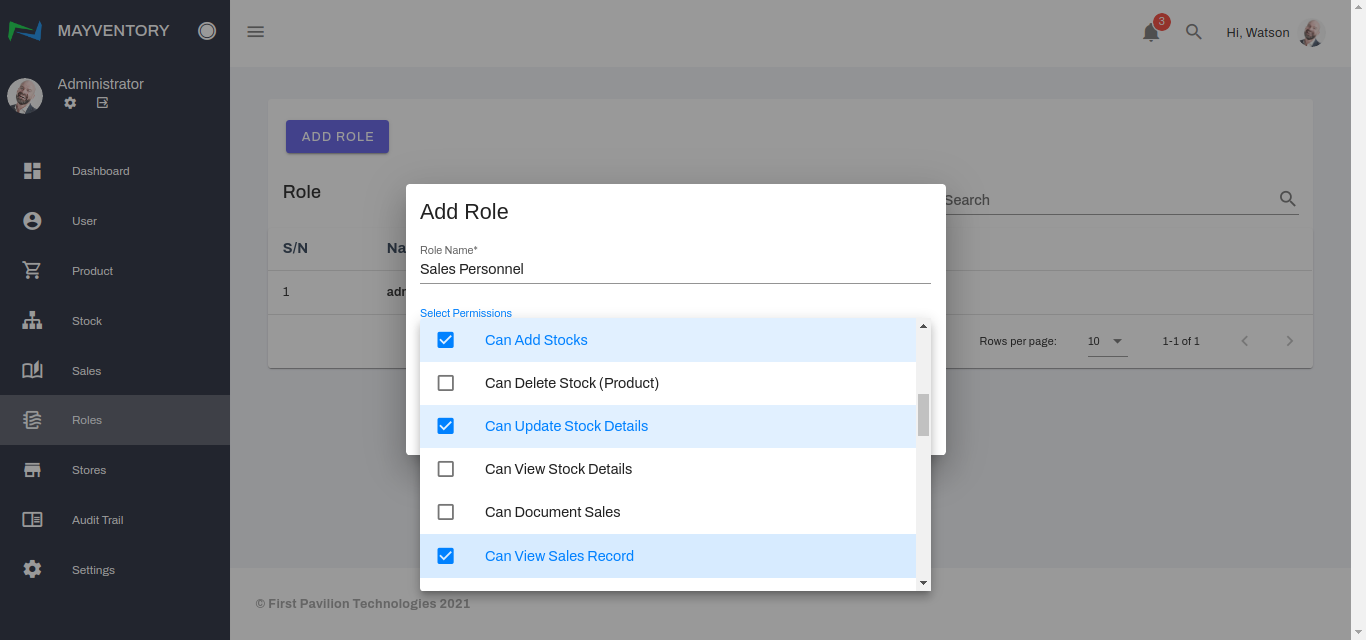
- Select the permission(s) you want for the role.
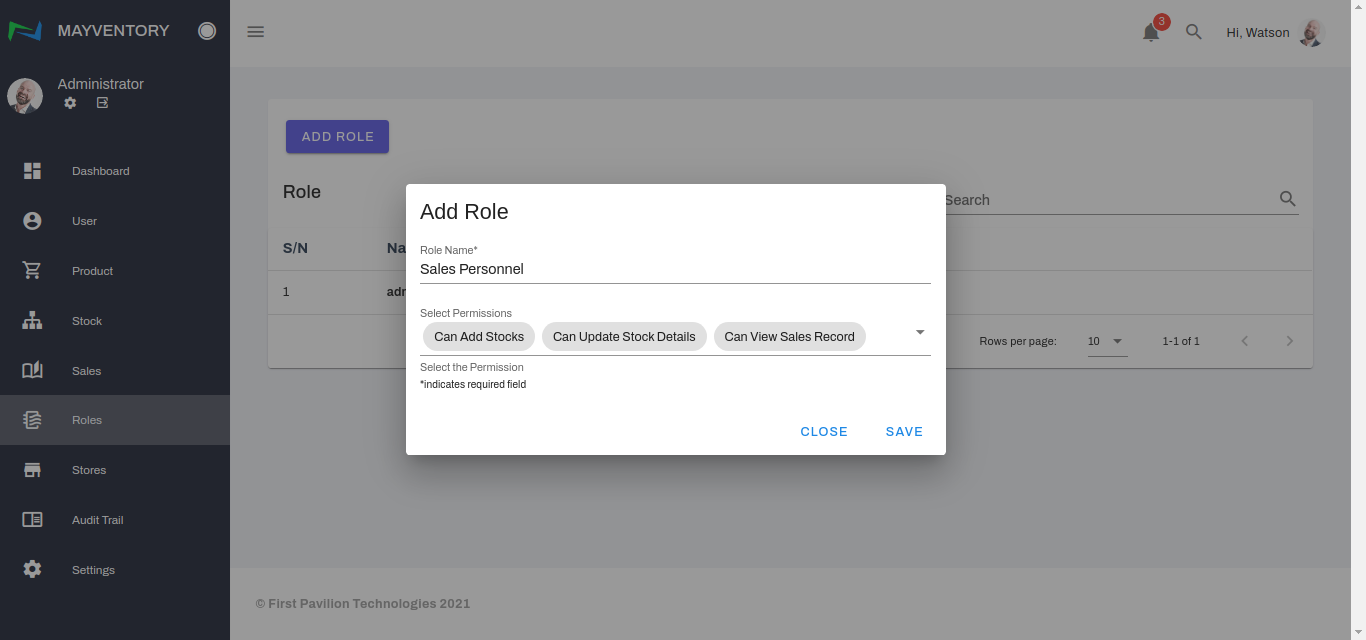
- Click on the Save button when you are done filling in all the details.
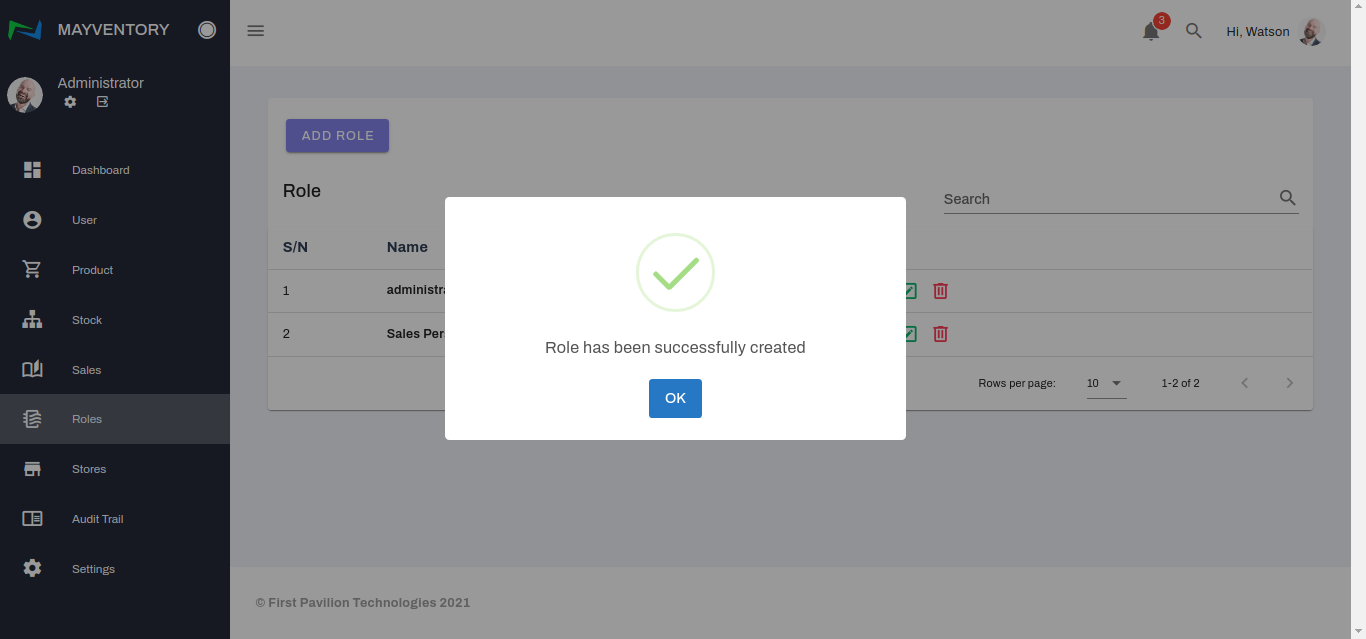
- You would see a tick like below when you have successfully added the role.
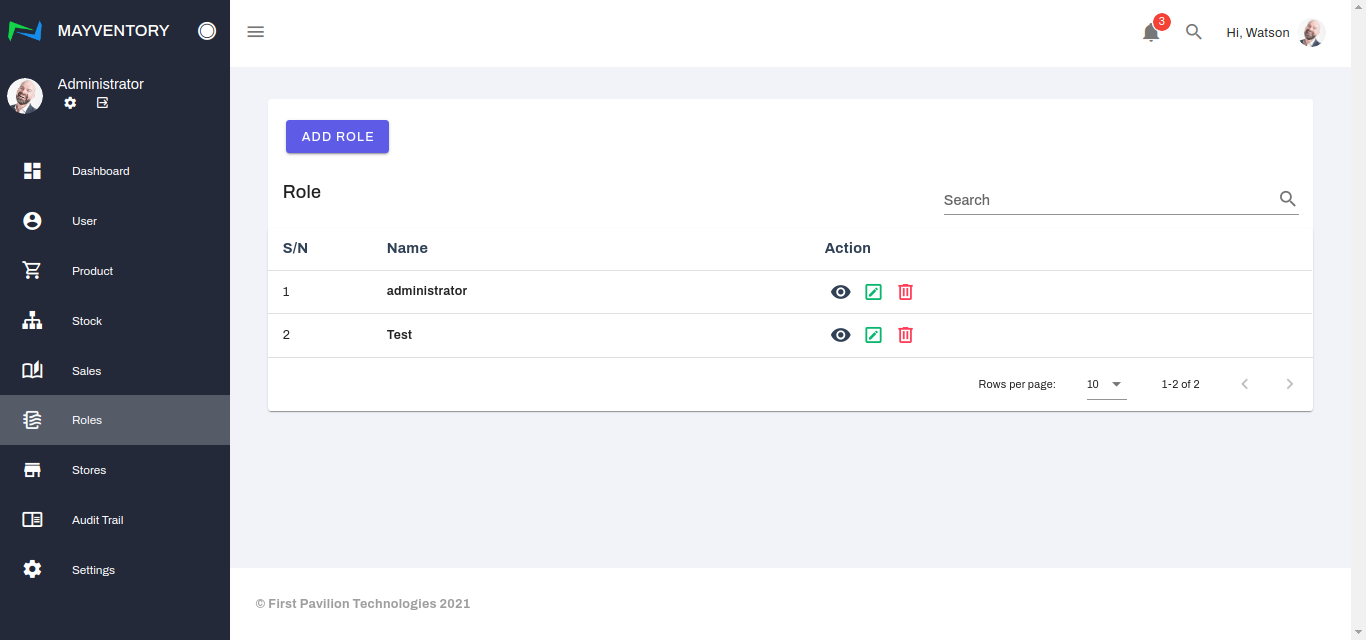
How to Edit Roles
- Click on Roles from the navigation panel on the left side of the screen.
- Click on the icon that looks like a pencil in a box at the right side of the role you want to edit.
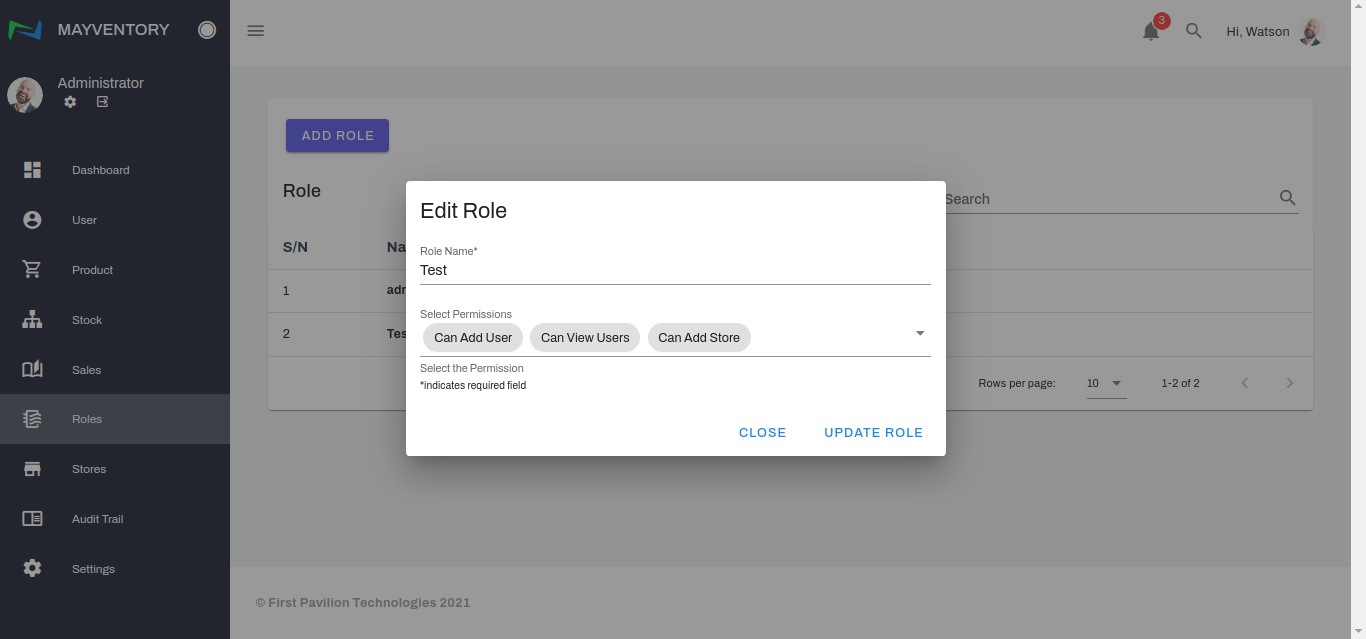
- A box containing the previously saved details will come up. See the image below.
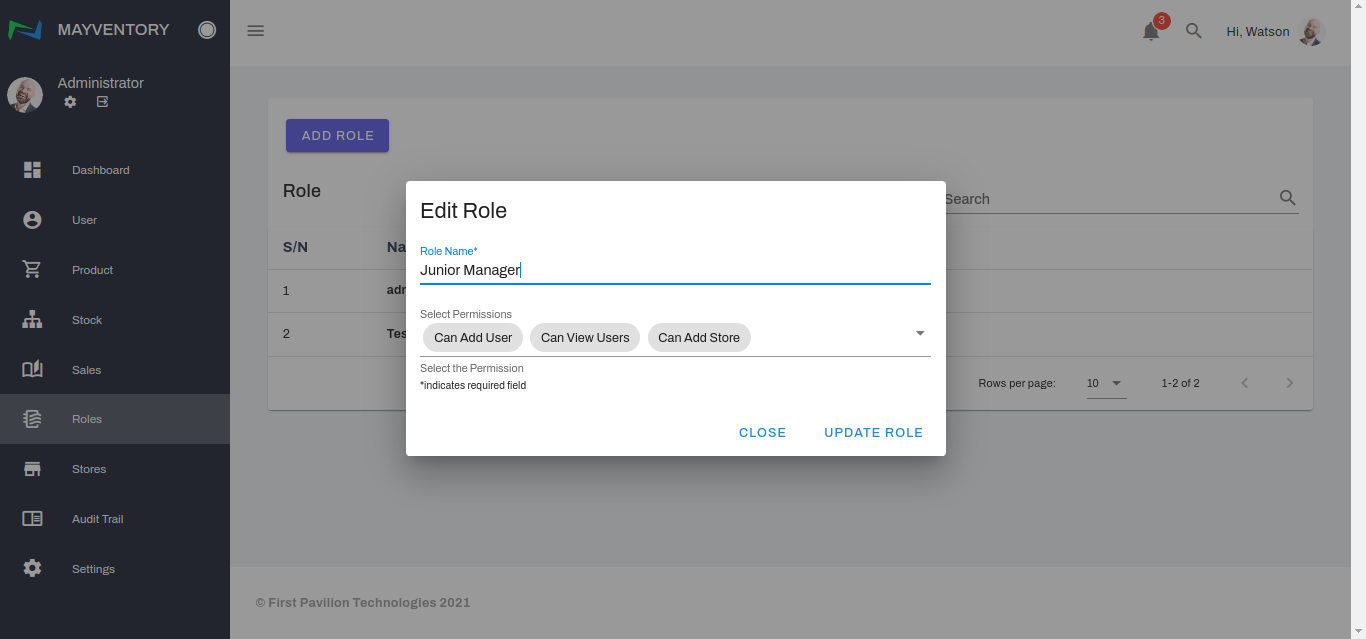
- Edit the role name or permission or both. In our case, we would edit the role name.
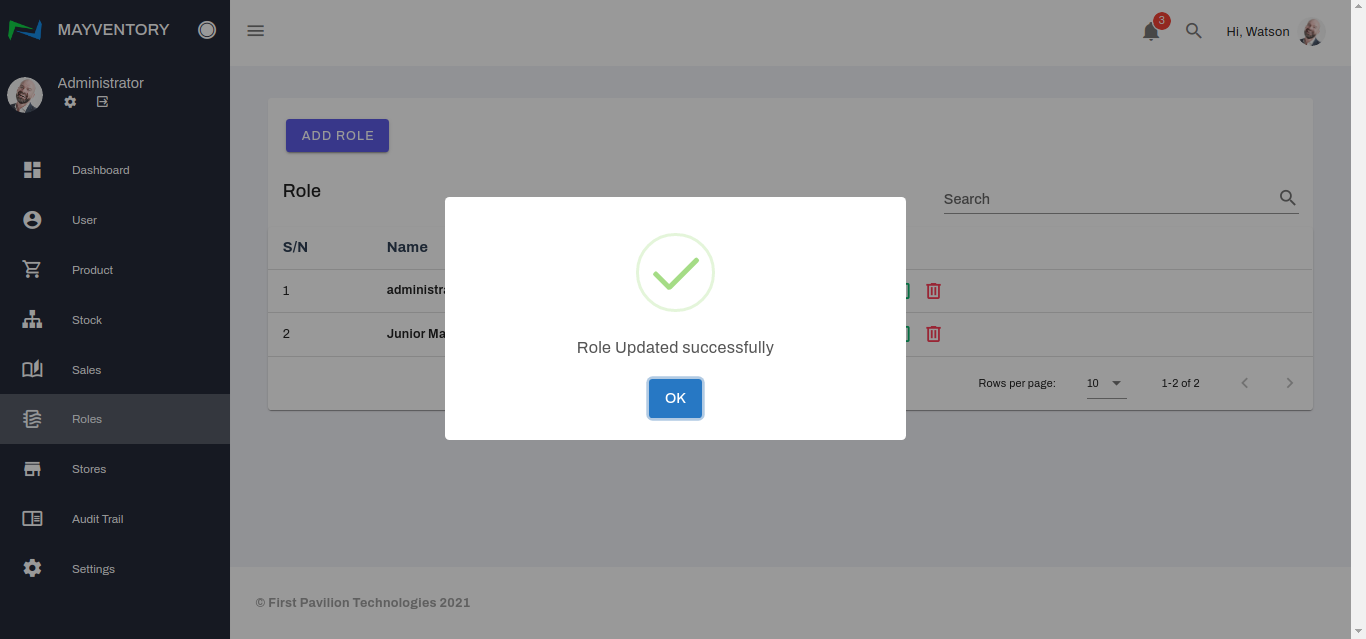
- Click on the Update Role button to save your edits.
- You would see a tick like below when you have successfully edited the role.
How to Delete Roles
- Click on Roles from the navigation panel on the left side of the screen.
- Click on the Delete icon at the right side of the role you want to delete.
- You would get a prompt asking you to confirm if you really want to delete the role.
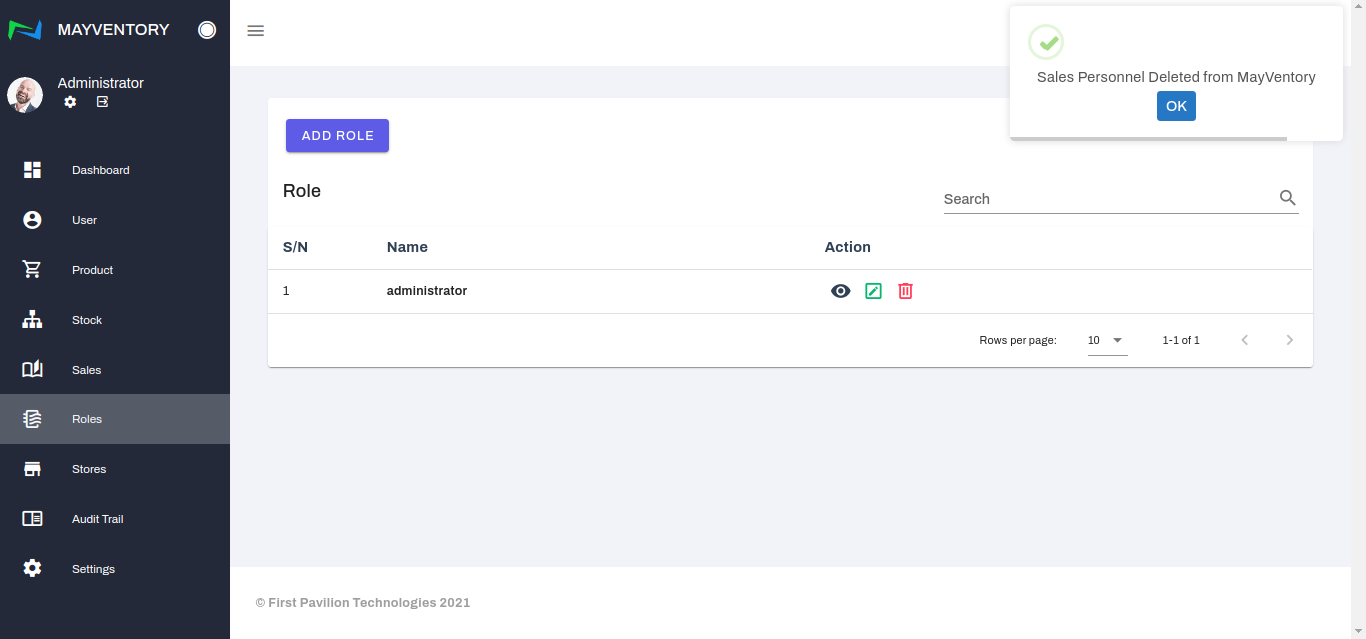
If yes, select the Yes box and you would see a tick at the top-right corner like below when you successfully delete the role. If no, select the No box and you would return to the "Roles" page.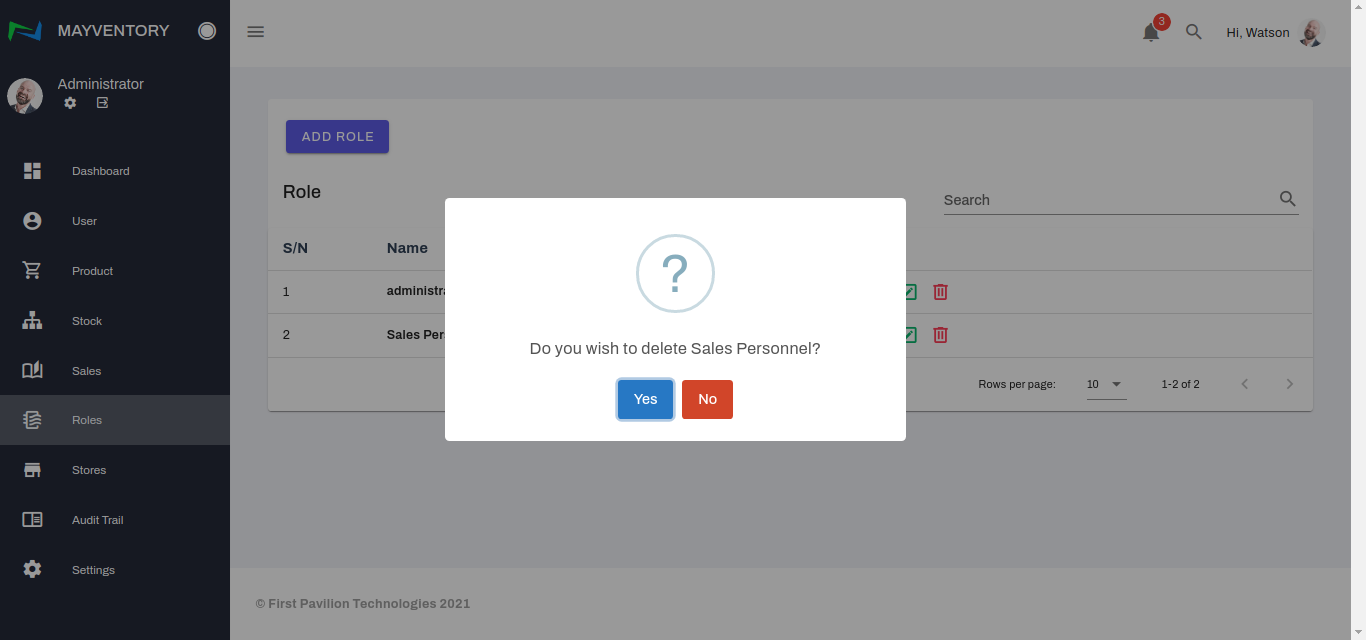
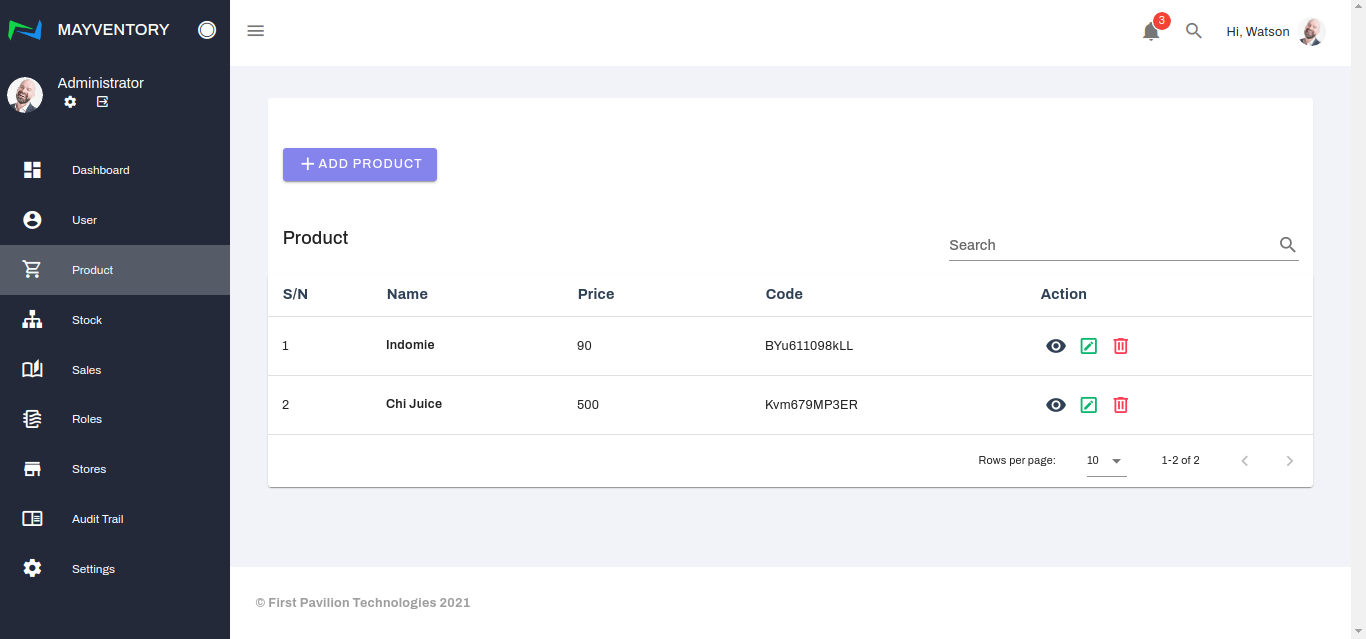
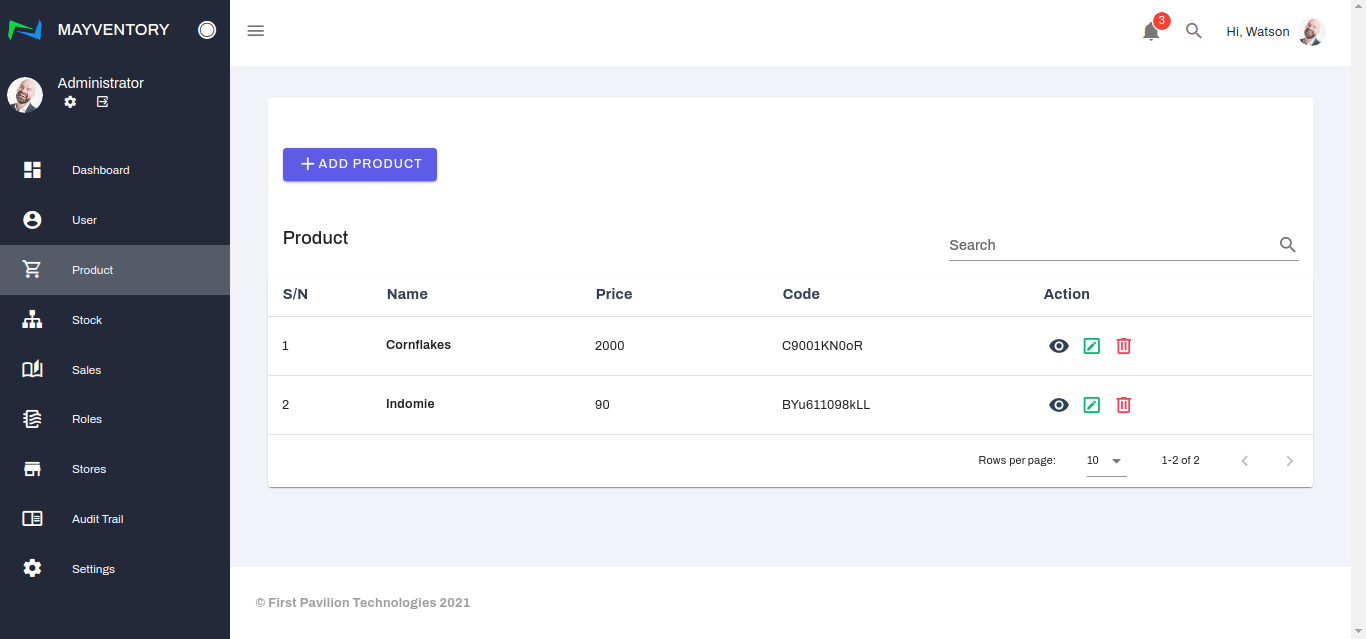
Products
The product page is where you will see information on all the products available and their details.
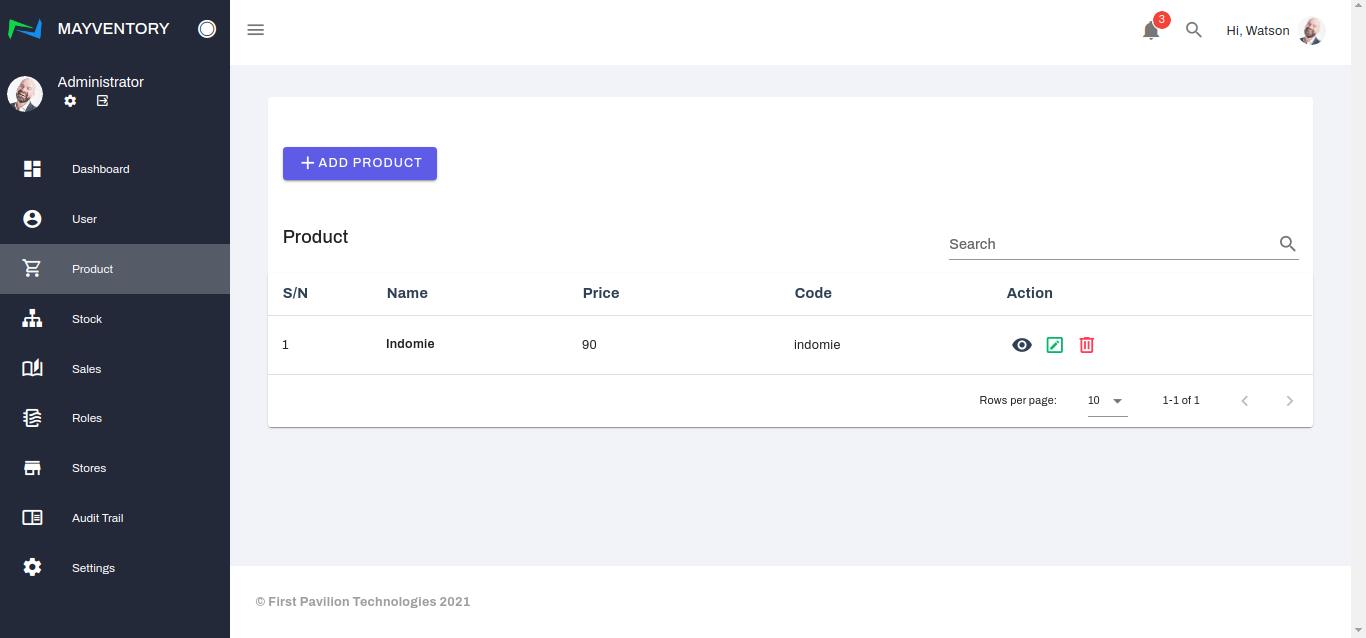
How to Add Products
- Go to Product from the navigation panel on the left side of the screen.
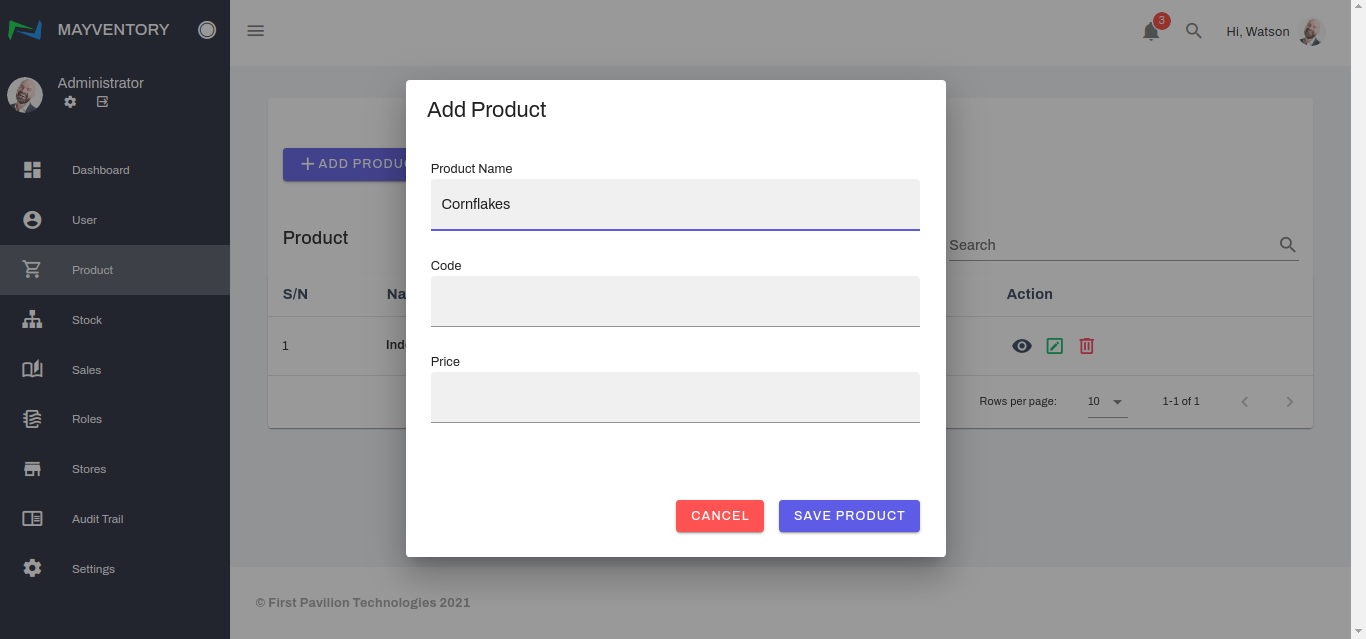
- Click on Add Product and a small window box pops up immediately.
- Fill in the name of the product in the Product Name box.
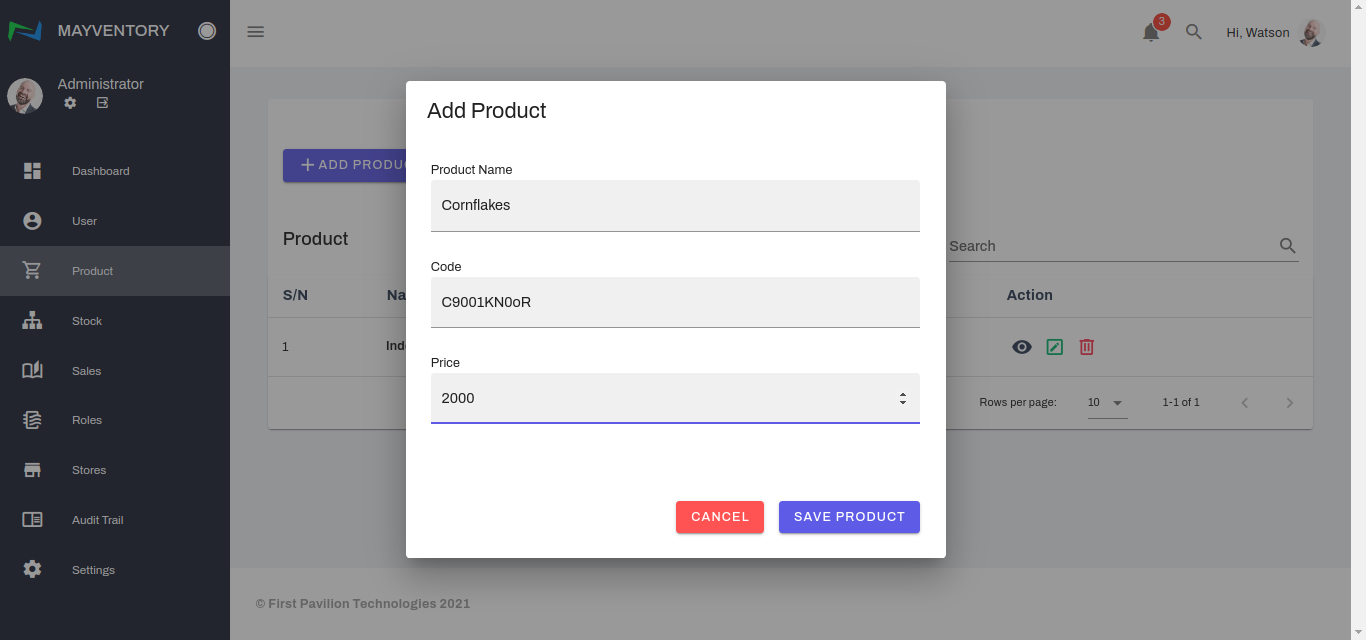
- Fill in the code number of the product.
- Finally, fill in the price value of the product and click on Save Product to add it to the list of products.
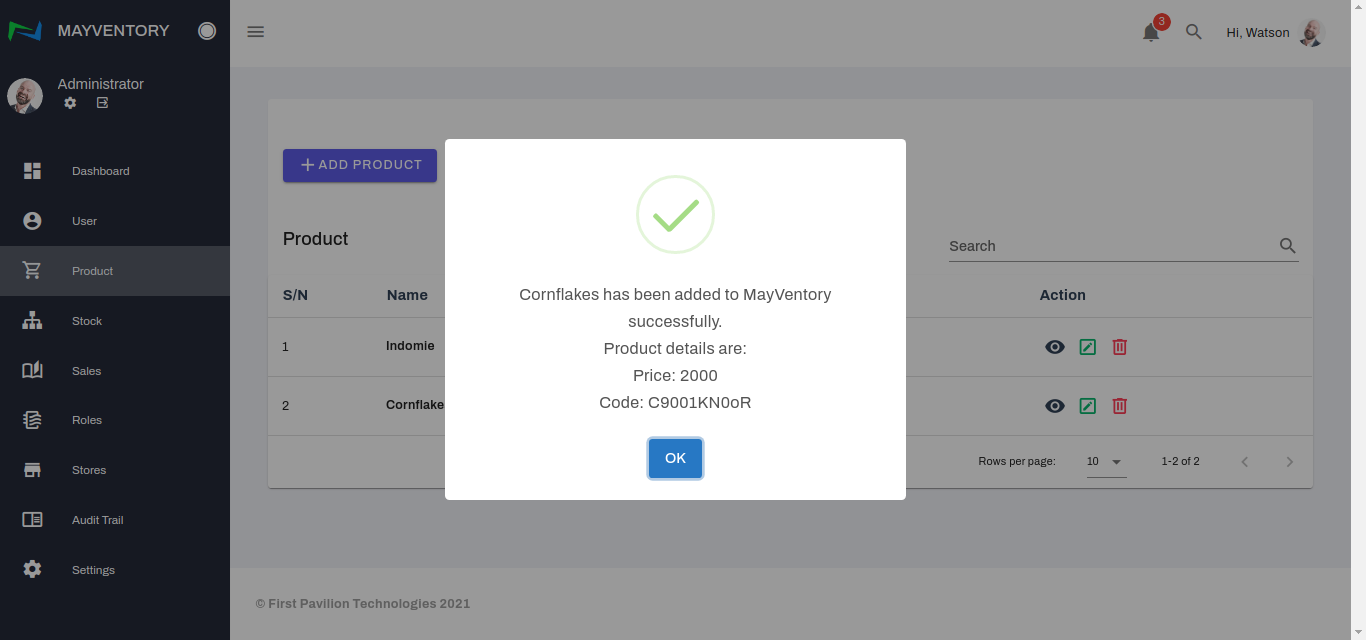
- A confirmation tick like in the picture below will show up, indicating that the product was successfully added.


How to Edit Products
- Go to Product from the navigation panel on the left side of the screen.
- Click on the icon that looks like a pencil in a box at the right side of the product you want to edit.
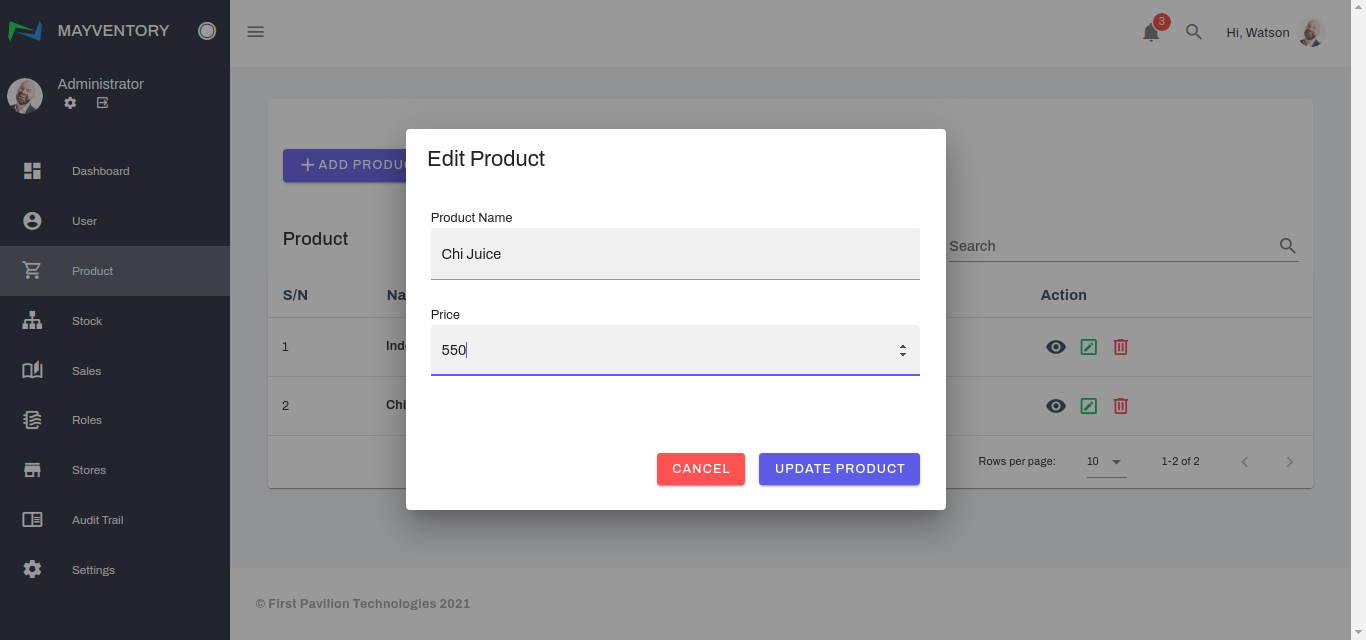
- A box containing the previously saved details of the Product will come up except the code details. See an example below.
- Edit the details to your satisfaction and click on Update Product to save your edits.
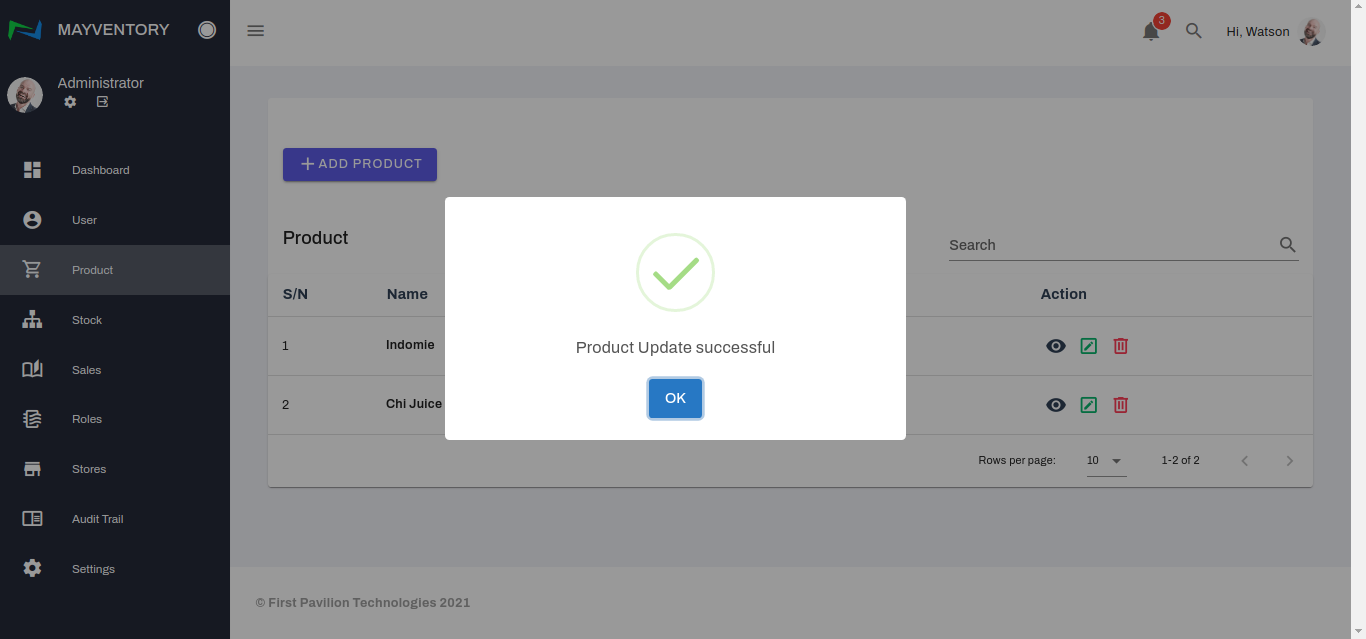
- Finally, a confirmation tick pops up like in the image below indicating you have successfully edited the Product.

How to Delete Products
- Go to Product from the navigation panel on the left side of the screen.
- Click on the Delete Icon at the right side of the product you want to delete.
- You would get a prompt asking you to confirm if you really want to delete the Product.
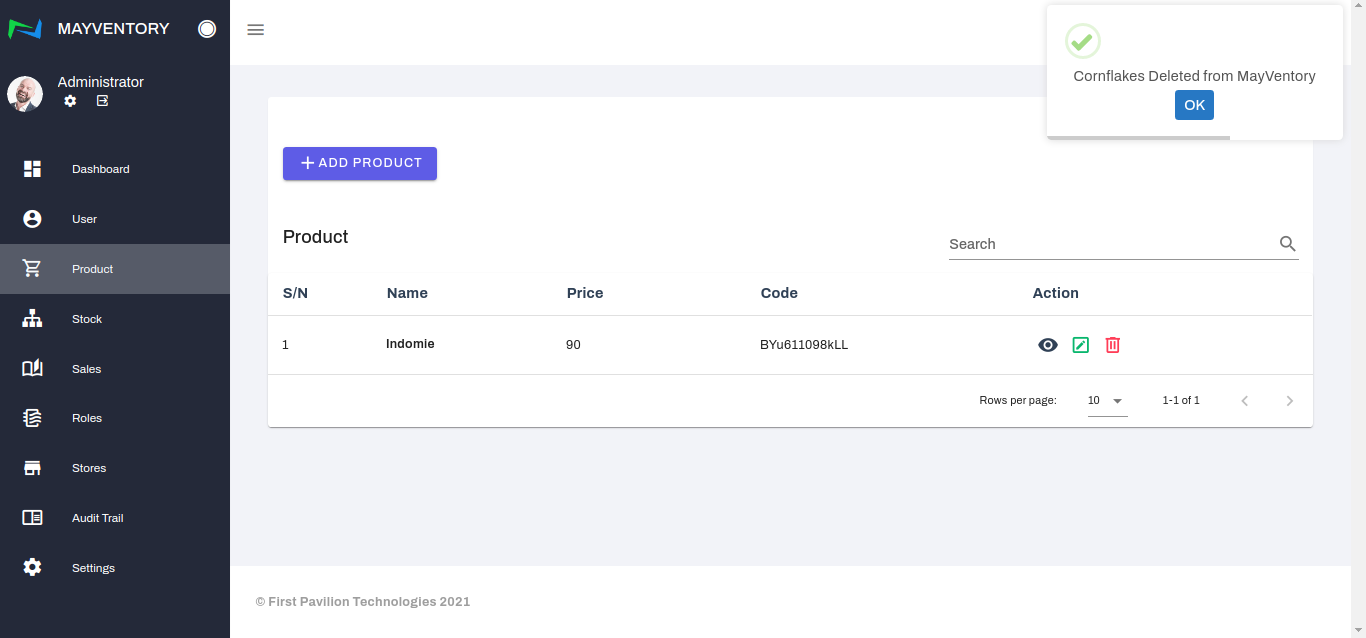
If yes, select the Yes box and you would see a tick at the top-right corner like in the image below when you successfully delete the product. If no, select the No box and you would return back to the Product page.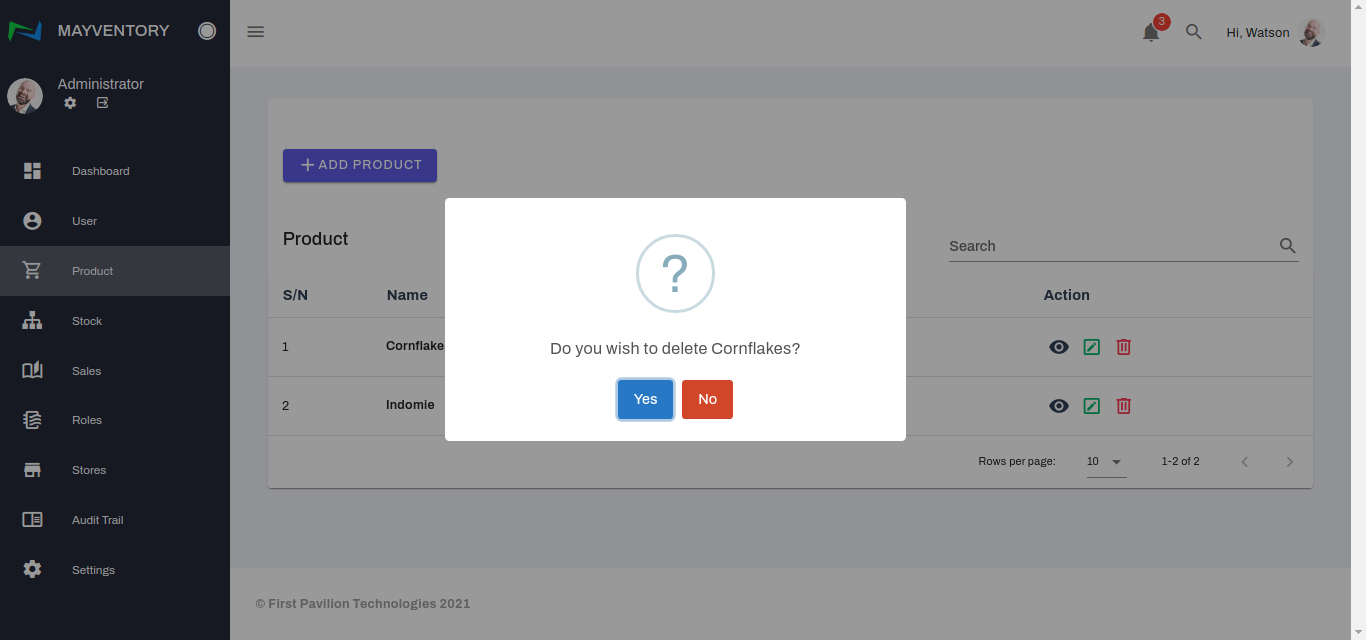
Sales
The sales page is where you come to record a sale or view recorded sales in the past.
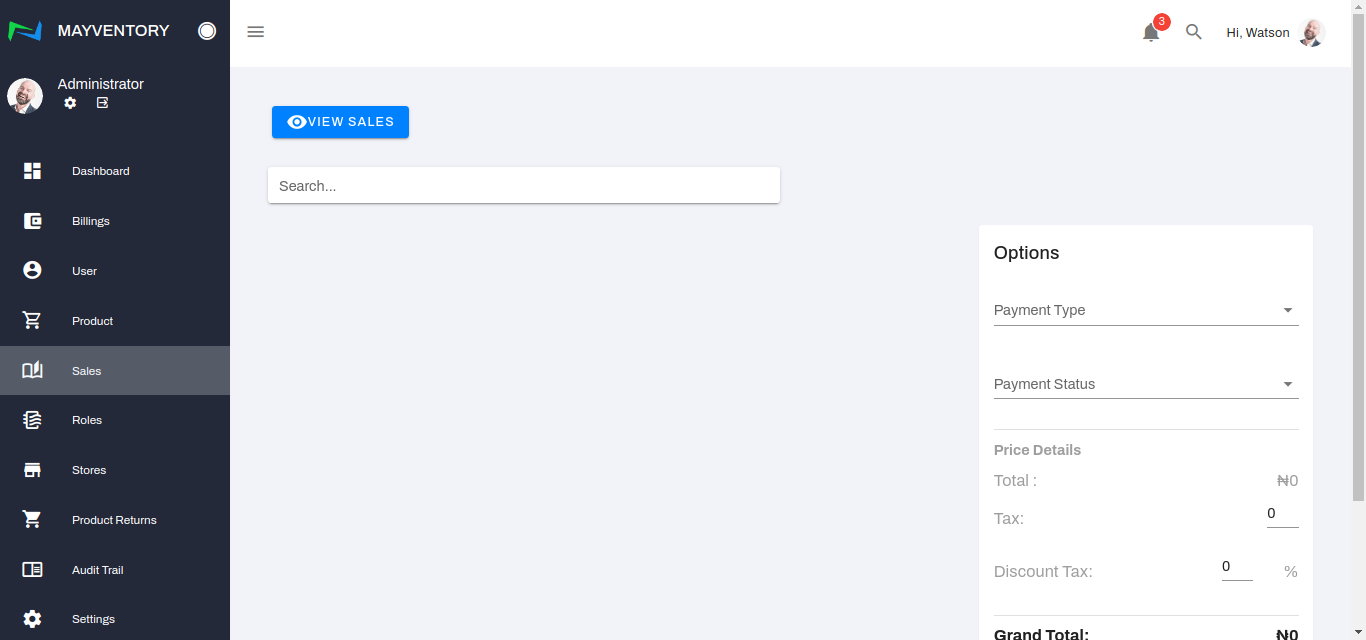
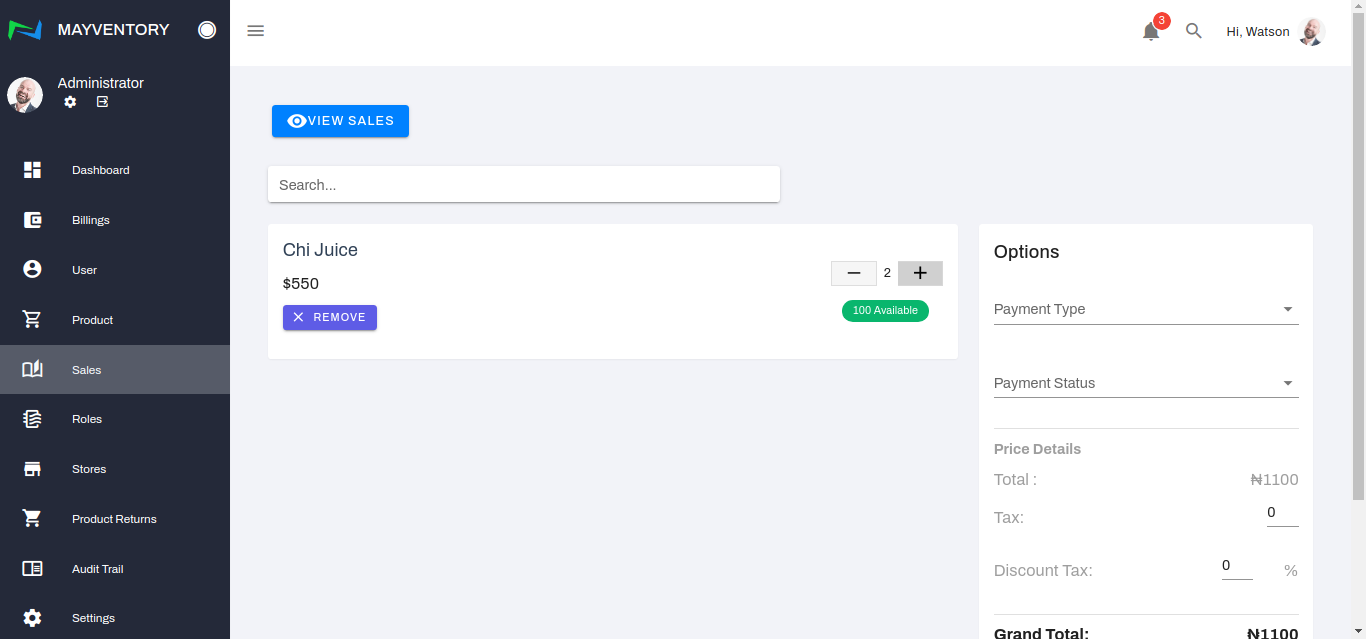
How to Add a Sale
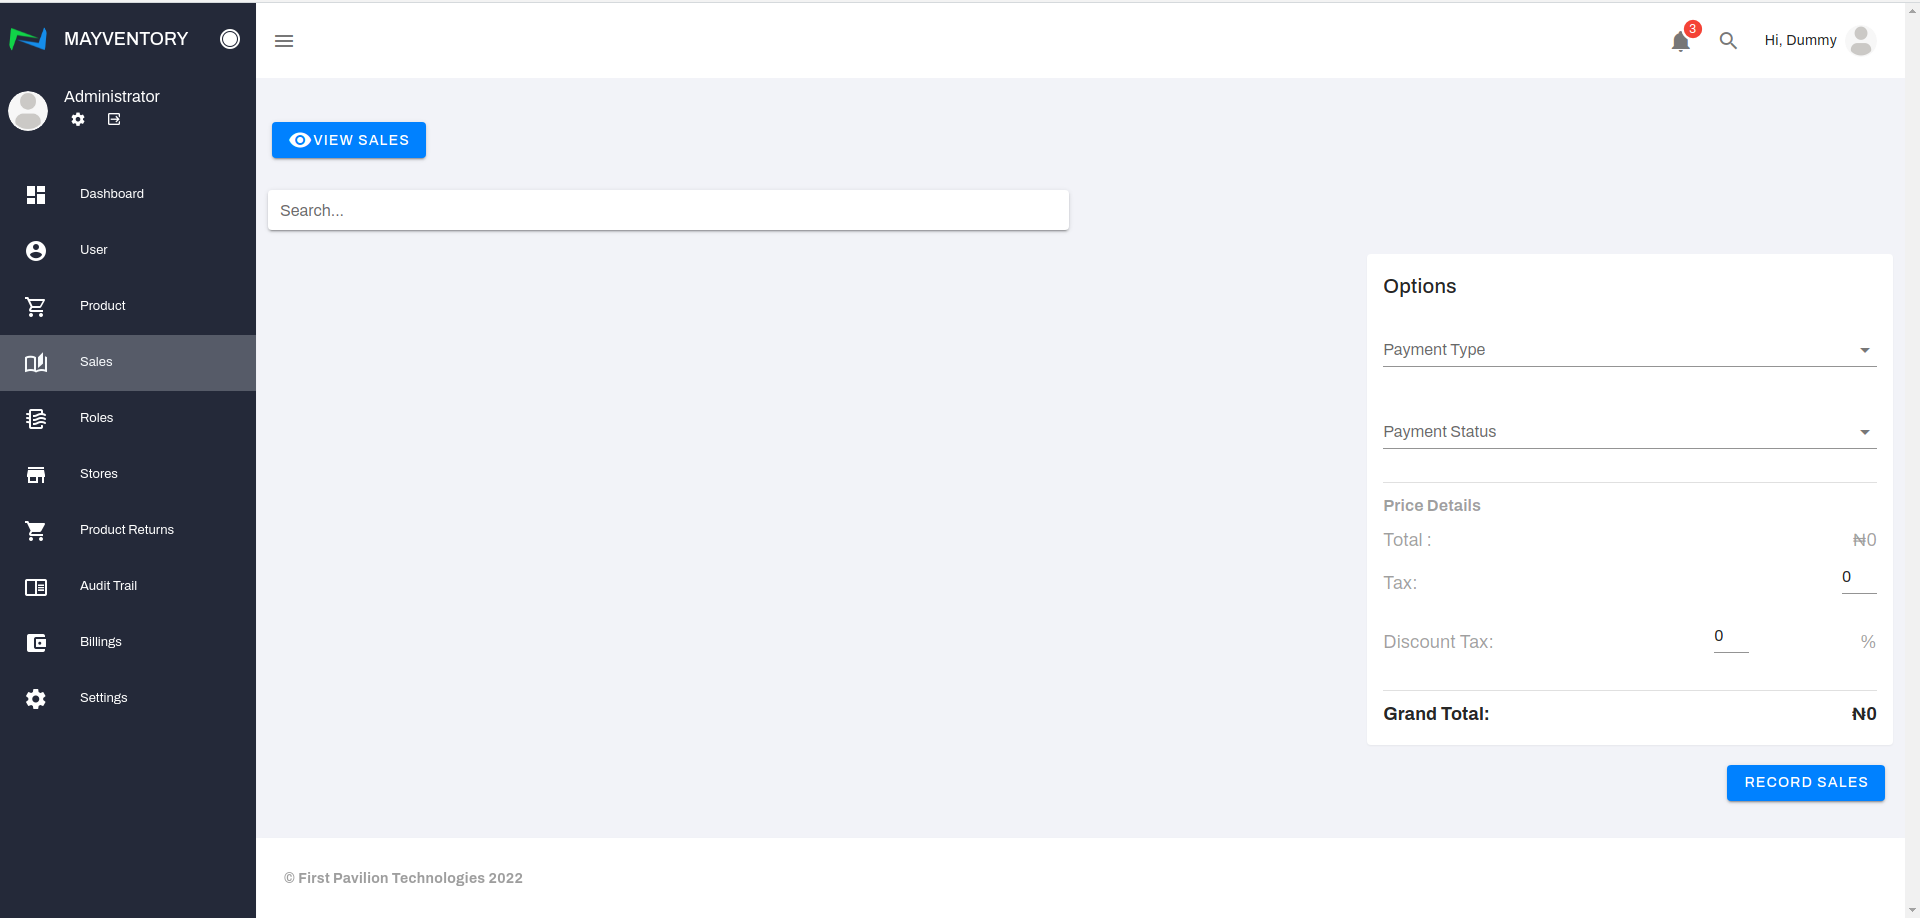
- Go to Sales from the navigation panel on the left side of the screen.
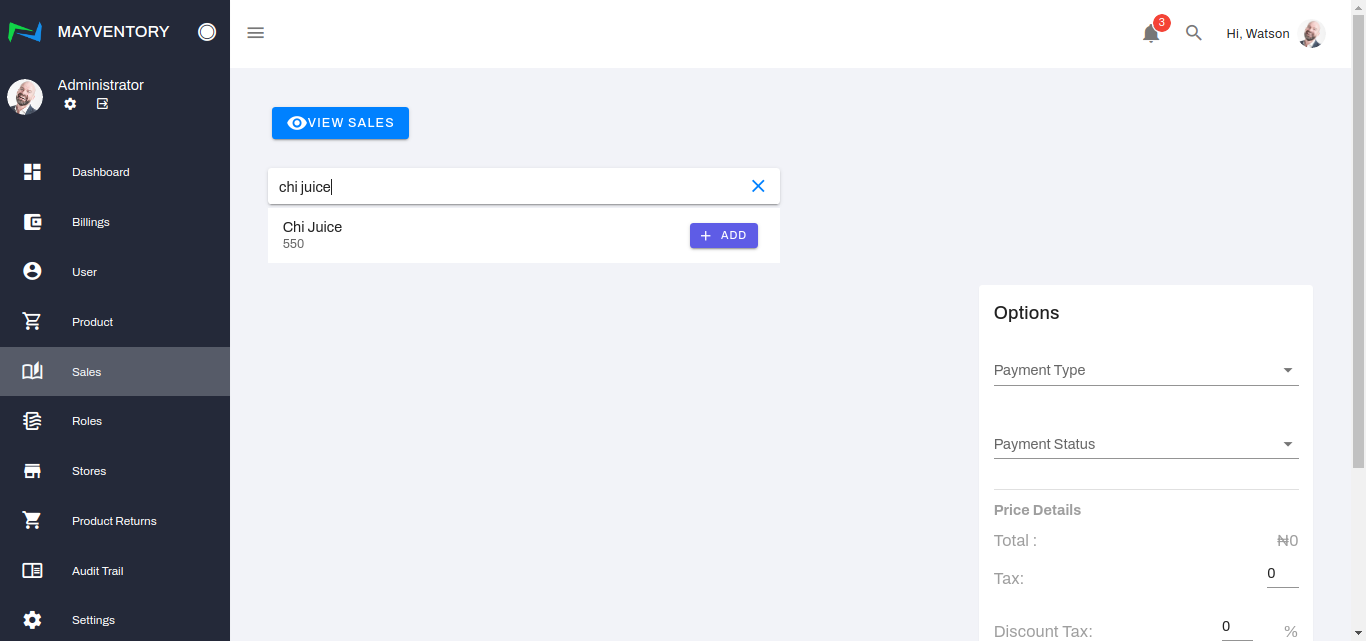
- Click on the search box and type in the product that has just been sold or is about to be sold. In our example(image below), it is Chi Juice.
- Once the search returns a result that matches your query, click on the Add box.
- To select the amount of quantity that was bought, you click on either the + or - box. The plus box increases the quantity and the minus box decreases the quantity. In the picture below, only 2 quantities of Chi Juice were bought.
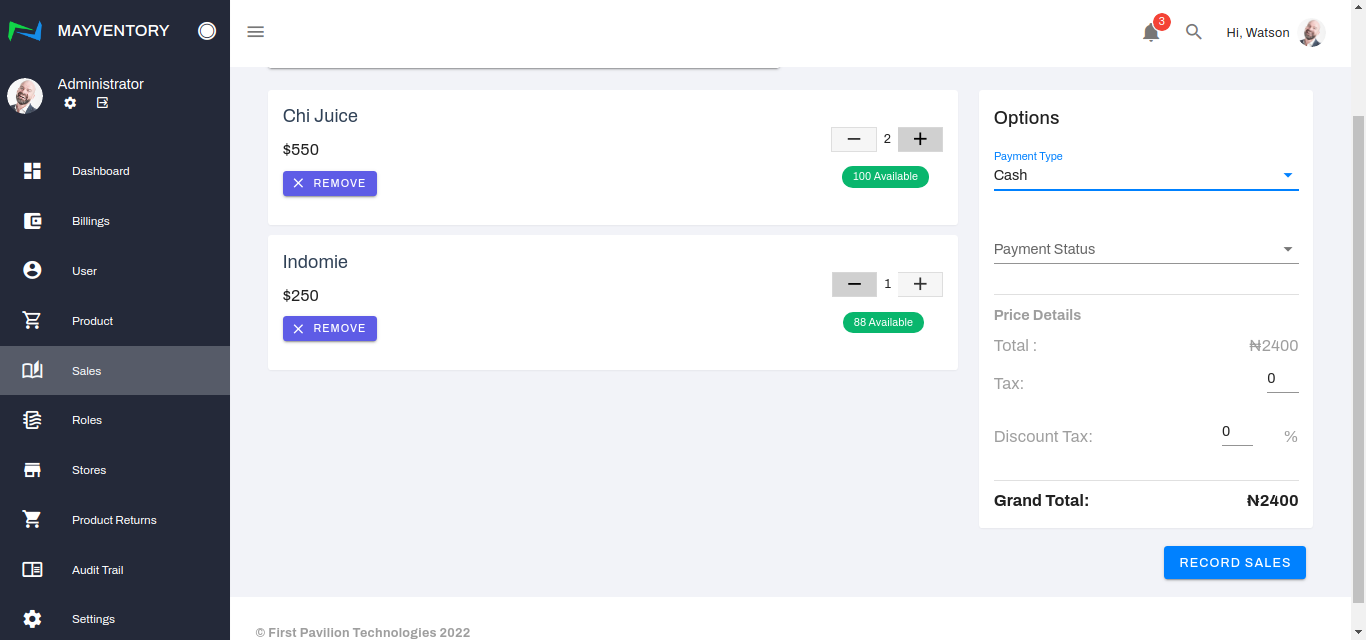
- You can add more than one product at a time by following steps 1-4 as many times as necessary.
See the image below.
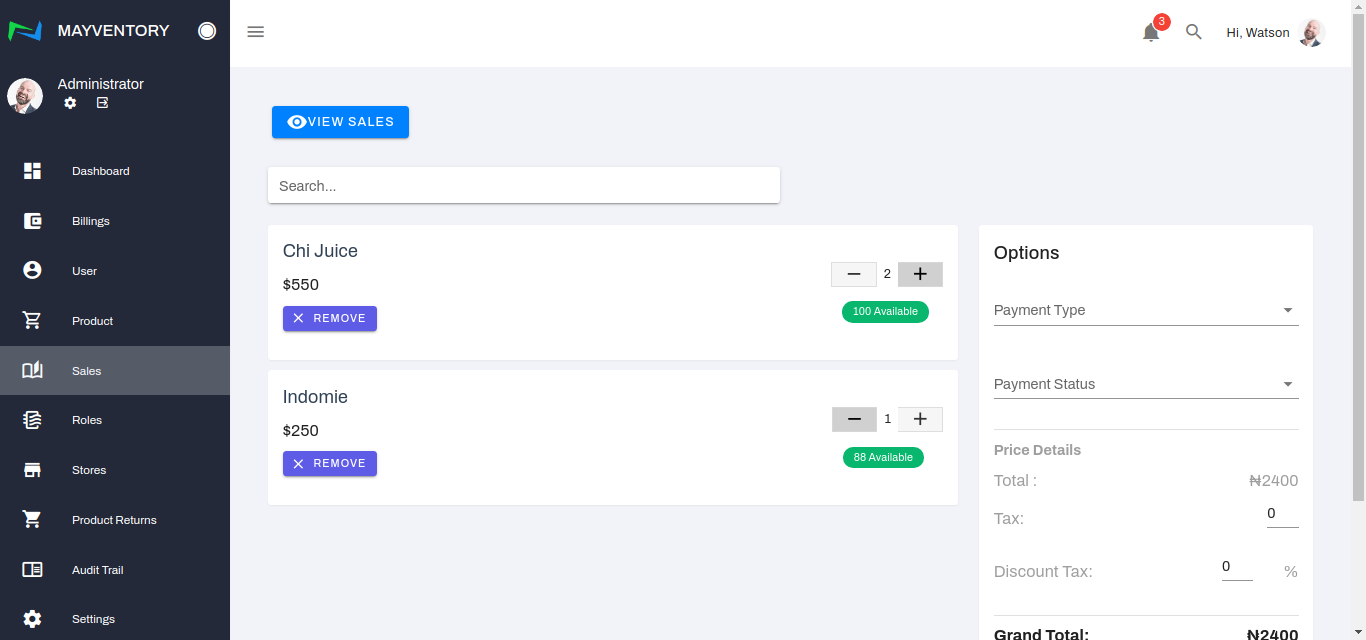
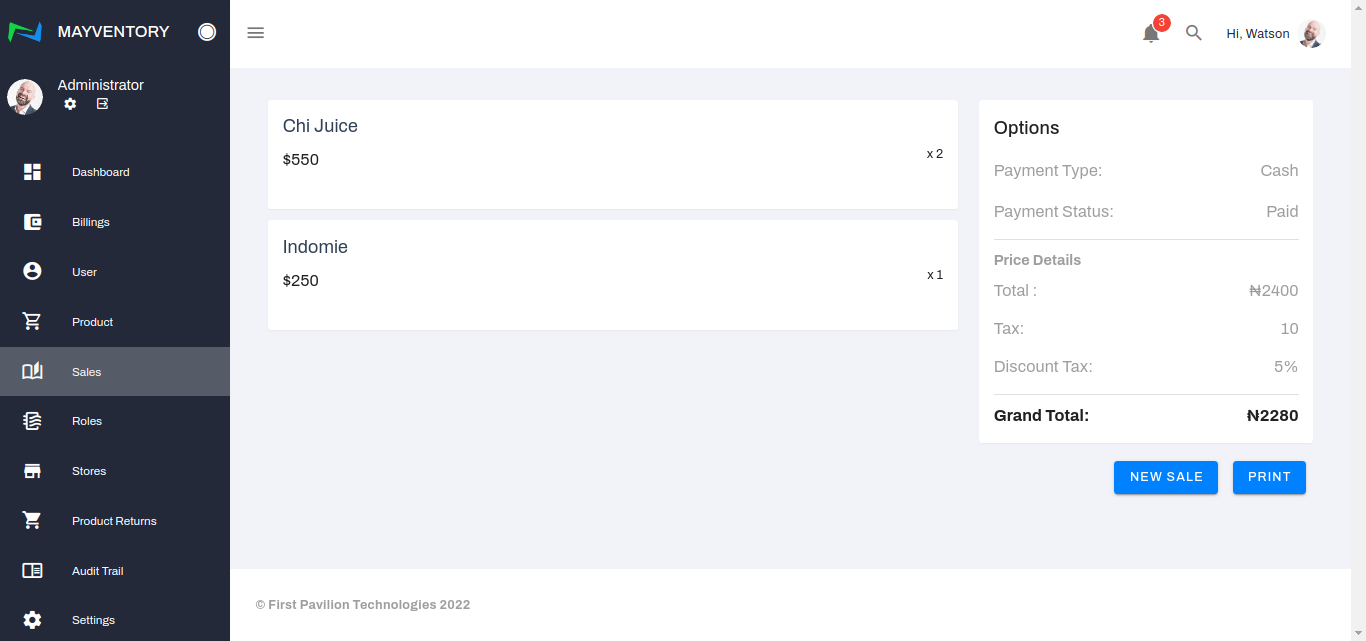
- Next, choose the mode of payment which can either be through POS, Cash, or Transfer via the Payment Type.
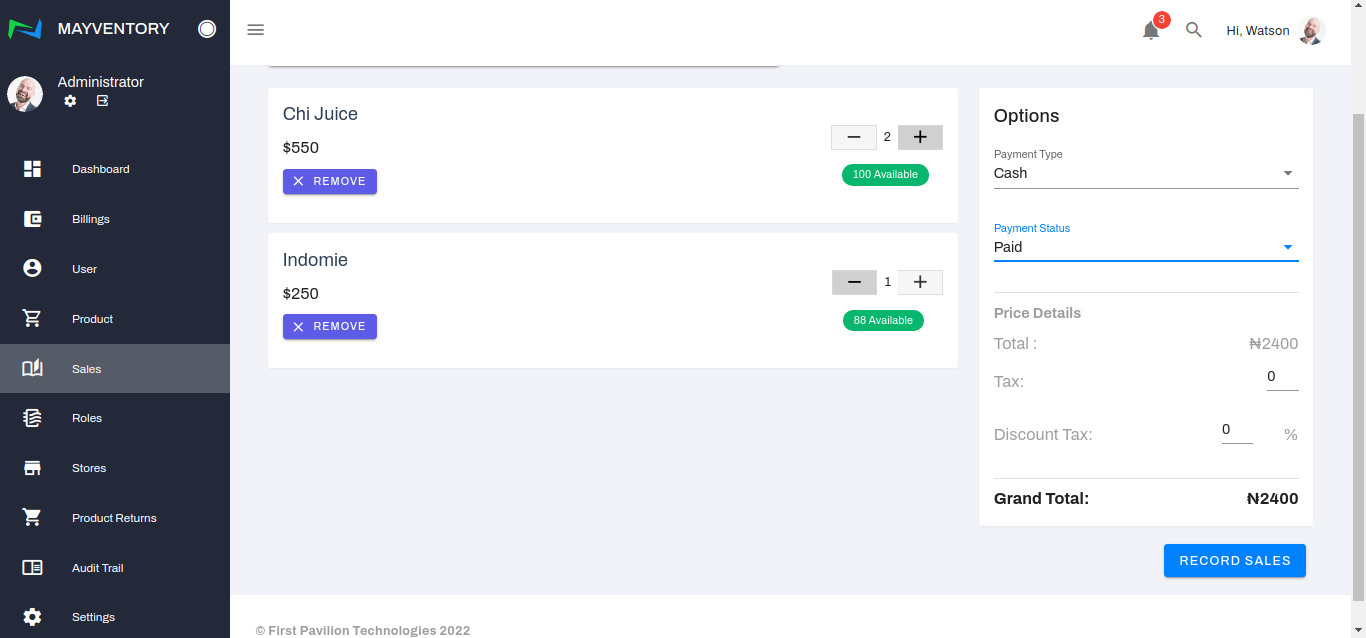
- Choose the payment status - Paid or Unpaid, via the Payment Status box.
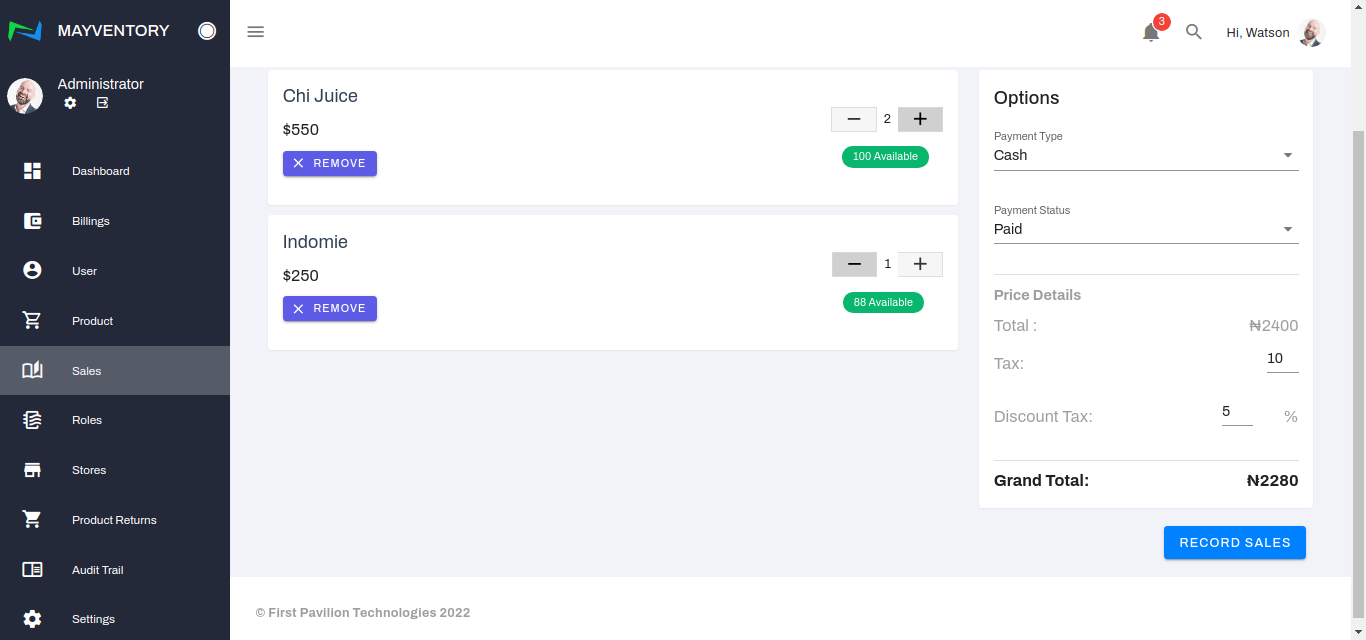
- Under the price details, the calculations for the total price would be done automatically. Input the tax in the tax slot and discount, if any, in the discount slot. Once again, all calculations would be done automatically.
- Once satisfied with all the inputs, click on Record Sales to register the sale.
- Finally, you would get taken to a page where you can either print the invoice or record a new sale. The option is yours!
How to view a Sale
- Go to Sales from the navigation panel on the left side of the screen.
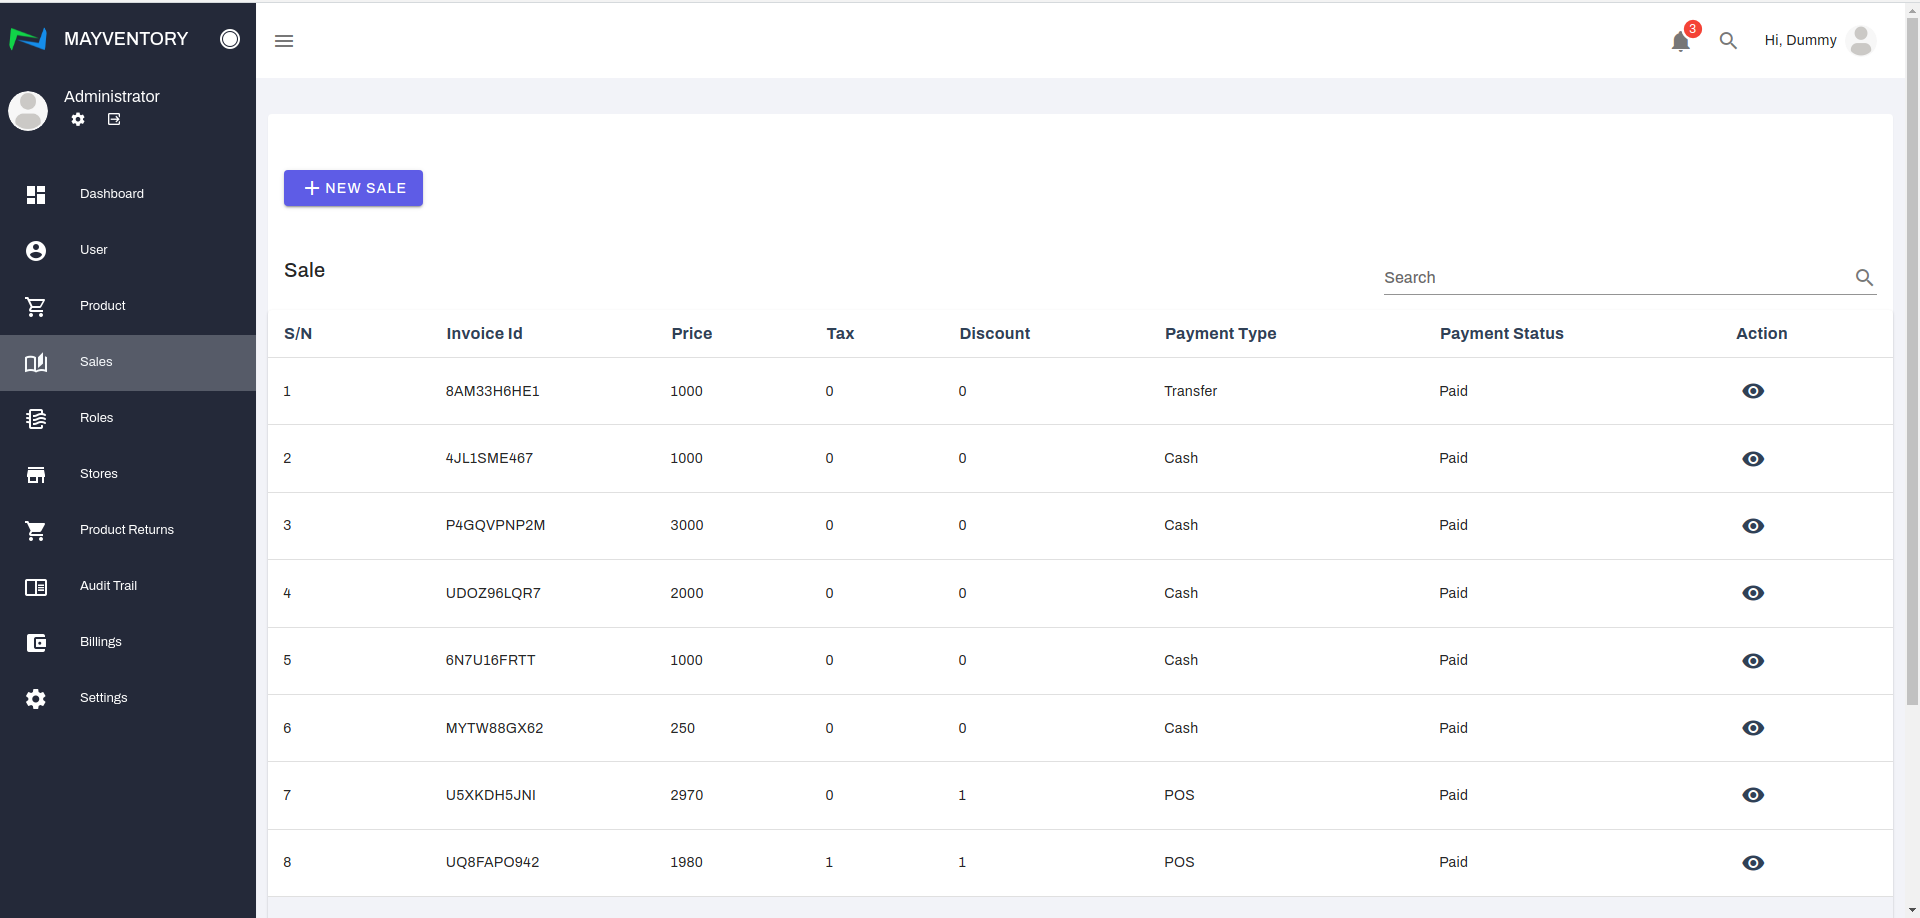
- Click on View Sales and a new page containing a list of recorded sales comes up.
- The information is arranged in a table-like manner and here is what each column represents:
- Serial Number (S/N): This is a number assigned to a sale that was recorded.
- Invoice Id: This is an automatically generated number serving as your transaction id number.
- Price: This is the price tag of the goods bought.
- Tax: Tax is a fee imposed on the sales of goods bought.
- Discount Tax: Discount Taxes are discounts in percentage format given on a product or sale.
- Payment Type: This indicates the mode of payment of the goods bought.
- Payment Status: This indicates the status of the payment - Paid or Unpaid.
- Action: This contains a button used to perform advanced action on a recorded sale. When you click on the eye-like icon, you will get directed to a page where you can perform advanced activities like sending an invoice via email or printing an invoice out.

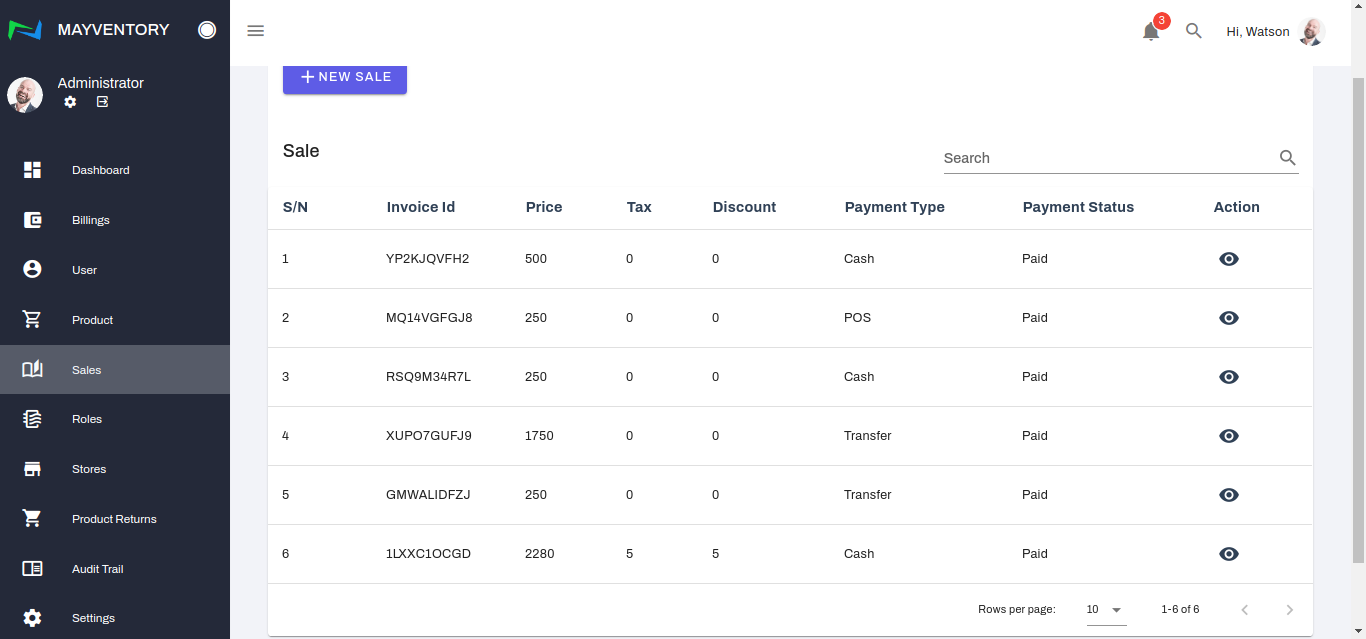
To save yourself the stress of searching for a sale line by line, you can make use of the search box at the top right corner of the page. All you need to do is punch in the invoice id.
Sending an Invoice
- Go to Sales from the navigation panel on the left side of the screen.
- Click on View Sales and a new page containing a list of recorded sales comes up.
- Locate the invoice you want to send and under the action column, click on the eye-like icon. You immediately get taken to a new page.
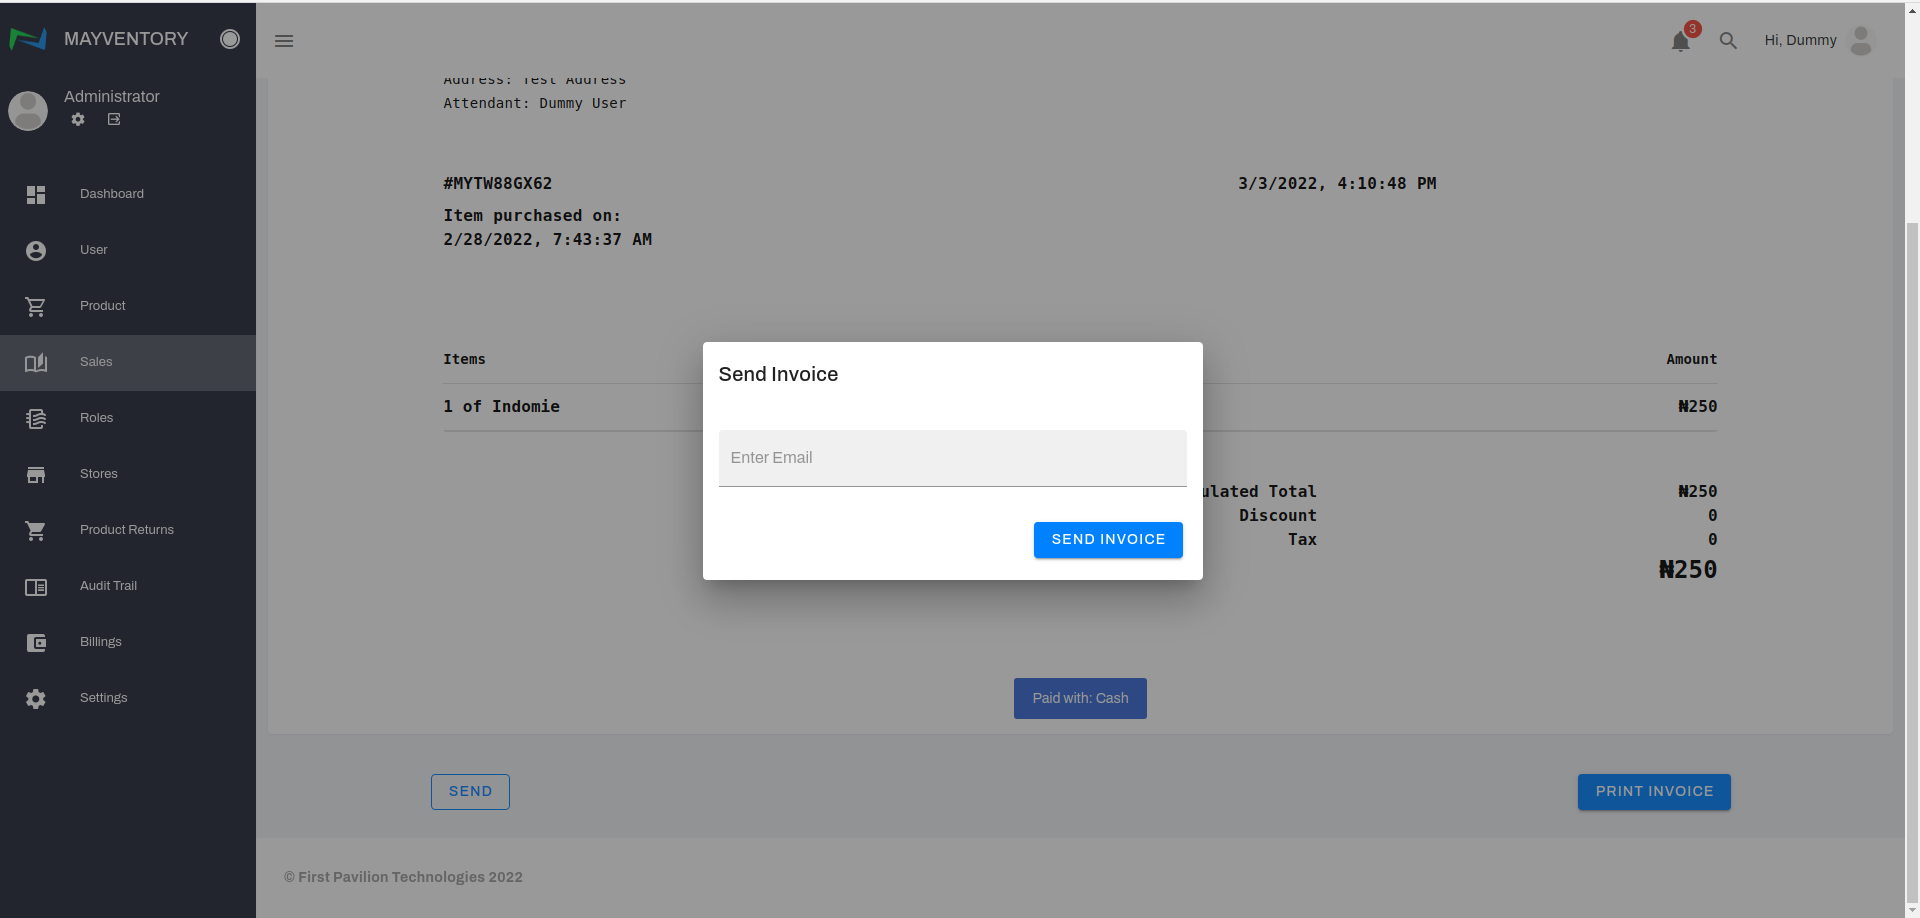
- Click on the Send box and immediately, a small window box pops up.
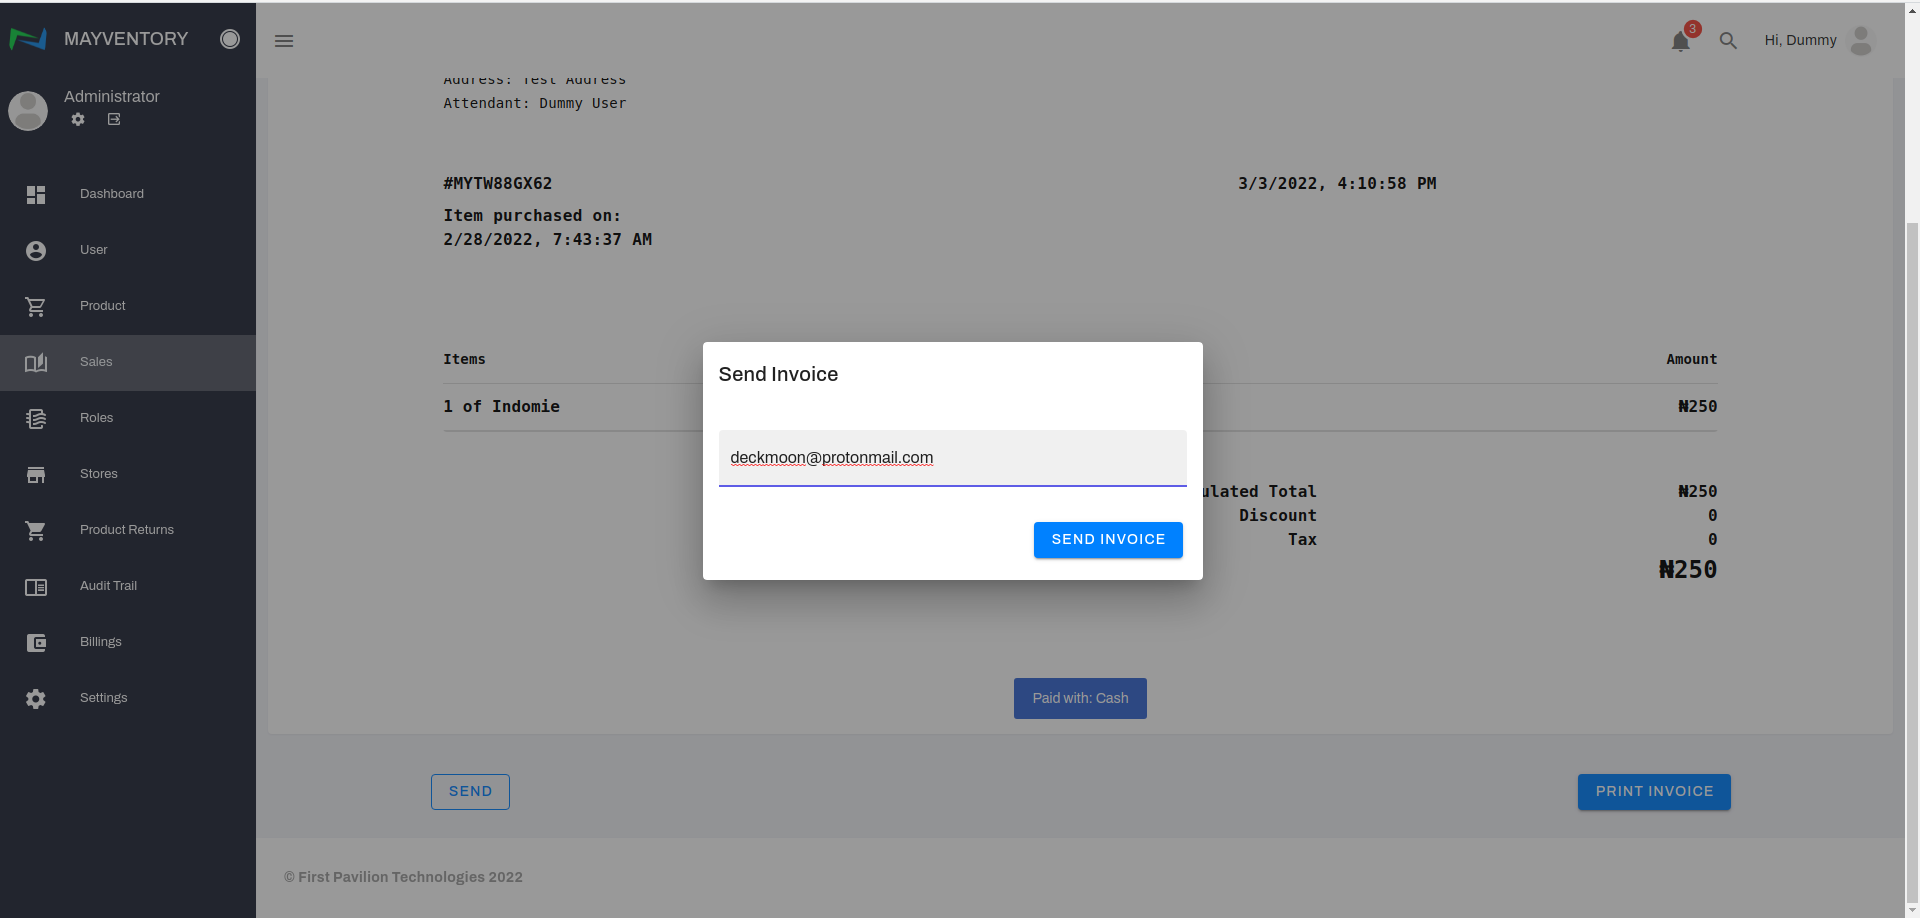
- Enter the email address of the person you want to send the invoice to and click on Send Invoice.
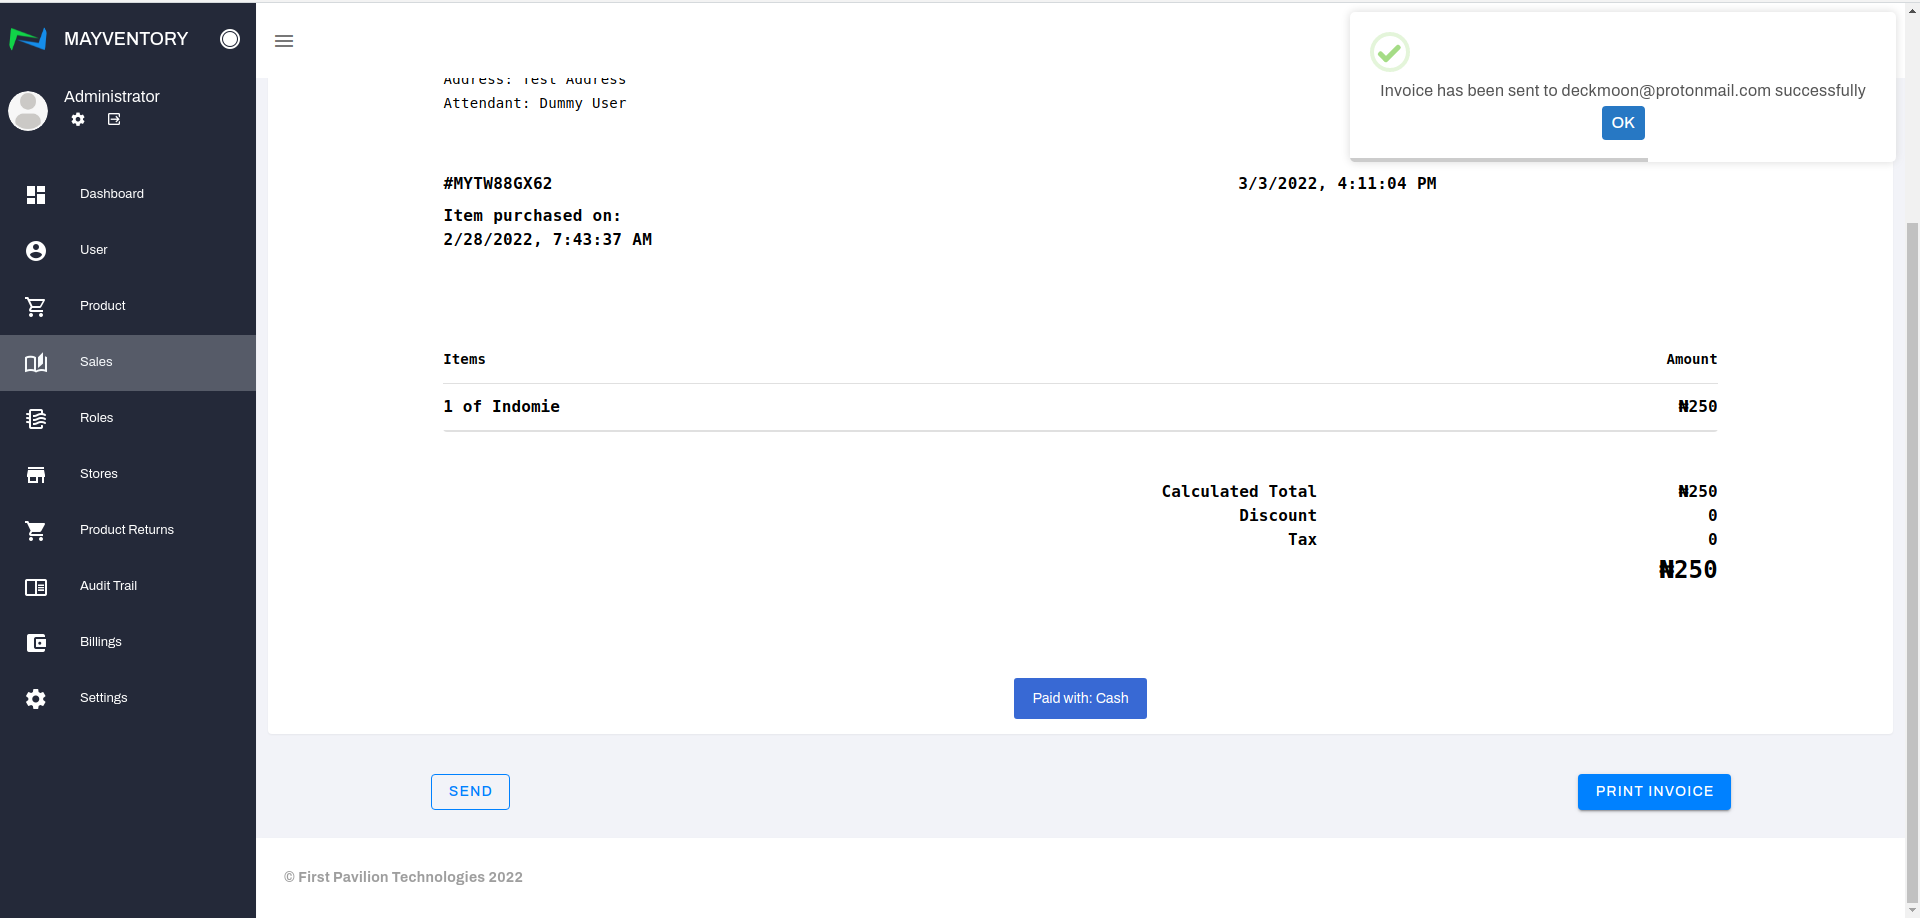
- You will see a confirmation tick like in the image below if the invoice was successfully sent

Printing an Invoice
- Go to Sales from the navigation panel on the left side of the screen.
- Click on View Sales and a new page containing a list of recorded sales comes up.
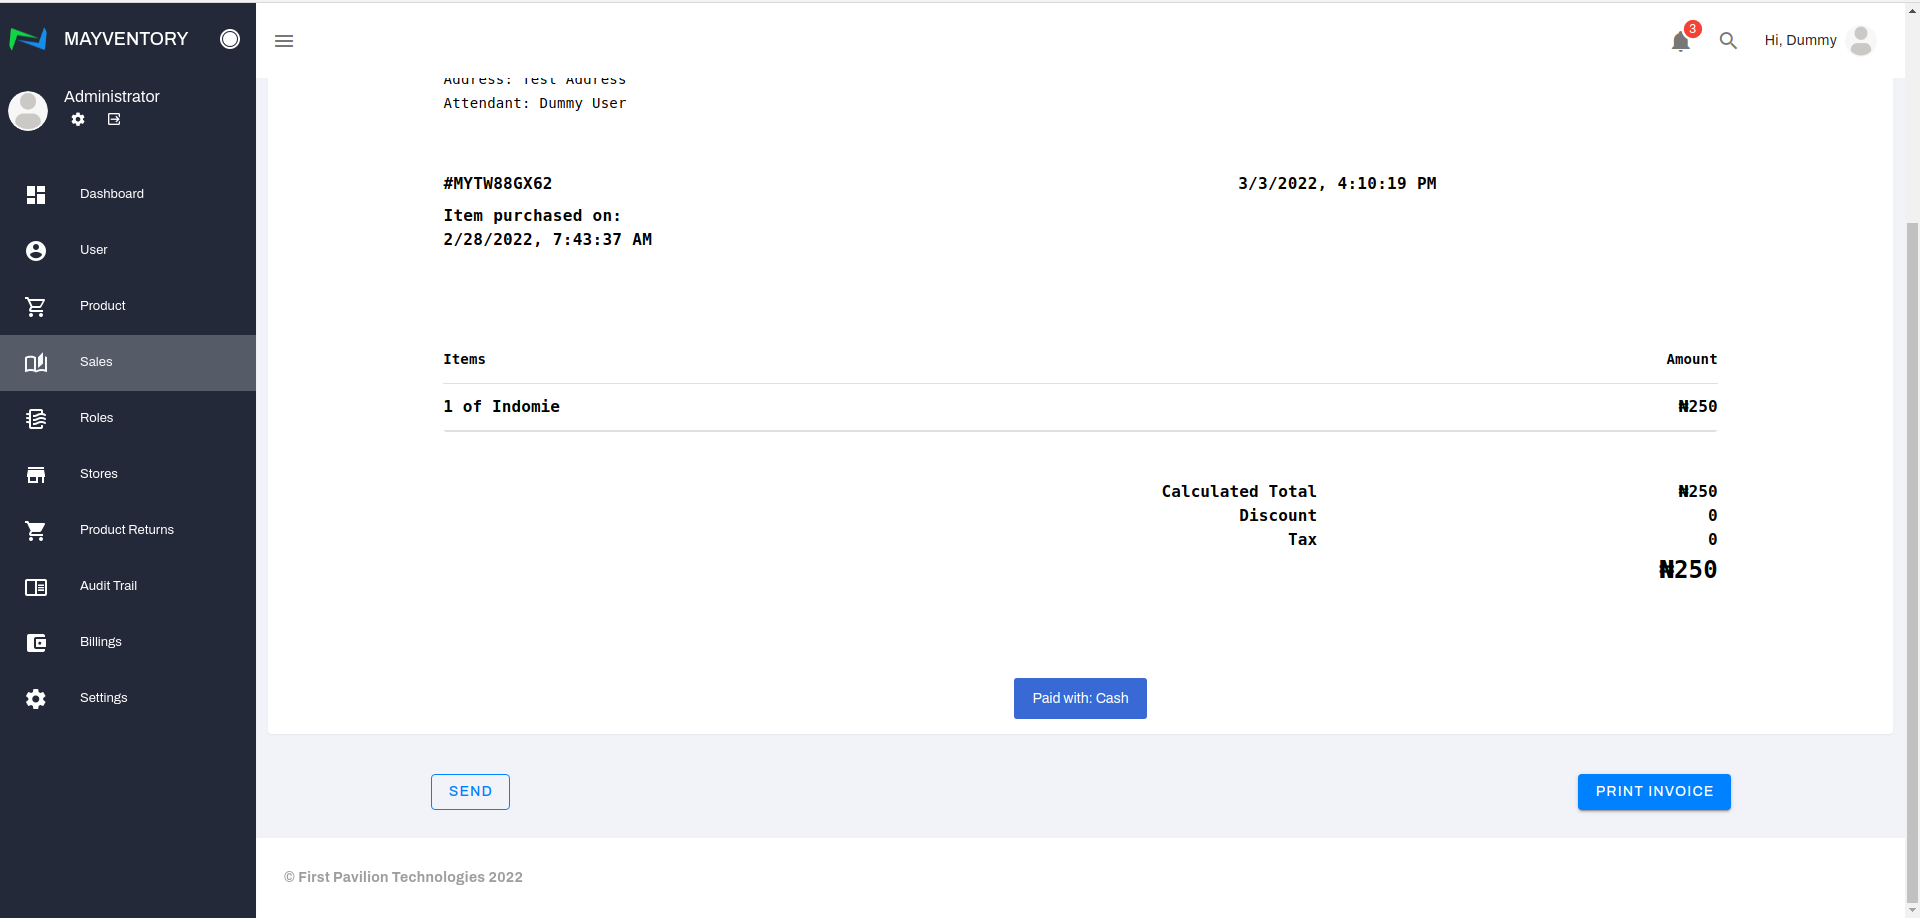
- Locate the invoice you want to print and under the action column, click on the eye-like icon. You immediately get taken to a new page.
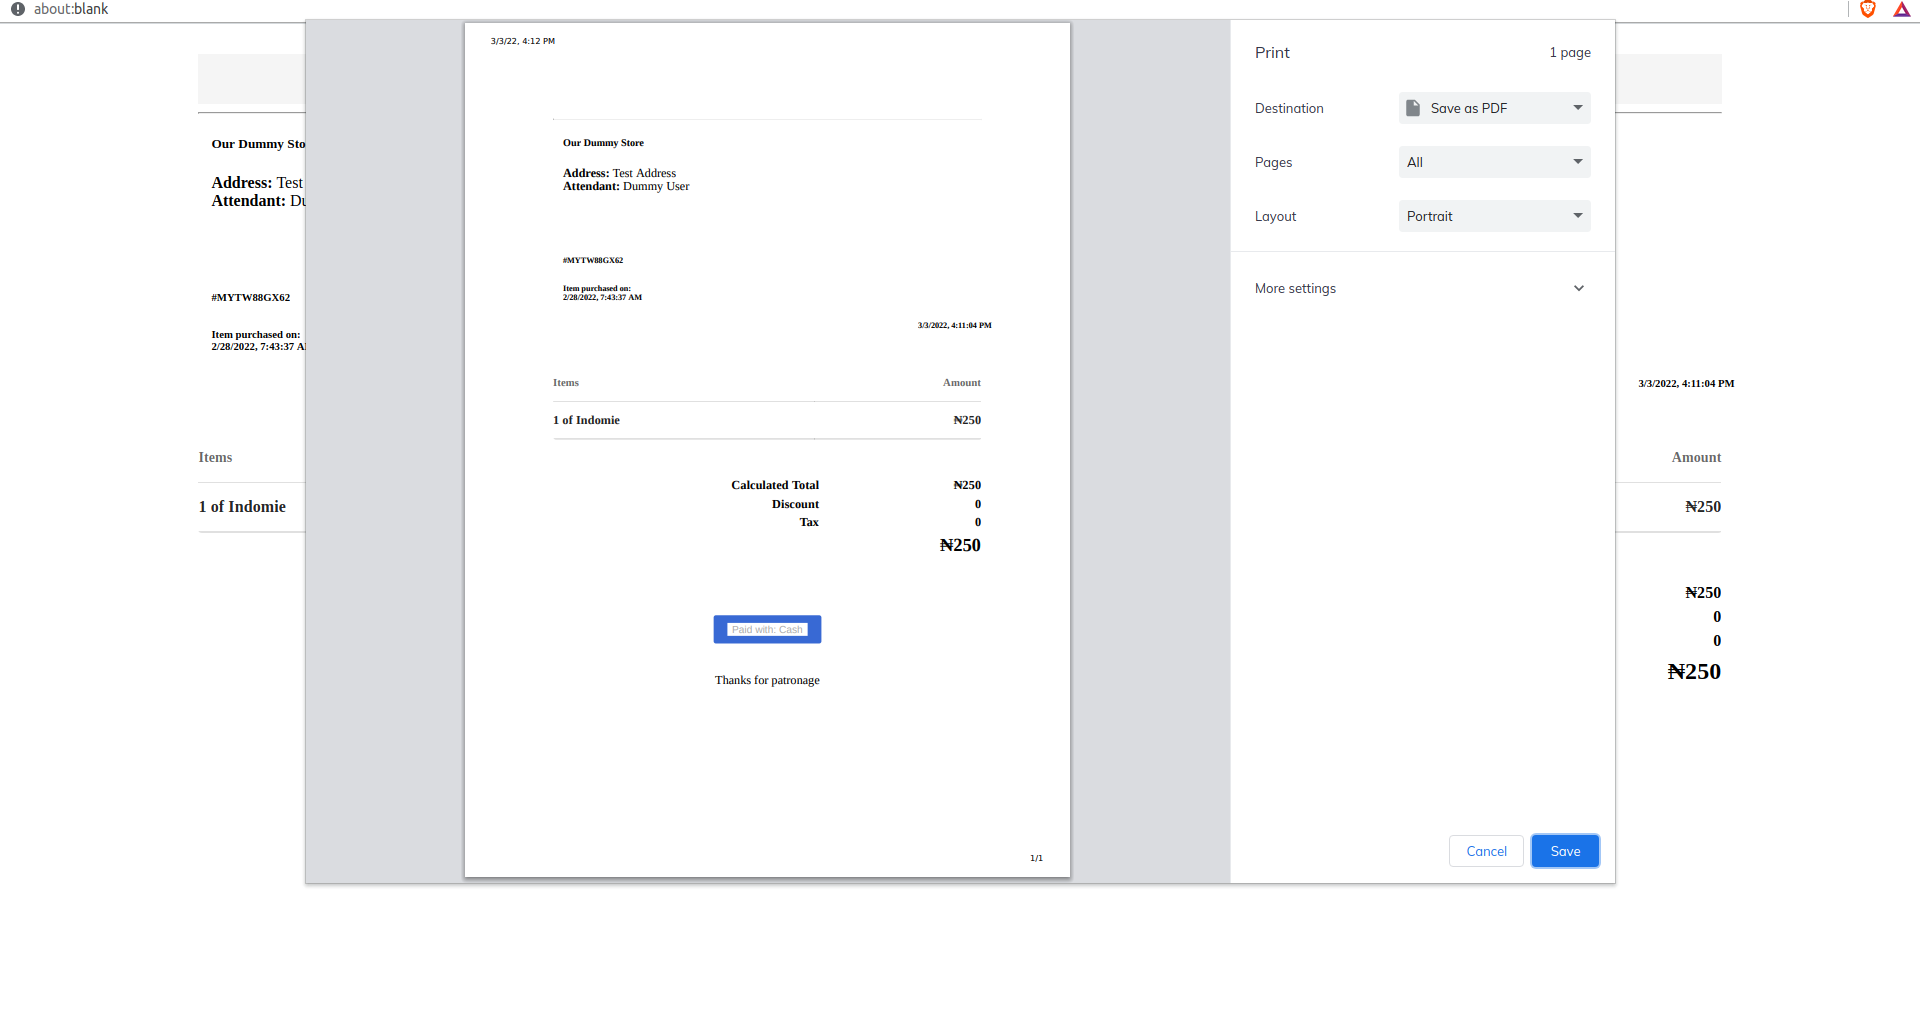
- Click on the Print box and immediately, a browser window opens, displaying a preview of the invoice to be printed. This preview page may slightly differ from browser to browser but for the most part, they contain the same thing.
- Tweak the print setting to your satisfaction and finally, click on the print box to get the invoice printed out.


Audit Trail
Audit Trail allows you to track all the actions performed by users on the platform. Most people refer to it as a logbook as it registers all activities no matter how small it is. Here is how to access the Audit Trail:
Go to Audit Trail from the navigation panel on the left side of the screen and you would see a page like in the image below showing you all the details you need.
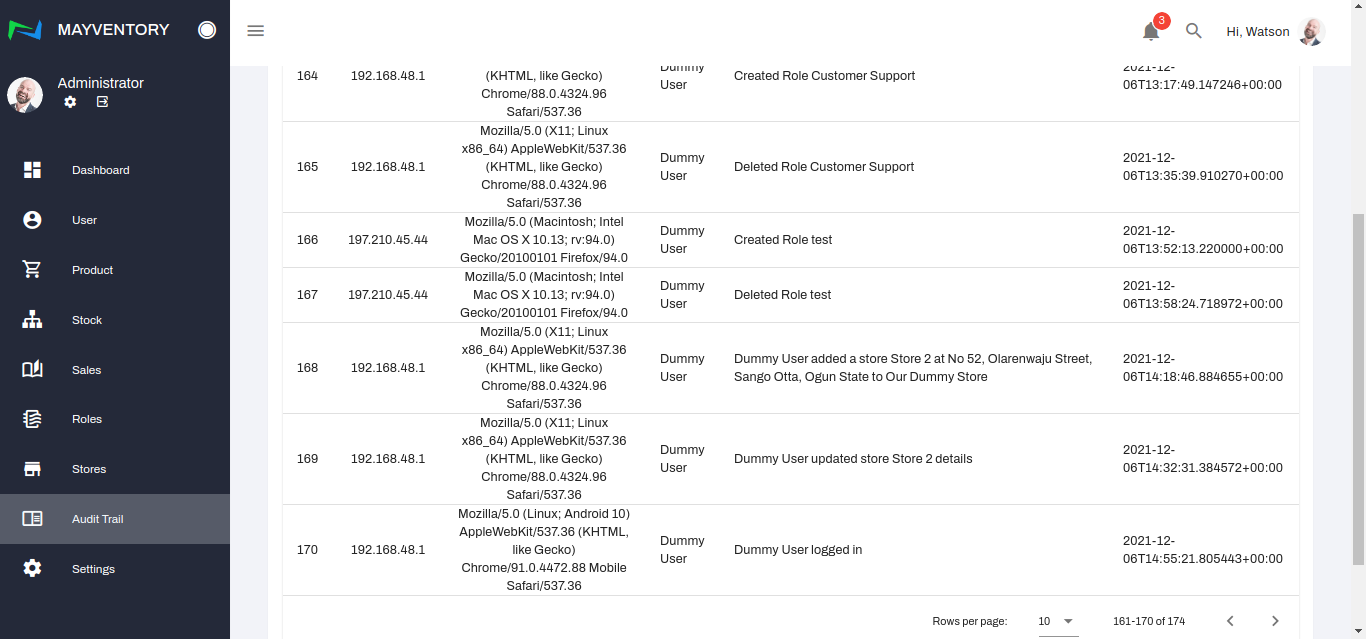
Here is what each of the columns represents.
- Serial Number (S/N): This is a number assigned to an activity that was recorded.
- IP Address: This is the digital footprint of the user that performed a certain action. With the IP Address, you can track down the physical location of a person.
- Browser : This gives you a detailed overview of the kind of browser that was used to perform the action or activity.
- User: This tells you which user performed whichever activity.
- Operation: This column tells which action/activity was performed.
- Timestamp: This tells you the date and time the action was performed down to the microsecond. The numbers before the "T" tells you the date in the format Year:Month:Day and the numbers after the T tells you time in the format Hour:Minute:Second.
To see more recent activities being logged, click on the < symbol (if you are not on the first page). Similarly, to see more activities of the past, click on the > symbol (If you are not on the last page).
And that is how you make use of the Audit Trail!!